
This project came about because I had a disused spaceship front section from another project and I was thinking about a way to use it. The result was the rough thumbnail below, a Salvage Tug spaceship design using the babies toy dome front with a radial array of tanks. In the thumbnail below I drew 8 tanks but on the resulting model I could only fit six.

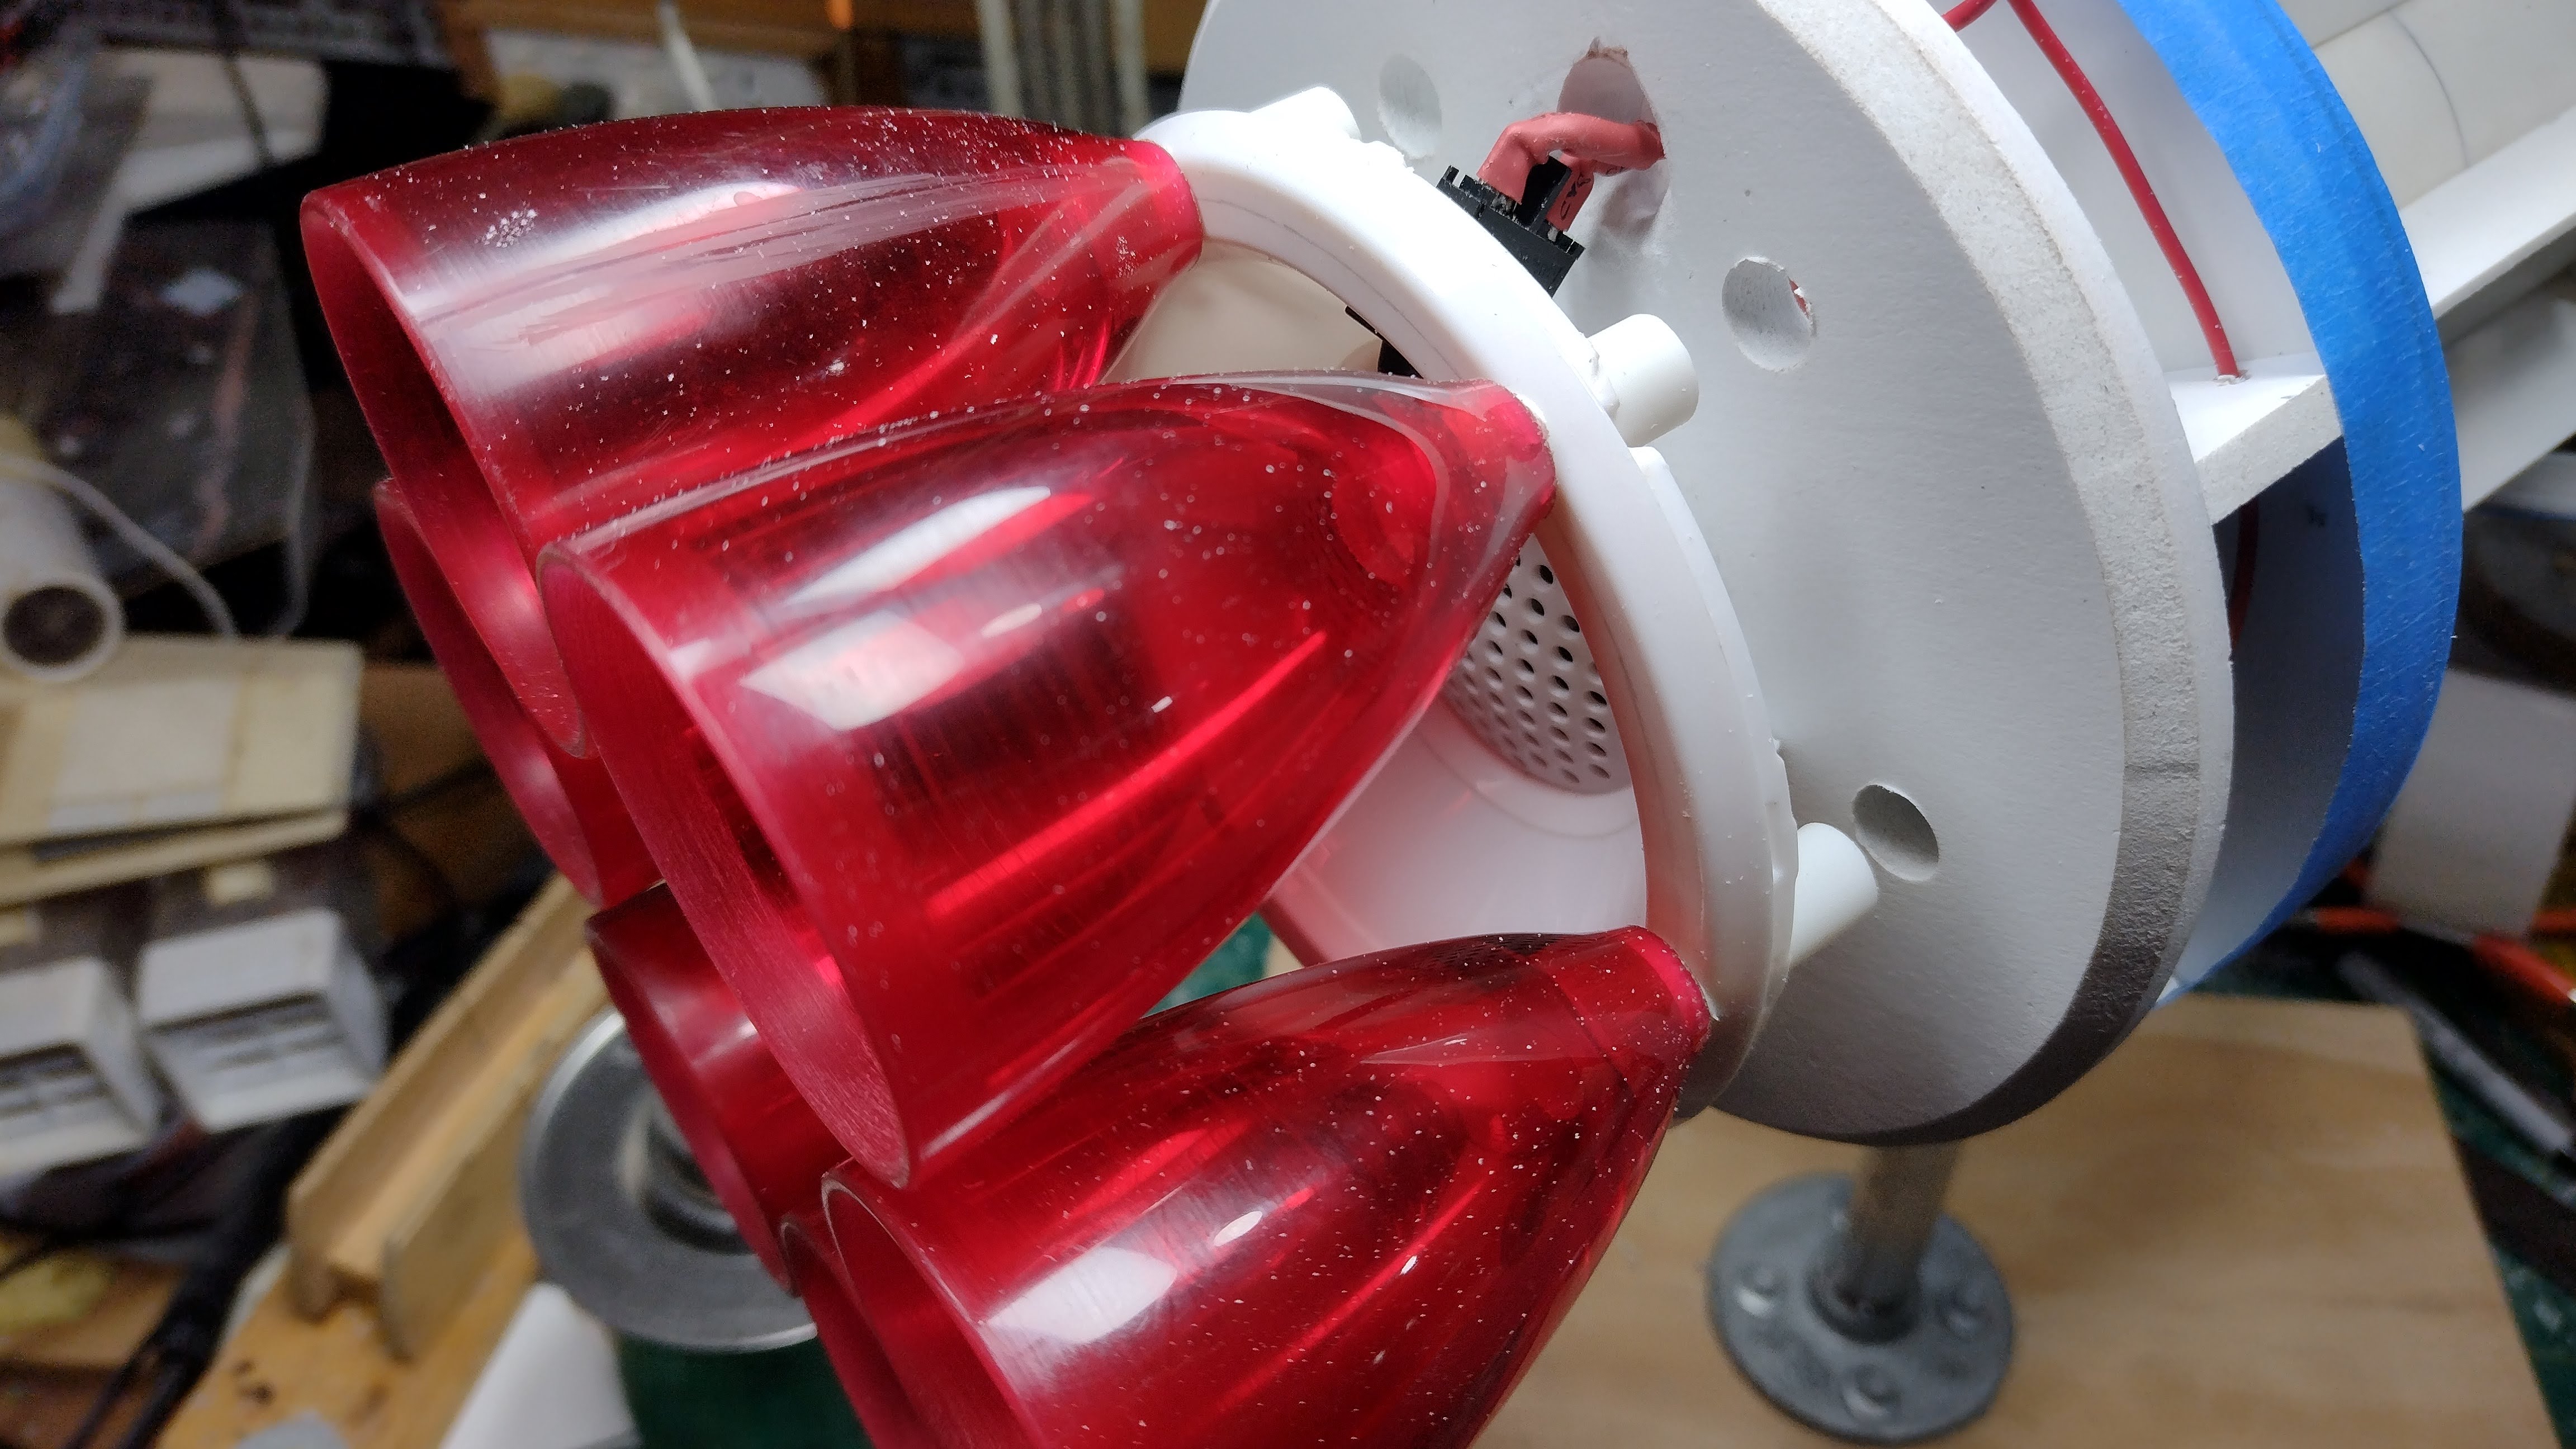
I already had on hand had six thick acrylic wine glasses with a Christmas theme that were a charity shop purchase. These I cut down by parting on my mini lathe making six engine bells. These were arranged around part of the housing of a toy, another charity shop find. below you can see the engine nozzles and the part that was cut off, very nearly half the length of the cup. The stems were sawn off and the ends drilled out to take 7/8 inch brass tube although in the pictures below I am temporarily using 7/8 plastic tube to locate the nozzles.


The Existing front end consisting of a dome from a babies toy (charity shop purchase) and a scratch built short section of cylinder was joined to a new rear section with a short length of PVC pipe. The new rear end was made with 6mm thick foamed PVC bulkheads to which the concave toy housing was glued. The housing was drilled out with 7/8 inch holes to locate the engine nozzles on their temporary tube. Some 15mm water pipe fittings were arranged to make a mount point at the top and bottom of the model.


Wiring for the engine lights was added along with a switch to enable the engine lights to be turned of separately from the cockpit lighting. A Negative rail was made from a loop of tinned copper wire so all the 12 volt engine LED cob lights could be soldered to a common return. I elected to use insulated wire for the positive rail to prevent any accidental shorting once the rear section was skinned preventing further access.

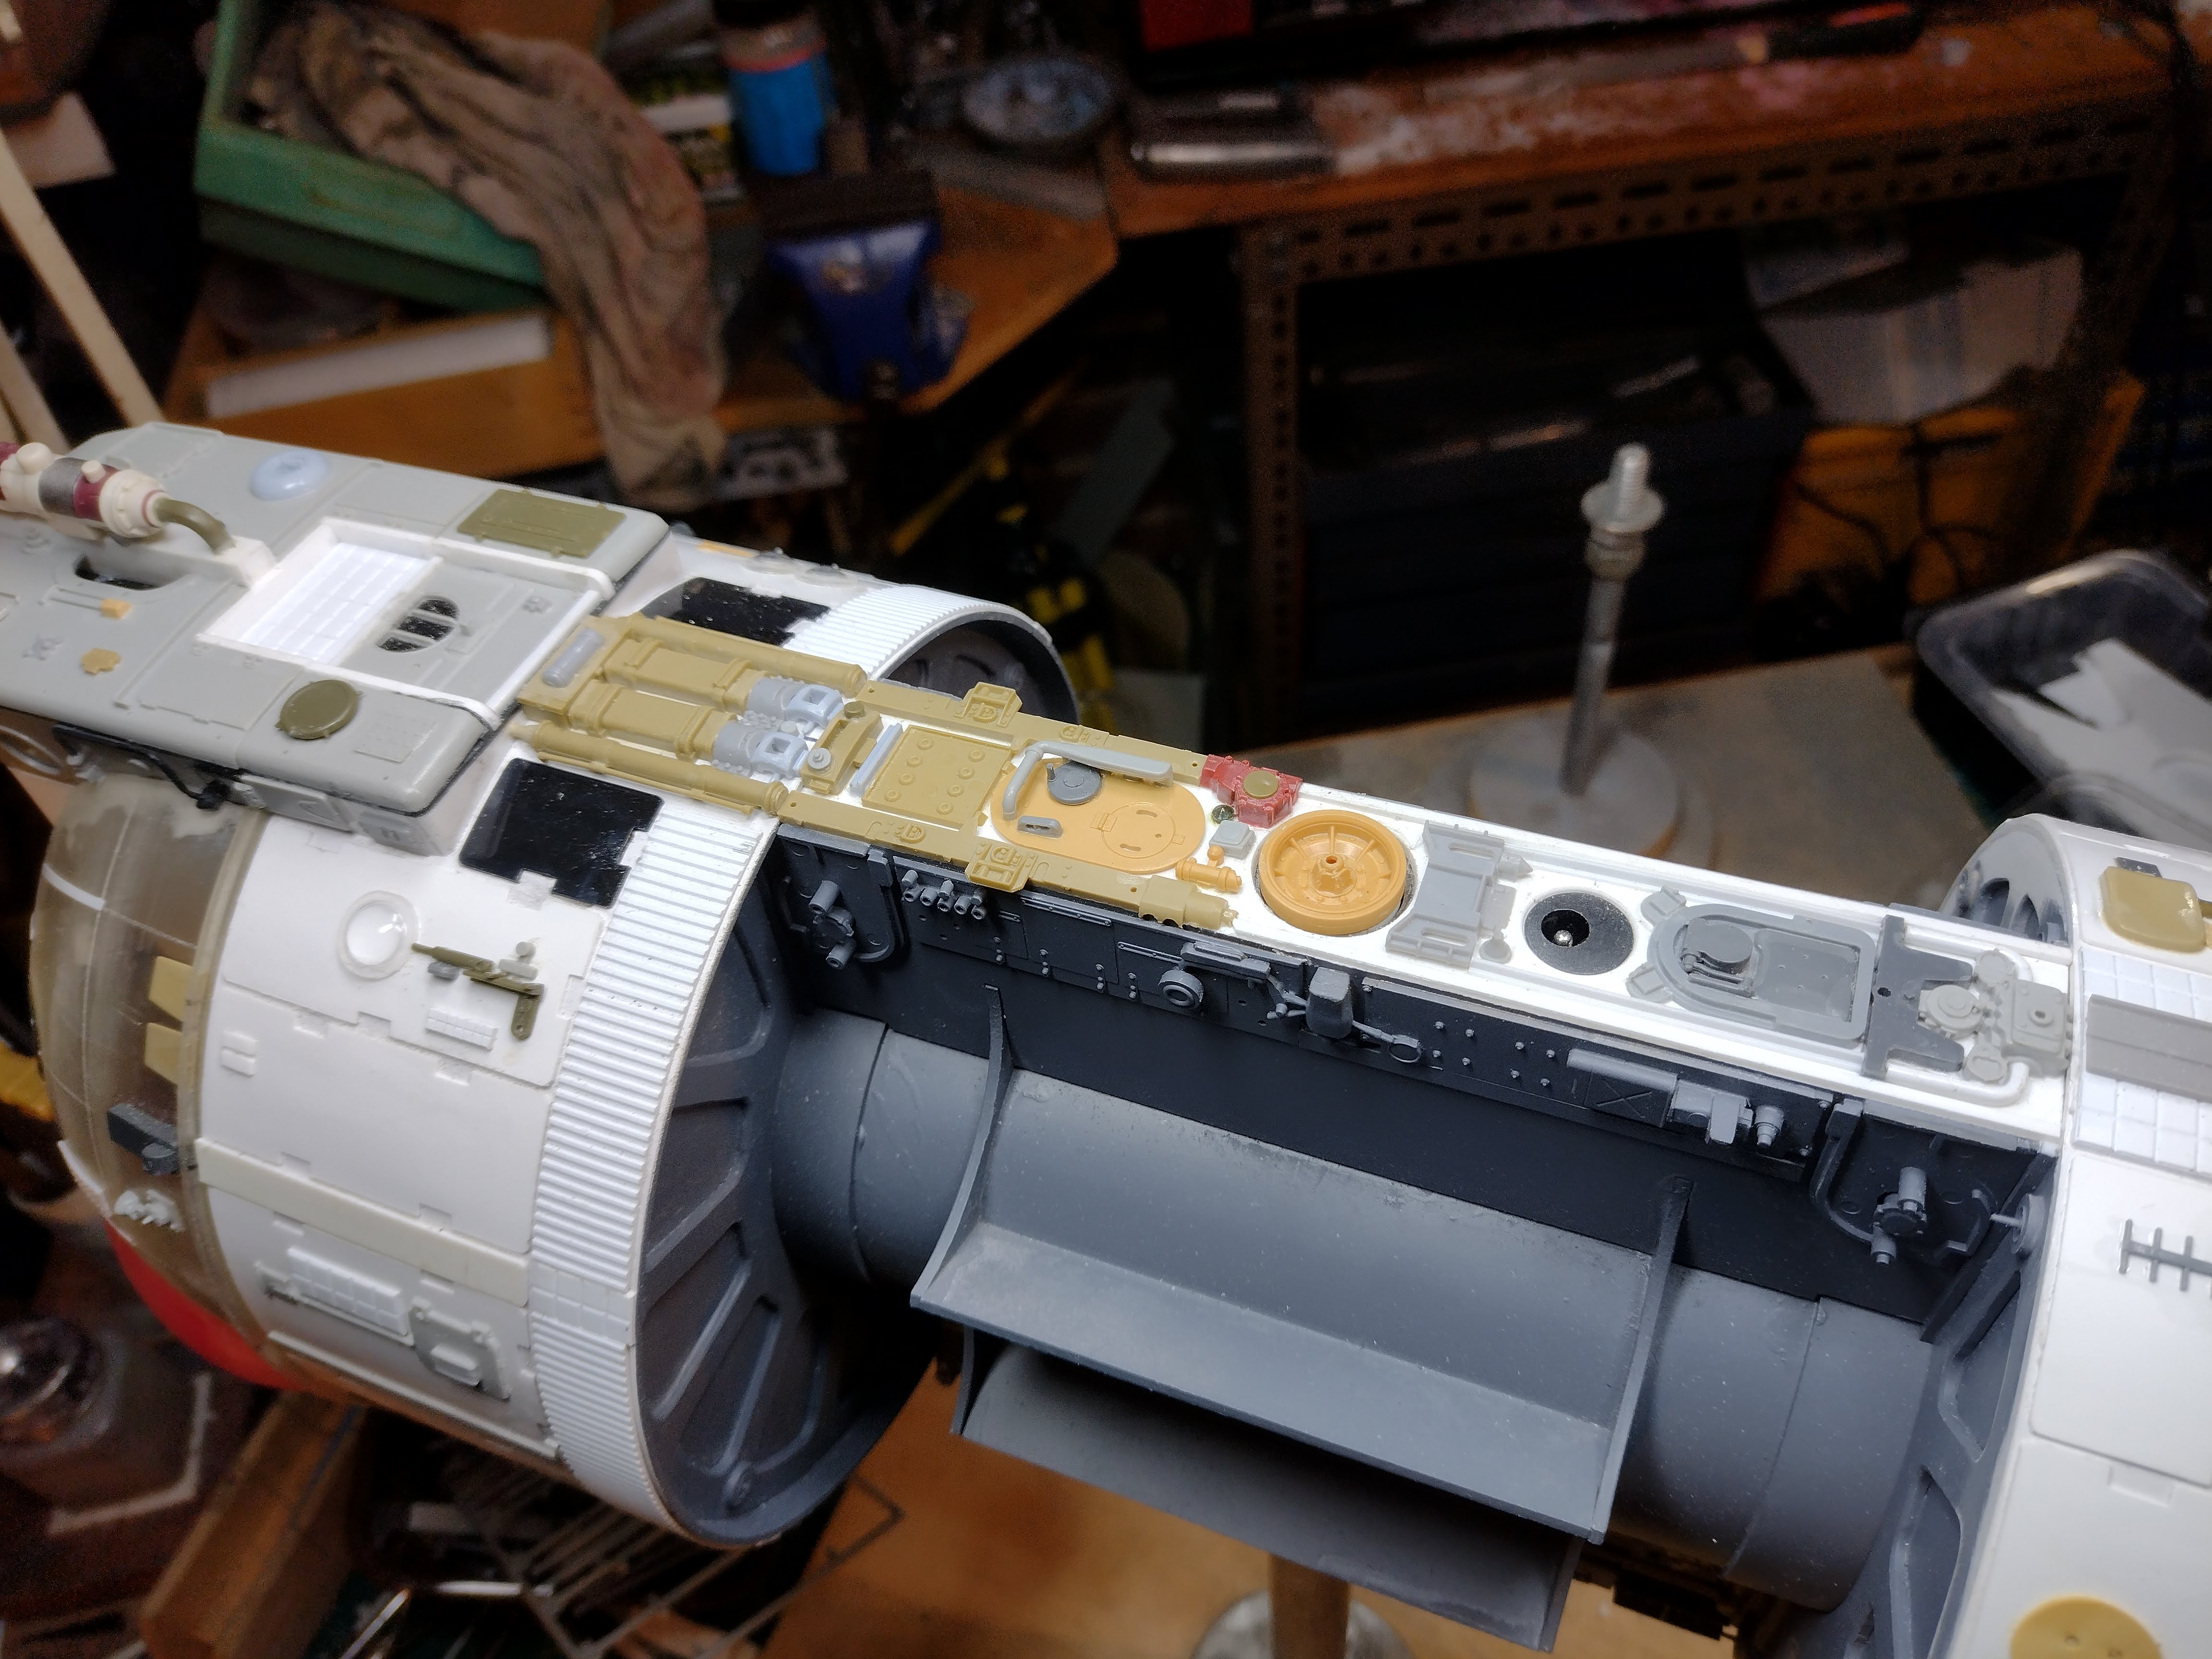
I also built the tank supports from 2mm styrene and started detailing the parts that would remain visible along the spine. This area also would receive some primer as the access will be restrictive once the tanks get glued in position.


The tanks were made from short lengths of PVC pipe and half sphere DIY christmas baubles from the craft shop.

The cockpit once again employed the cockpit section from a Hobby Boss 1/35 scale Land Wasser kit. This time I cut the window section from the roof and turned it upside down so the windows slope forwards. The roof was then widened and reattached along with some 2mm styrene walls and blended into the dome.


I scribed the engine bells for a bit of extra detail using an Olfa plastics cutter blade. I stacked up scraps of 9mm plywood to produce a series of scribe lines.


While the engine bells were out I detailed the rear section as access will be tight once they are permanently fixed in position. I gave it a coat of primer and then added some single solid core copper wire piping. The engine lighting switch gets lost in the details.


Once all the lighting was soldered in place the rear was skinned and surface detailing could begin.

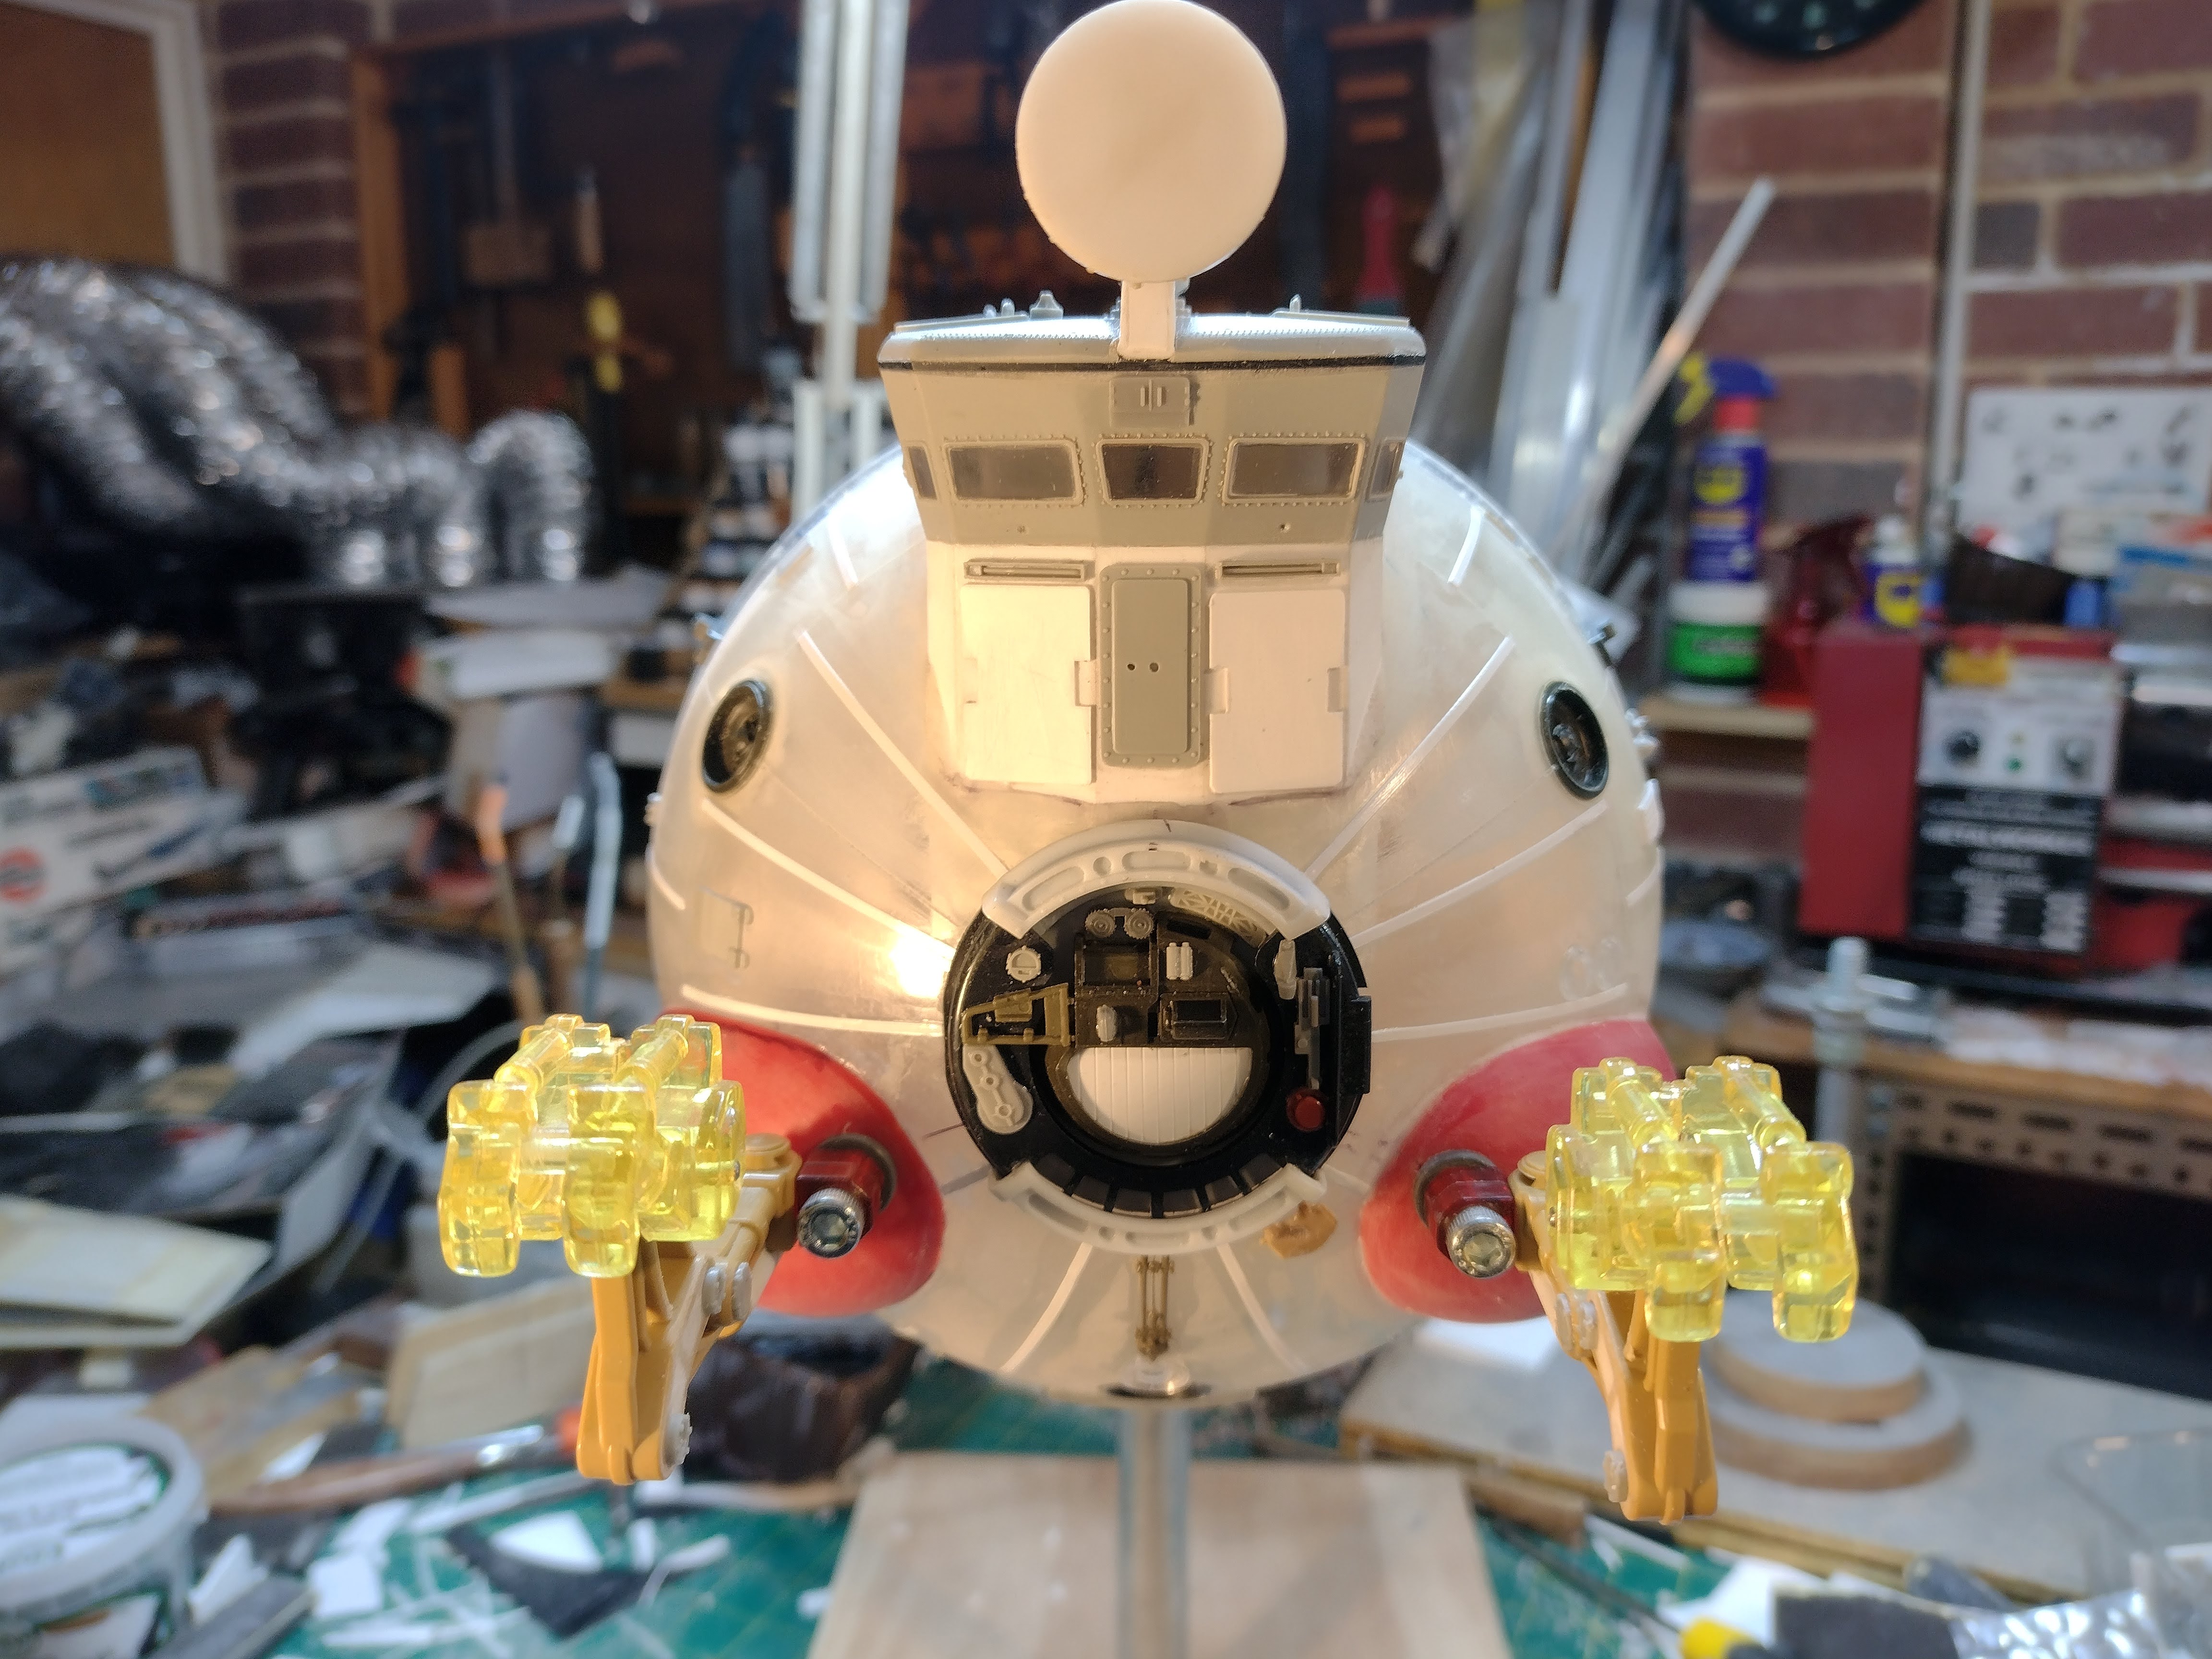
The front manipulator arms are built from parts of some broken transformer toys. the red blisters thay mount to were plastic kitchen measuring spoons carefully sanded with a Dremel to fit the dome shape. The arms are poseable and are attached with M5 cap screws to M5 threaded PVC inserts I made on the mini lathe. These inserts were then superglued to a hole in the blister.


The contraption on the top of the cockpit is supposed to be some kind of a electro-magnetic grapple that can be fired slowly at the thing to be salvaged presuming it is made from magnetic materials. I think it was a Star Wars B-wing transformer toy part.
Below you can see the engine lighting being tested.


A rudimenatry cockpit was assembled. It is quite difficult to see much through the windows so not much effort is warranted here. The scale is 1/48.


The rest of the detailing was completed.


Below you can see the top two tanks in position. The tanks have yet to receive some surface detailing.


The model hull is now ready for some primer. However it is winter here at the moment and the weather is not conducive to painting.
Thanks for looking.
More soon...


Love following along with your builds. You may not get a lot of comments, but rest assured that your posts are most appreciated.
ReplyDelete