I find I have to really be surprised by how a project is coming together for me to push through to completion. It has to start looking as good or preferably better than what I imagined when I started for me to ignore the many distractions along the way. As soon as a project doesn't quite measure up to the image I held in my mind's eye at the very start, my devotion starts to slip away. If I then find I don't really like what I have done I lose interest and the project sits abandoned.
In the case with this body it still has something I like about it and I realised that I had not followed my own thumbnail closely enough. Somewhere along the way I had lost what it was I liked about it in the first place. The main problem was the front and those side windows which originallywent all the way down. After I made the front window I filled in the lower part because it didn't fit with the narrower aspect of the front window. This is due to the fact I never roughed out the front in a sketch. When I look at the thumbnail now I can see that I meant the front window to be as expansive as the side windows. In fact I imagined it going up over the roof stopping inline with the angled back of the side window. Narrowing the front window had ruined the proportions. I also constructed a much larger bevel along the top edge than suggested by the thumbnail. It no longer had the character that appealed to me to start with.

Sometimes with the passage of time a project can be re-evaluated and a spark of an idea to rescue it from abandonment surfaces.
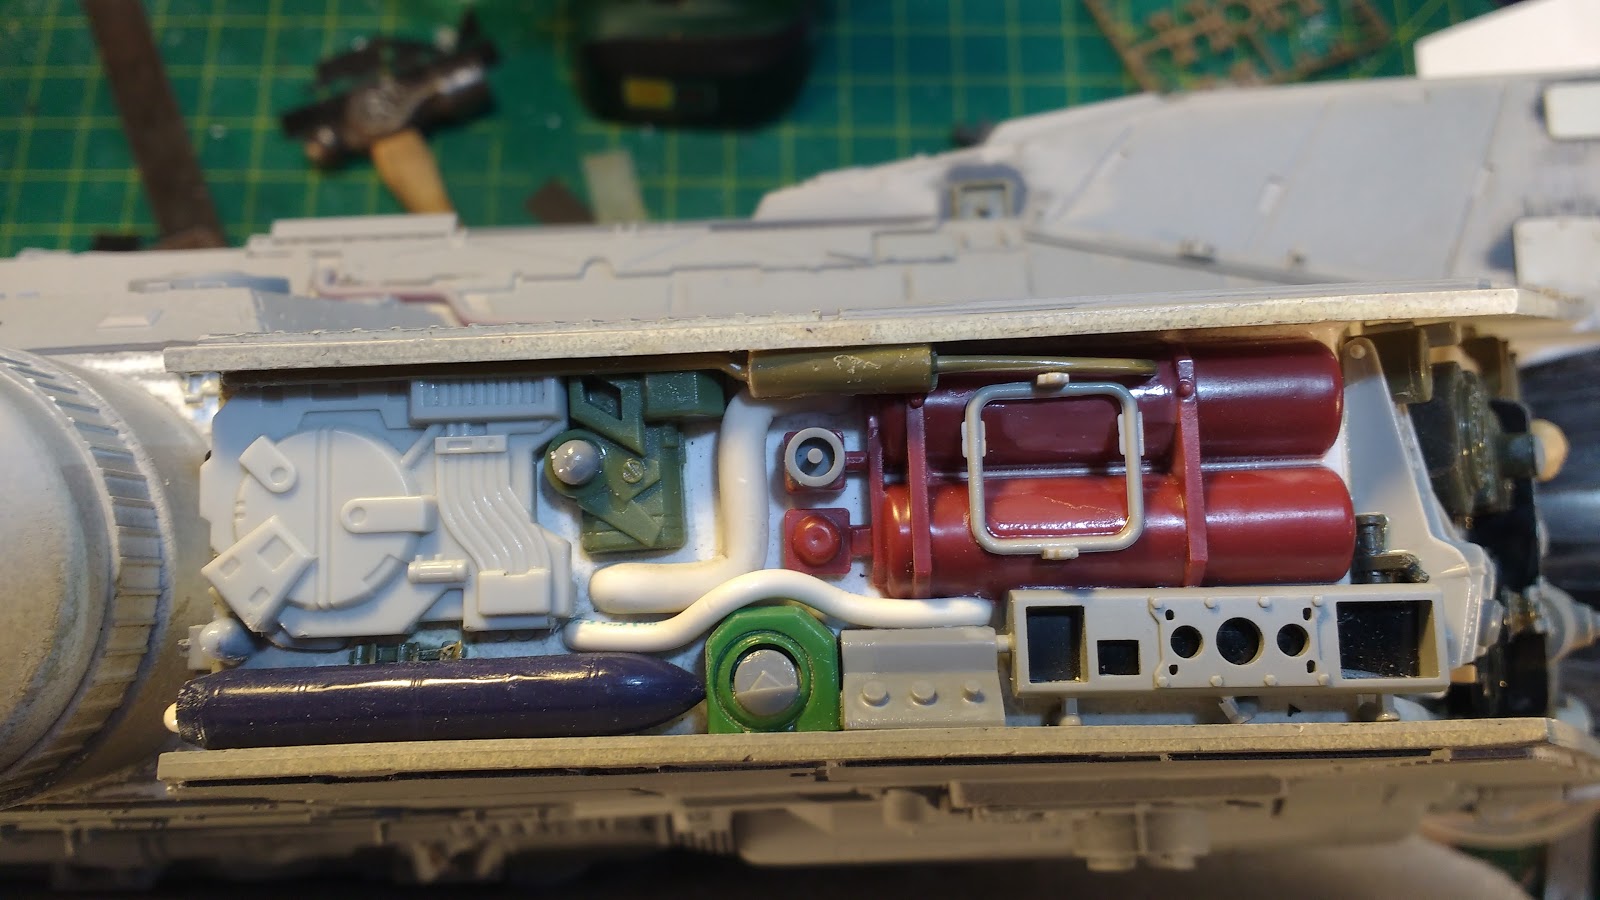
I have been looking at possibilities over a long period for the rejected body for the creeper 6X6 project which is just lying around.
The picture below shows it on that Creeper 6x6 chassis and I just didn't like the way it sat, for me the proportions were all wrong, the wheels were too small and the chassis too long.

I have tried it on a few different four wheeled chassis with various sized wheels and it just never seems to look right.
The the other day I got the idea that maybe it would sit better on an alternative to tyres.
A quick photoshop session then ensued to rough out the concept and see if it had legs, or more specifically tracks.

Now to my eye that's much more like it, I think it sits well on those tracks which are from a M113 APC. I also changed the nose slightly to hint at a larger area of glass to the front which is a big improvement. It was time to move to an experimental phase as there was a big technical question to be answered.
Can I find some tracks that would do the job. I considered various Heng Long Tank chassis and tracks at 1/16 scale but they are too small to look right. Can I get a larger scale set of tracks? I found the very thing on Ebay, metal 1/8th scale tracks with drive sprockets to fit... but they cost way more than I can afford.
The next obvious question is can I make my own tracks that will be strong and work?
It was time to try an experiment. The first step was look at various tank track links and determine the simplest solution to engineer with my meager resources. Most of them are very complicated castings but I remembered the Tamiya Leopard metal tracks and how they easily go together from simple parts and decided to upscale that concept.
Next step was to rough something out in CAD which I did and decided it was too big so I drew up a smaller version you can see below.

The material I chose was grey PVC sheet. It is a material I am familiar with and more importantly I had some in 6mm which actually measured out to 5.6mm thick which is better for me. Sliced up some strips on the circular saw and chopped them off on a mini docking saw. Drilled holes and inserted brass brazing rod pins.

The pins are 2.4mm in diameter so the track pads were drilled 2.5mm for clearance. The cleats on the end of the pins which tie them together were drilled 2.2mm so the pins are a press fit and hopefully wont come off, a drop of thin superglue should do the trick if they look like loosening up.

The test showed that it would be possible to make them provided that the drilling was precisely spaced and square. To achieve this a jig would be required to make the job easily repeatable and accurate. It would be a tedious job as I estimate I would need around 124 links to make two tracks. There are 5 parts and two pins per link making 868 parts with 1240 holes needing to be drilled.
I was also thinking of adding a rubberpad to each of the track pads, superglue would do the trick here as it works very well on both rubber and PVC.
While I think it wouldn't be too difficult to make the idlers and the road wheels and even the suspension arms, there is the question of making the drive sprockets which would be another story in itself.
Will this idea proceed? There is a chance it will as I am enthused by the concept but I have a few other projects requiring attention at the moment so we will see.
Thanks for looking.
More soon...