I have stored that version away for some future project and for a front end re-build and substututed a new design, making it the third and definitely final attempt at a body that suits this chassis. In fact it is similar in proportion to the first version but in my mind much better realised.
Here is the version 2 thumbnail for reference;
And here is the version 3 thumbnail;
I further reduced the height of the body when doing a rough CG model.
I then cut up the CG model into thin strips at the points I wanted to make bulkheads and deleted the rest of the geometry. A screen captured front view is then used as a tracing guide for a 2d Cad drawing that is then printed out and stuck on 6mm foamed PVC sheet and cut out making frames and bulkheads for the real model.
Here are some pics of the frame construction which is then skinned in styrene sheet.
You can see I have attempted to make the frame as lightweight as possible, it will still turn out pretty heavy once all the styrene skinning and the detail parts go on. It is however a pretty strong structure.
Here is the old version 2 body on the chassis, showing to me at least, it just does not seem to fit followed by the new improved version 3 body on the chassis.
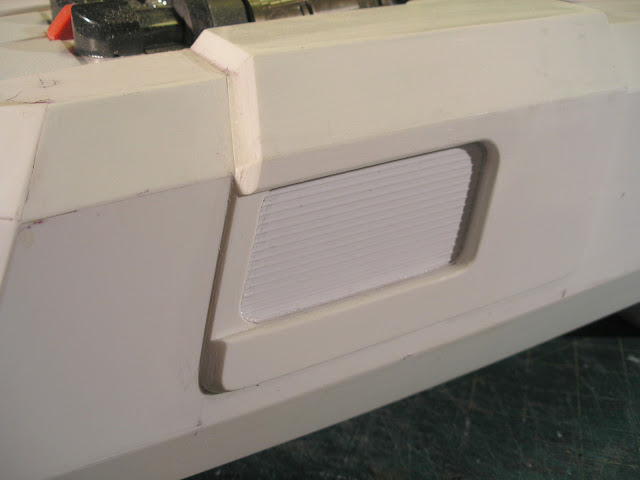
And here's the detailing so far;
Look carefully below and you may spot some keys from an old computer keyboard and some heat bent bits of green plastic knitting needles.
I have also partly done the cockpit and re-assigned the 1/16 scale Bruder figures from the Moon Bus project. The seat padding is made from bits of 3mm Foamed PVC sheet and the headrests from 6mm. There is also a magnetic cupboard catch in there above the crew door holding a roof access panel down.
I am in the process of making a wooden form to heat shape some perspex sheet to make the large area of curved front and side windows that will go in the gaping hole that's there at the moment.
I have also got a back end of a 1/35 scale tank kit which will become a centre control console which will house some LED lighting.
Hopefully more soon...


Just stumbled across your fine blog and couldn't leave without posting a comment as to the mighty fine work you're involved in here. I can say from my own personal experience that there's no better feeling than fully embracing the physical world after spending an extended stint slumped over a computer screen. Never mind that it's a helluva lot easier on the eyes. Best of luck with your new occupation and future FABrications!
ReplyDeleteThanks for taking the trouble to comment Ph4nt0mPl4n3t, I checked out your vimeo page and love all your retro style shorts.
ReplyDelete