
I had a pair of the Jumbo Swamp Dawgs but a pair is pretty useless, so I have had a permanent search on ebay for some more. Finally a set of four previously mounted but apparently "unused" turned up and I was the only bidder. With the Aussie dollar being so crap these days and the massively expensive postage costs on top they cost an arm and a leg to get hold of. Eventually they arrived and I was pretty disappointed that they didn't come with any foams. The seller listed them as "ready to mount to the rim of your choice" no mention of a lack of foams. When I queried this he claimed he used to use them for rock crawling without foams ( but hang on aren't these unused). Replacement foams are non-existant and I need them to support the weight of a hefty Sci Fi vehicle so the only option was to make some foams to fit.


The first trick is to cut the hole in the donut shape. To do this you need a drill press and a hole saw with the center drill bit removed from the arbor. The problem is that the hole saw is much shallower than the depth I need to cut so I slowly lower it into the foam, stop the drill press, peel out the foam and then saw a bit more out etc until the full depth is achieved. The hole saw goes through foam very easily and makes a relatively neat cut. The drill has to be removed as it will catch on the foam and spin it out of your hands.

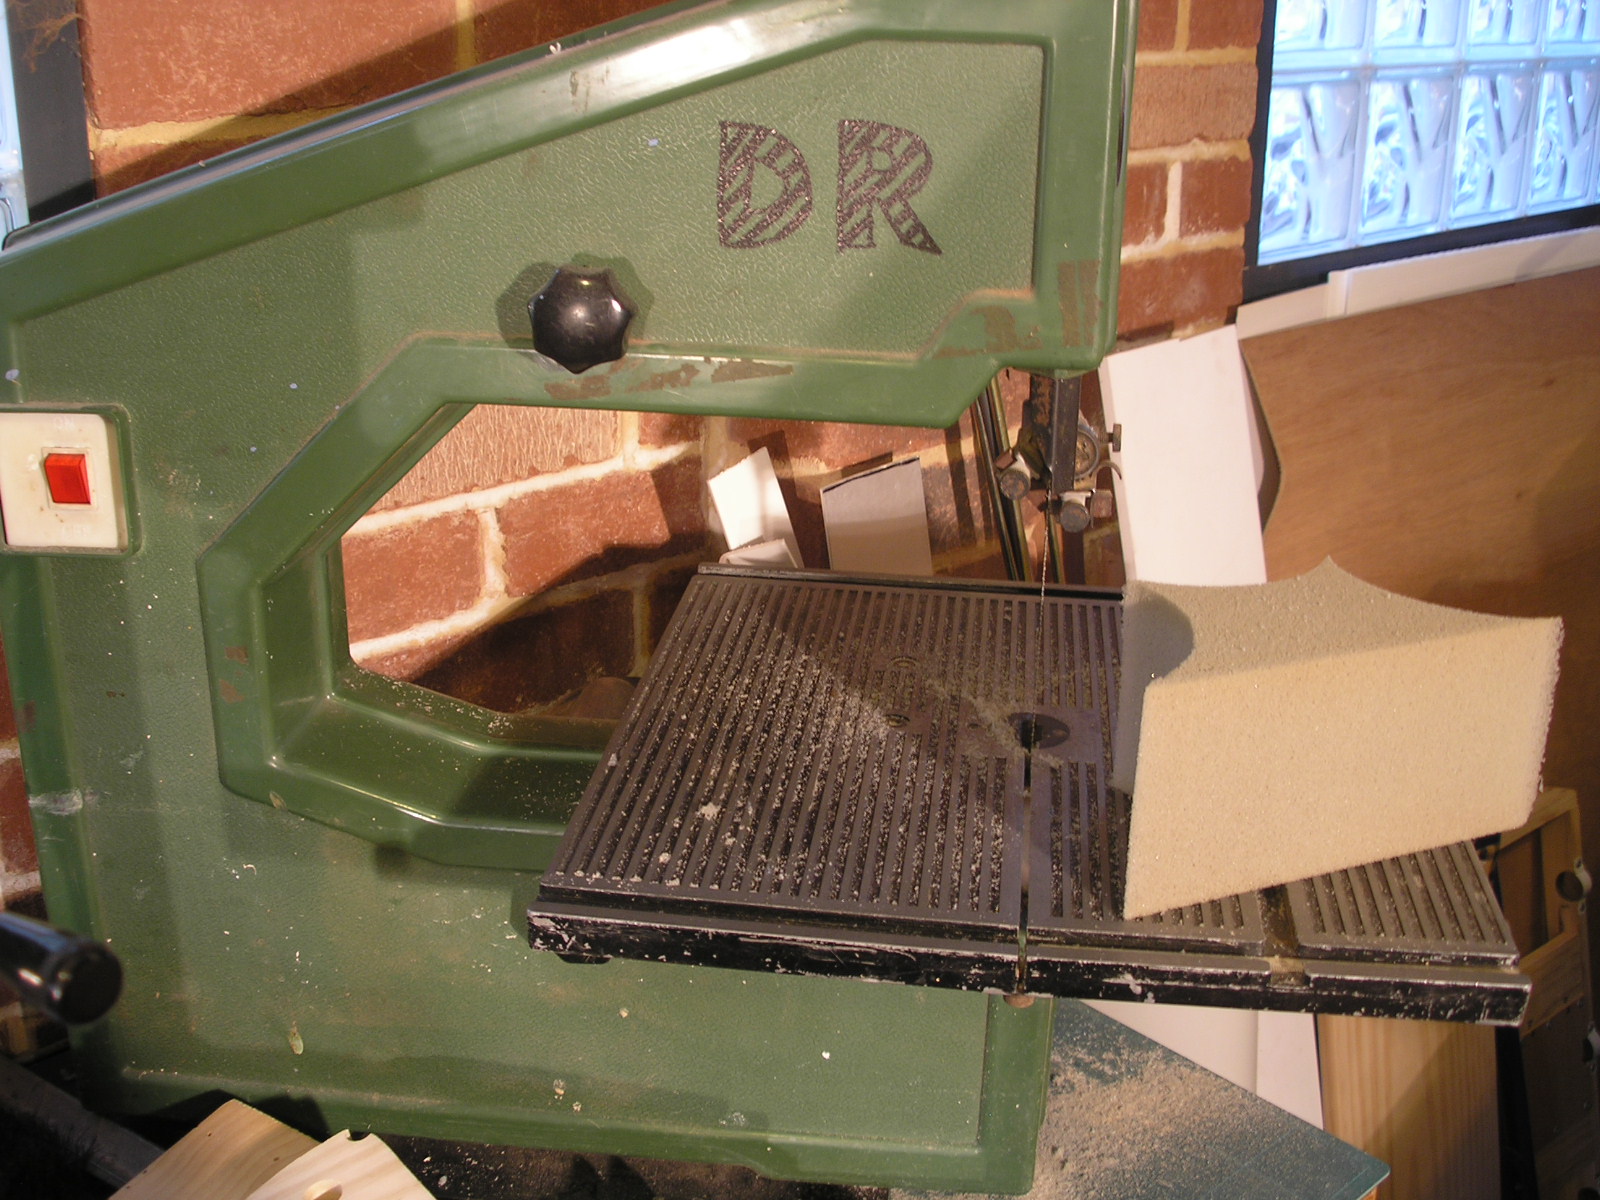
The outside diameter is cut on the bandsaw. Again foam is easily cut on a bandsaw, the denser the foam the better.
When measuring up for the template allow a few millimeters extra on the diameter and a few less on the inside diameter so it grips onto your wheel. As it happens for these 3.2 inch Imex jumbo tyres the hole saw diameter I used for the ID was 86mm or for those still in the living in the dark ages 3 and 3/8 inches.
The other issue with the ebay tyres was the left over chrome plating and super glue still stuck to the rims. I didn't use anything fancy here, no acetone or oven heating, I just used some coarse sandpaper and sanded it off. Worked fine, removed the offending marks of the previous owner easily without any effect to the rubber.


This method can be used to make any sized foams you like and with the right holesaws even dual density foams if you want to get tricky.
Although you cant find the Imex 3.2" rims any more you can still get OFNA monster Pirate rims which fit and are even available in a 17mm hex which is what I will be getting for these tyres for a 6X6 project some time in the future.
More soon...


There's far too many crooks on eBay isn't there!
ReplyDeleteJust thinking out loud here (as I've never actually done it myself), but could you buy the foam chemical in it's raw form & then just pour it into the tyres to become the inserts?
Cheers.
It would just foam up everywhere and spill over the side of the tyres and stick hard, impossible to control and difficult to maintain a consistent density in this situation.
ReplyDelete