
It is no surprise to discover that with a large number of unfinished projects... I started a new one.
I always liked the Livery Ship from the original series of Battlestar Galactica. The myth was always that the three disc like structures on the top were made from motion picture film cans. The reality is that they were made from wood and perspex. I thought it would be fun to make a spaceship using actual film cans and I managed to get hold of a couple of large 16mm plastic cans for free.
Pictures below show the original studio miniature.


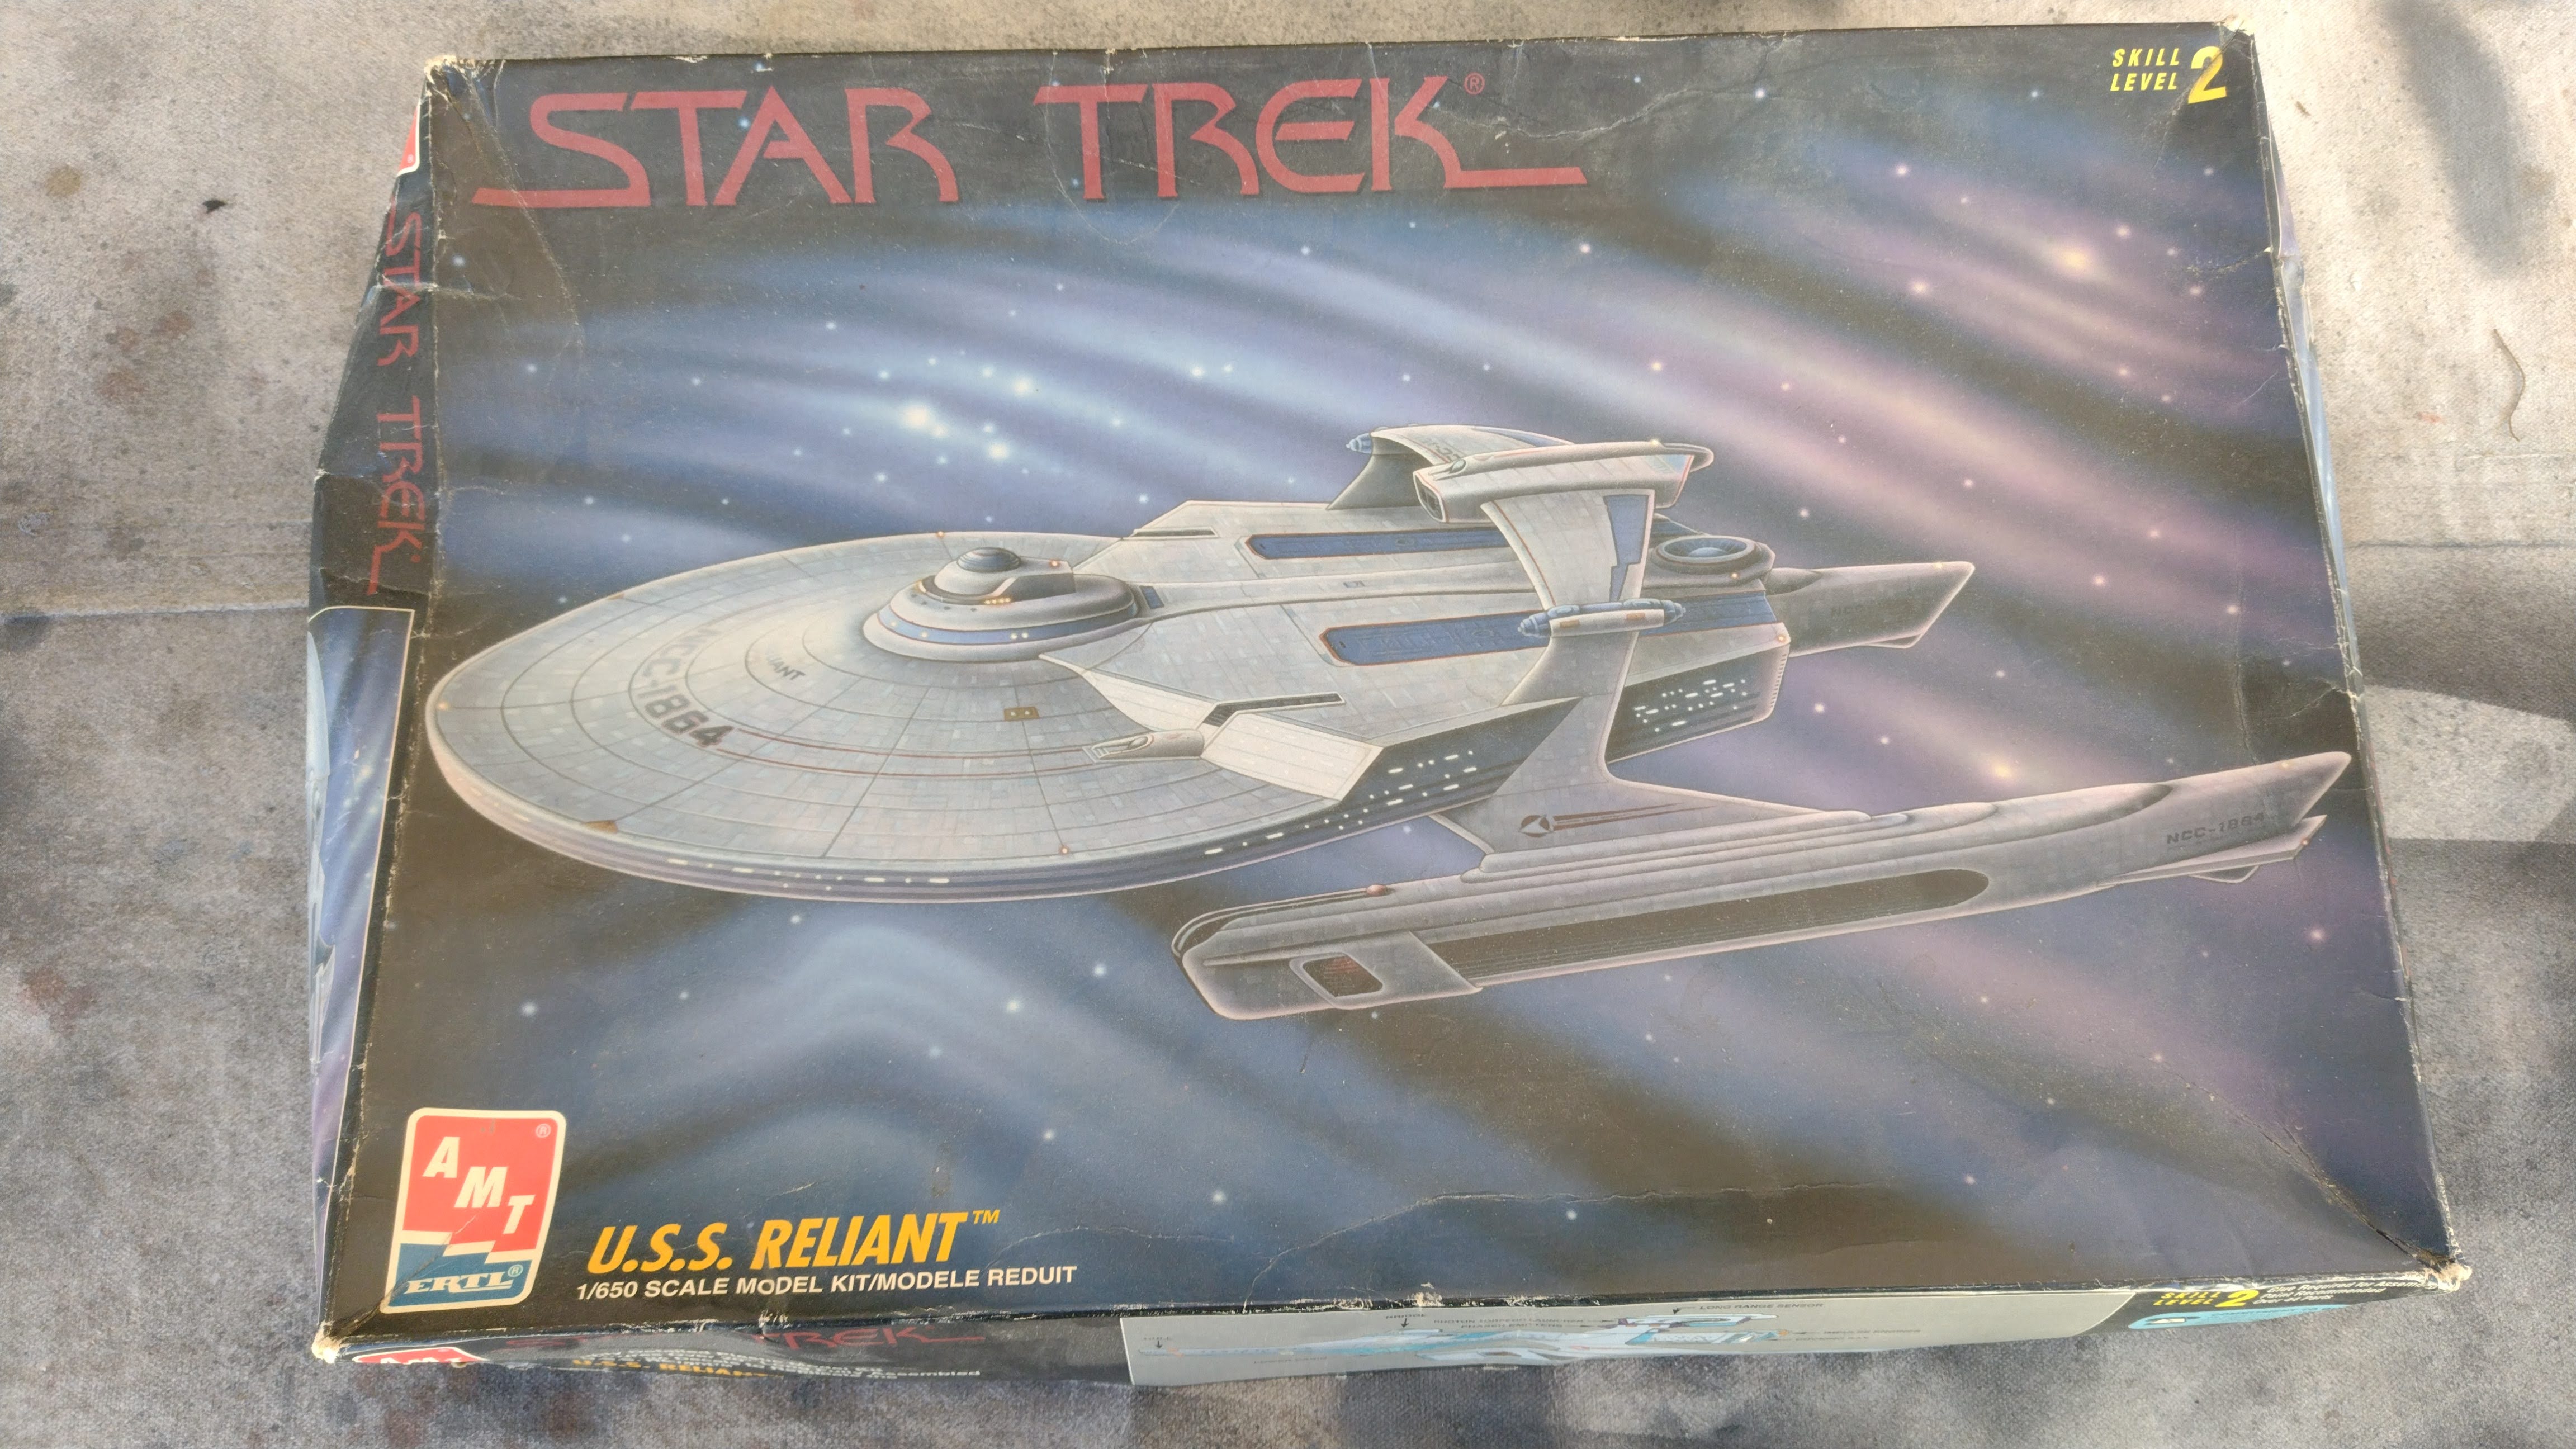
As usual for me, I am not making a replica of the BSG Liberty ship, I am just using it as inspiration, a starting point for my own freely interpreted design using components I have on hand. Originally I was going to make do with the two disc shapes for my model as that's all the cans I could get hold of but at a model kit swap and sell I found an old AMT Reliant model kit very cheap and I instantly thought that this could provide the third disc like shape and a bridge section for the front of my film can spaceship model.
The picture below shows an early arrangement of parts I was considering to build the model. The two film cans are happily made from styrene The Nerf Nitron disc gun (also made from styrene) I found in a charity shop minus the magazine for 2 dollars. I thought it would make a suitable fuselage. the other two discs at the bottom are a couple of wheels made of ABS from an old vacuum cleaner. I planned to add them to the underneath of the film cans. The other two parts were possibilities for a command section and engine pod. These were subsequently rejected with the modified Reliant kit a replacement for the bridge and a larger plastic (acrylic) jug for the engine section.


The Nerf gun has been butchered to remove the handles and trigger section. All the resulting holes will be filled with styrene panels.
The Reliant has had the rear top section cut from the saucer section and lifted with the whole thing increased in depth overall. It is now reversed and minus the engines. The docking bays have become the windows for the bridge. It weirdly looks a bit Millenium Falcon-ish which I wasn't expecting.


12 volt lighting has been installed and a bridge interior back wall detailed and painted along with some 1/72 figures from a Hasegawa Morser Karl KIT.


The back wall has been painted and weathered, installed into the bridge and sealed up with no further access.


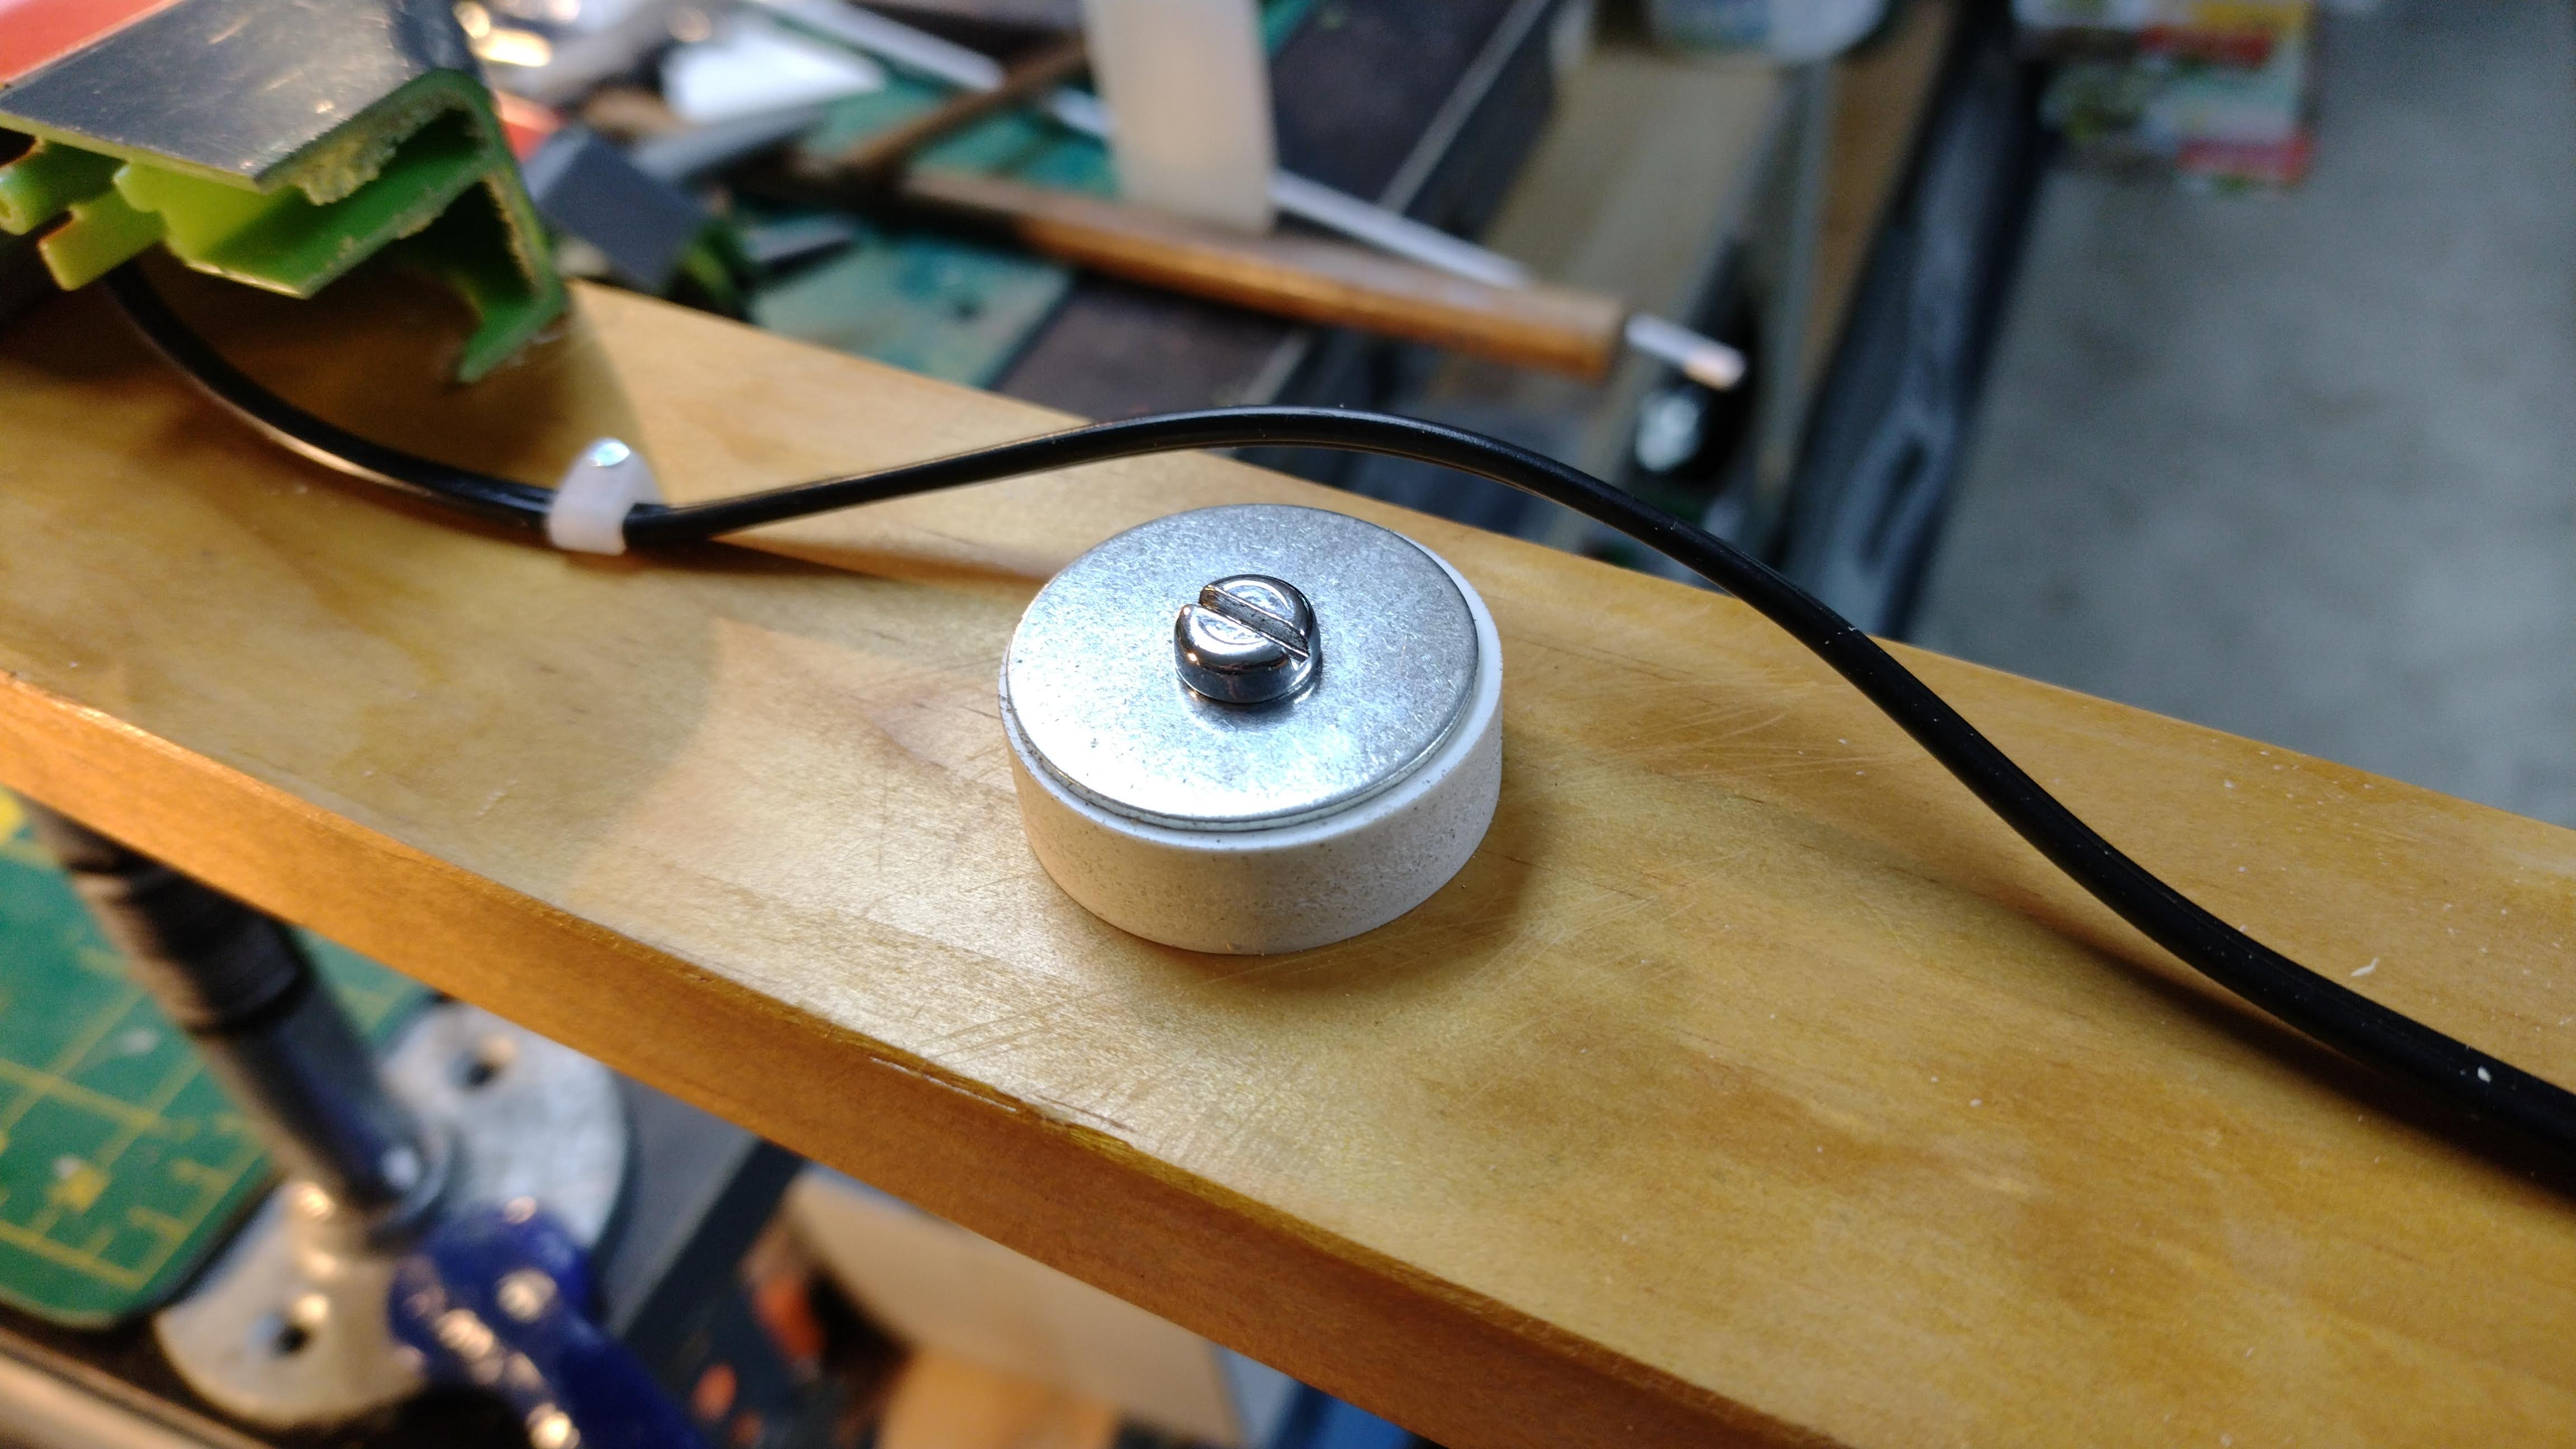
The main hull uses a length of 19mm (3/4 inch) pine to which 15mm water pipe flanges have been bolted top and bottom for support mounts. Sections have been cut away to fit the two halves of the Nerf Nitron. DC power connectors have also been added for connecting up the lighting and a switch to separately turn on and off the 12 volt LED downlights I am using as engine lights.


The Nerf Nitron has a convenient battery door which I have modified to allow some access to the wiring and switch.
I made up some 10mm foamed PVC discs which are screwed to the pine spine with a large mudguard washer. PVC pipe reducers are then push fitted over these to provide the mounting points for the film cans and the reliant bridge which all have mating holes in the under surfaces.


To allow the wiring for the bridge to pass through the front disc had a slot cut into it and a slot in the bottom of the PVC reducer.


The engine section was bolted to the end of the Pine with a couple of aluminium brackets. The brackets are screwed to a piece of 10mm plywood superglued into the bottom of the jug. The jug bottom was slightly domed so it was cut away where the brackets fit, the plywood providing a flat surface to screw to securely.


Foamed PVC sheet 10mm thick was employed as a rear engine bulkhead. It was covered with a layer of 0.5mm styrene to allow for easy gluing of detail parts later using the normal solvent.
The engine nozzles are made from drilled out toy truck wheels surrounded by a pop up sprinkler part with the interior thread machined off in the mini lathe.

Six mm foamed PVC was employed to support the LED downlights with the whole structure a push fit into the engine jug to allow for removal and further detailing.


The engine lights were tested.


The BSG Livery ship has a cross beam with twin landing pads at the front. I decided to do a similar thing but at the rear. I used a smaller width of pine as a cross beam screwed to the main spine. The landing pad pods are made from the surrounds of the battery powered push-lights I usually use the inner domes for dish antennas and tank ends. The clear dome is another mystery part from my stash of shapes. The yellow parts are leftover parts cut from the wheels of a Wall_E truck toy.


I decided to attempt to make sprung pads that would compress on landing. Ive had these toy plastic shock absorbers for many decades and finally found a use for them. They are push fitted onto short lengths of 7/16 inch brass tube which is glued into a hole in a square of 10mm foamed PVC. At this stage the model sits quite well on these springs which only compress about half way. However as I add more detailing the model is going to get heavier and will probably bottom out once the model it is finished.
The front landing pad is conveniently located into the hole left by the missing Nerf disc magazine. It has a red part cut down from a babies toy that is just the right size to fit.


The Nerf gun is only long enough to reach the rear landing pad cross beam so other parts from the stash have to make up the shortfall. One part I am using is the winch housing from a crane toy. One of the issues which is always a bit of a pain when using second hand toy parts is removing the stickers. They are usually pretty old and the gum has crystalised making removal quite difficult. I scrape away as much of the paper as possible with the edge of my 150mm (6 inch) steel rule and then clean of the residue with wax and grease remover on a rag which usually does a pretty decent job.

This particular part also needed a slight cut out where it overlaps the rear pad cross beam. To do this sort of thing accurately I use a small dremel cutting disk in the drill press with the table adjusted to the correct height.

To transition to the engine jug on the underside of the ship the orange crane housing is followed by a chopped PVC pipe 45 degree bend and then a green part from a reticulation controller that once funneled all the solenoid wires into a conduit.


On the upper surface the crane part is followed by another Nerf part from a Nerf Vulcan.

Returning to the modified Reliant bridge section I completed all the detailing.


To check the result I masked up the windows and hit it with grey primer.


Thanks for looking.
More soon...


No comments:
Post a Comment