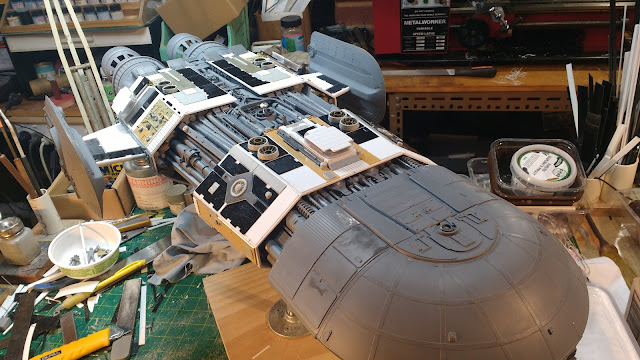
First job was to come up with a paint scheme.
I thought I might make it predominantly green with red markings as green is a colour I have not used on any of my models so far. I fiddled about in photoshop with one of the primer grey pictures until I had a result I thought would work. I wasn't after anything too complicated on this model as it is a very utilitarian ship.
I decided to use some old Humbrol enamel paint I have had for some time and mixed up a green colour with a bit of yellow in it. The old enamel was a bit problematic as it was very difficult to remove all the small lumps for spraying and my airbrush kept clogging up. In the end I had to strain it through a folded up disposable respirator filter to get a lump free mix. The red was also a Humbrol enamel and had the same problem. The red markings were masked up and a few spots of latex masking medium dabbed about to get the chipped paint edge effect when the latex is rubbed off.
I then used my old poo juice wash mix of Tamiya flat black heavily diluted with methylated spirits (ethanol) and using a fine brush flowed it around and in all the detail wiping off again with a metho soaked rag. You have to be careful not to wipe off all the enamel as it does come off with the ethanol rag specially if you rub too hard. It is better to wait a week for the enamel to fully dry before doing this but I am impatient and wanted to get this project finished. I also don't mind the minor damage it does to the paint finish as I think it looks more aged and weathered that way.
Random panels were picked out with different shades of water based acrylics to get some variety in the green hue. These acrylics were diluted with some acrylic medium to get more of a transparent glaze to subtly modulate the colour without covering up the underlying wash too much.
I followed this up with drybrushing with a very pale green mix of artists acrylic paint on the green bits and over the grey detail sections I used my usual white students acrylic.
I then laboriously hand painted around the edge of all the panels with a lighter shade of the green and red for a chipped paint effect. I think I probably should have used a shade closer to the underlying colour as it is a bit too obvious up close but seems to look OK at a moderate distance.
The picture above shows the underneath of the model with the landing gear in the extended position. Below you can see the model sitting on its landing gear.
It is good to get another project finished, that makes two for 2021 so far which is about my average. I would like to get another one done before the year is up, we'll see how that goes.
Thanks for looking.
More soon...


