
In order to conveniently work on the side surfaces I built a cradle to support the model at an appropriate angle from some scrap plywood and pine.
The cradle allowed me to arrange the major detail parts without them sliding about and falling off.
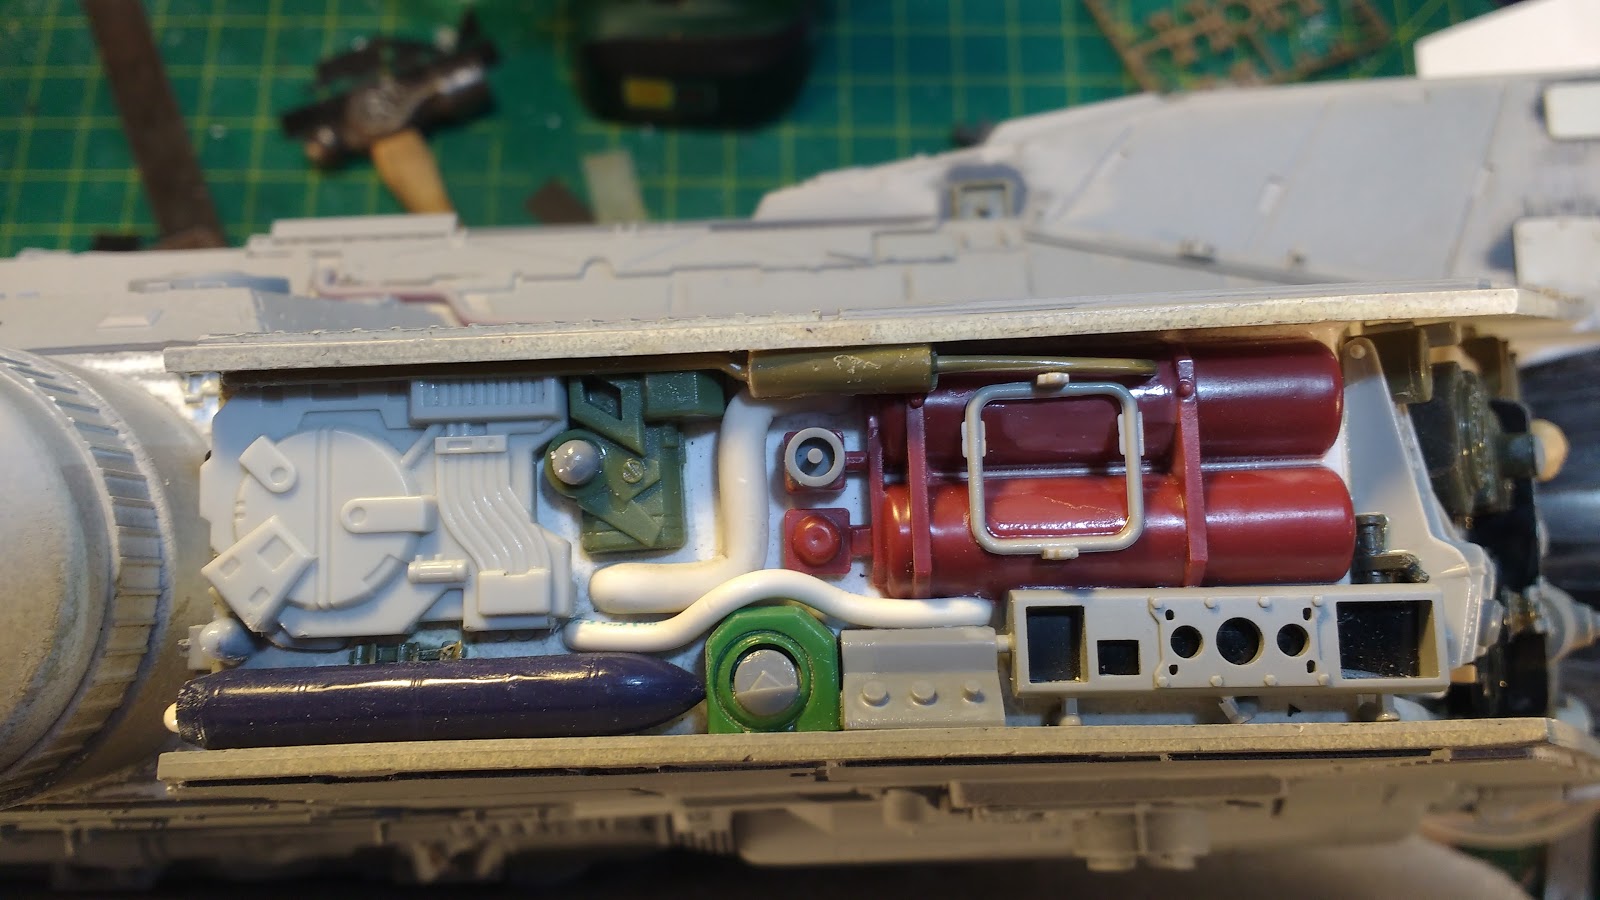
Once the layout of the parts formed a pleasing composition I was then able to commit to gluing them in place.
The angled front and rear side sections on the main hull are for the most part symmetrical whereas the two sides are different from each other. You can only make symmetrical sides if you have enough parts that have a mirror image twin. I find mirrored parts are usually less common in my stash so where possible I will make non symetrical detail and in the case of the left and right sides where they can never be seen at the same time it really doesn't matter and its more fun to do.
Most of the pipework was my usual single core Pvc sheathed electrical wire with the largest diameter piping using Hobby King solid ABS rod heat bent to shape with a hot air gun. A lot of the big detail chunks were from the hoard of broken Transformer toys I was given. The rest of the detail is the usual mix of kit parts, various thicknesses of styrene sheet and evergreen strips and textured sheet.


There is just the hammer head section to go along with a small amount to add to the engines and that should bring the construction phase to an end. I wont know for sure until the primer goes on and reveals if any further work is required.
Thanks for looking.
More soon...


No comments:
Post a Comment