About this Blog

This is about the combination of two interests, Radio Control vehicles and Science Fiction models. This blog documents my science fiction spaceship and radio controlled vehicle projects.

Thursday, 13 July 2017

Creeper 6x6 part4

Guess what?... I decided, in the end,  that the body I was making for this project didn't really look right on this chassis, it was too tall and proportionally too short. I also found that I had not captured the essence of the thumbnail in styrene, particularly with respect to the  cabin area which suggests an expansive area of glass. The one I ended up making has a small constricted windscreen which was not  what I had originally intended.
I have stored that version away for some future project and for a front end re-build and substututed a new design, making it the third and definitely final attempt at a body that suits this chassis. In fact it is similar in proportion to the first version but in my mind much better realised.

Here is the version 2 thumbnail for reference;


 And here is the version 3 thumbnail;

I further reduced the height of the body when doing a rough CG model.


I then cut up the CG model into thin strips at the points I wanted to make bulkheads and deleted the rest of the geometry. A screen captured front view is then used as a tracing guide for a 2d Cad drawing that is then printed out and stuck on 6mm foamed PVC sheet and cut out making frames and bulkheads for the real model.


Here are some pics of the frame construction which is then skinned in styrene sheet.


You can see I have attempted to make the frame as lightweight as possible, it will still turn out pretty heavy once all the styrene skinning and the detail parts go on. It is however a pretty strong structure.

Here is the old version 2 body on the chassis, showing to me at least, it just does not seem to fit followed by the new improved version 3 body on the chassis.


And here's the detailing so far;


Look carefully below and you may spot some keys from an old computer keyboard and some heat bent bits of green plastic knitting needles.


 I have also partly done the cockpit and re-assigned the 1/16 scale Bruder figures from the Moon Bus project. The seat padding is made from bits of 3mm Foamed PVC sheet and the headrests from 6mm. There is also a magnetic cupboard catch in there above the crew door holding a roof access panel down.


 I am in the process of making a wooden form to heat shape some perspex sheet to make the large area of curved front and side windows that will go in the gaping hole that's there at the moment.
I have also got a back end of a 1/35 scale tank kit which will become a centre control console which will house some LED lighting.

Hopefully more soon...

Container Ship part 2

I am once again astounded at how long it has been since my last post, nearly 10 months.
I started a new job in at the end of January this year after 6 months unemployment.
I am a now a mature age apprentice fitter/ machinist, operating and programming a CNC lathe making parts for industry. It is in an entirely new field for me and has taken all my energy and brain power learning all the new stuff.

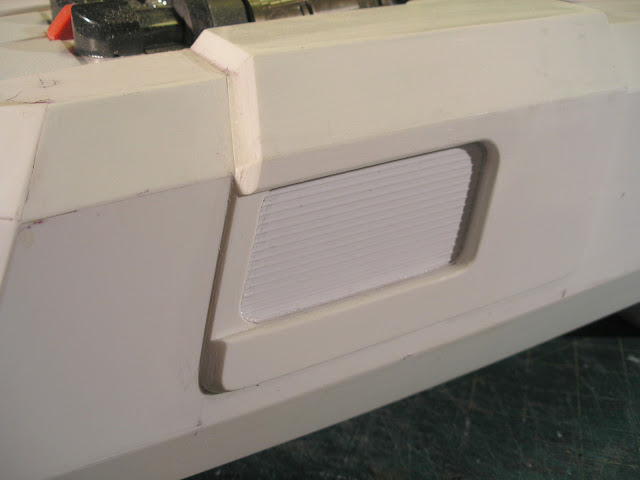
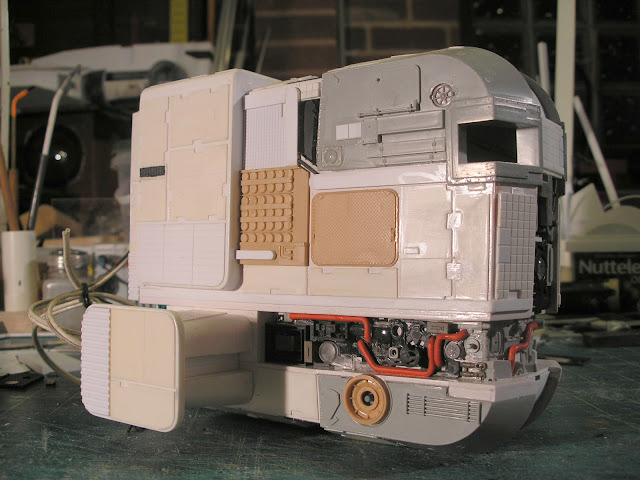
I have still managed to squeeze a bit  of model making in and have done some detailing work on the front and rear of the Container spaceship project. The cockpit front has been cut horizontally and increased in height, leaving a detail channel and making the proportions just a little better.


The red pipes are some copper single core electrical wire and there is a number of bits from disposable cameras in the channel.


Here's the work on the rear engine pod.


I also was looking around for some container like shapes for the middle section and happened across these Index card holders which were on clearance at Officeworks for $3.00 each. I got 5 and they are just the right shape for hanging under the eventual truss work. I guess nobody uses index cards any more with their function taken up by computer software, hence they were getting rid of the remaining stock cheap.


I am still looking around for some way to make the truss. I figure it will probably be brass silver soldered together. I will have to make a jig to align all the pieces and find a cheap supply of brass tube the appropriate diameter.

More soon...

Most Popular Posts in the Last 7 Days