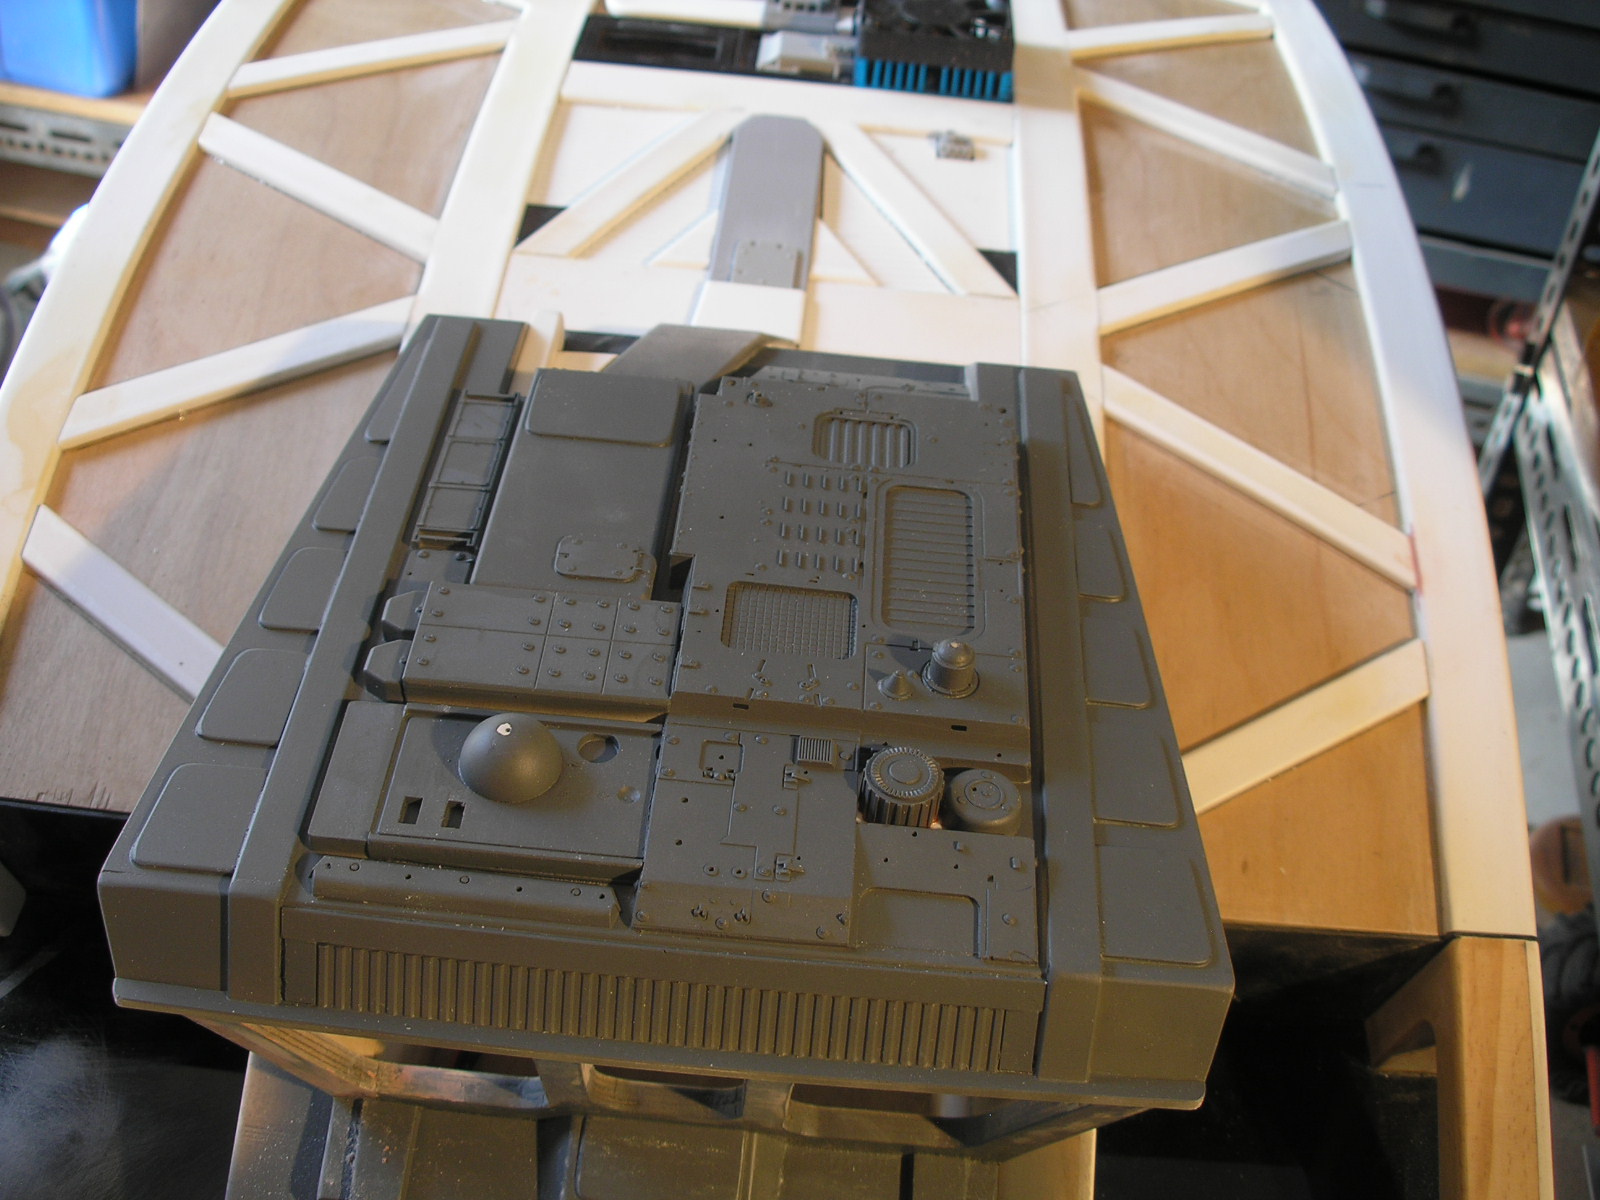
I have now done some of the detailing work on the back and built and detailed the roof of the cab.
It doesn't look like much until you hit it with a can of grey car primer. I intended to show the cab roof before and after the primer coat, but unfortunately got carried away and sprayed it before taking the photos. I always get excited when detailing, its the bit I enjoy the most. The tan coloured parts are from a 1/72 matchbox German tank kit, the dark grey from the ubiquitous 1/72 Hasegawa Leopold kit and the rest from a new purchase, a Trumpeter 1/35 Stryker kit., plus a bit of Evergreen, sheet styrene, bits of PVC and more pieces of 27mhz radio Control unit.
The photo below shows the stsrt of the upper hull detailing. The black ribbed panels are the sides from an old 27mhz radio control unit. You can also see an old computer CPU fan which will become some sort of airconditioning unit. It still works and I may hook it up to a power source. I need to come up with a grill to cover the fan.
Here is the rear section with one grill installed. This was made from a sandwich of styrene strips glued up as one block then cut up to fit on the bandsaw.
Here is the roof of the cab, detailed with the main top hull of the Stryker cut up and rearranged along with other parts and styrene ducting etc.
More to follow soon.
Part 1, Part 2, Part 3, Part 4, Part 5, Part 6.


No comments:
Post a Comment