About this Blog

This is about the combination of two interests, Radio Control vehicles and Science Fiction models. This blog documents my science fiction spaceship and radio controlled vehicle projects.

Monday, 28 December 2015

Escape Pod part 4

Primer is on.
It didn't take too long to dry as it was 36 degrees Celsius here in the south west of Western Australia today. The primer overspray dried as it fell. Went around with a scotch brite pad to knock of all the furry bits of primer.
I decided to chip a couple of the black 1mm styrene panels off the top at the rear as I didn't like them.
I forgot to replace the hole plugs when I took the photos.


  I will scribe some panel lines into the plainer surfaces.

more soon...

Escape Pod part 3

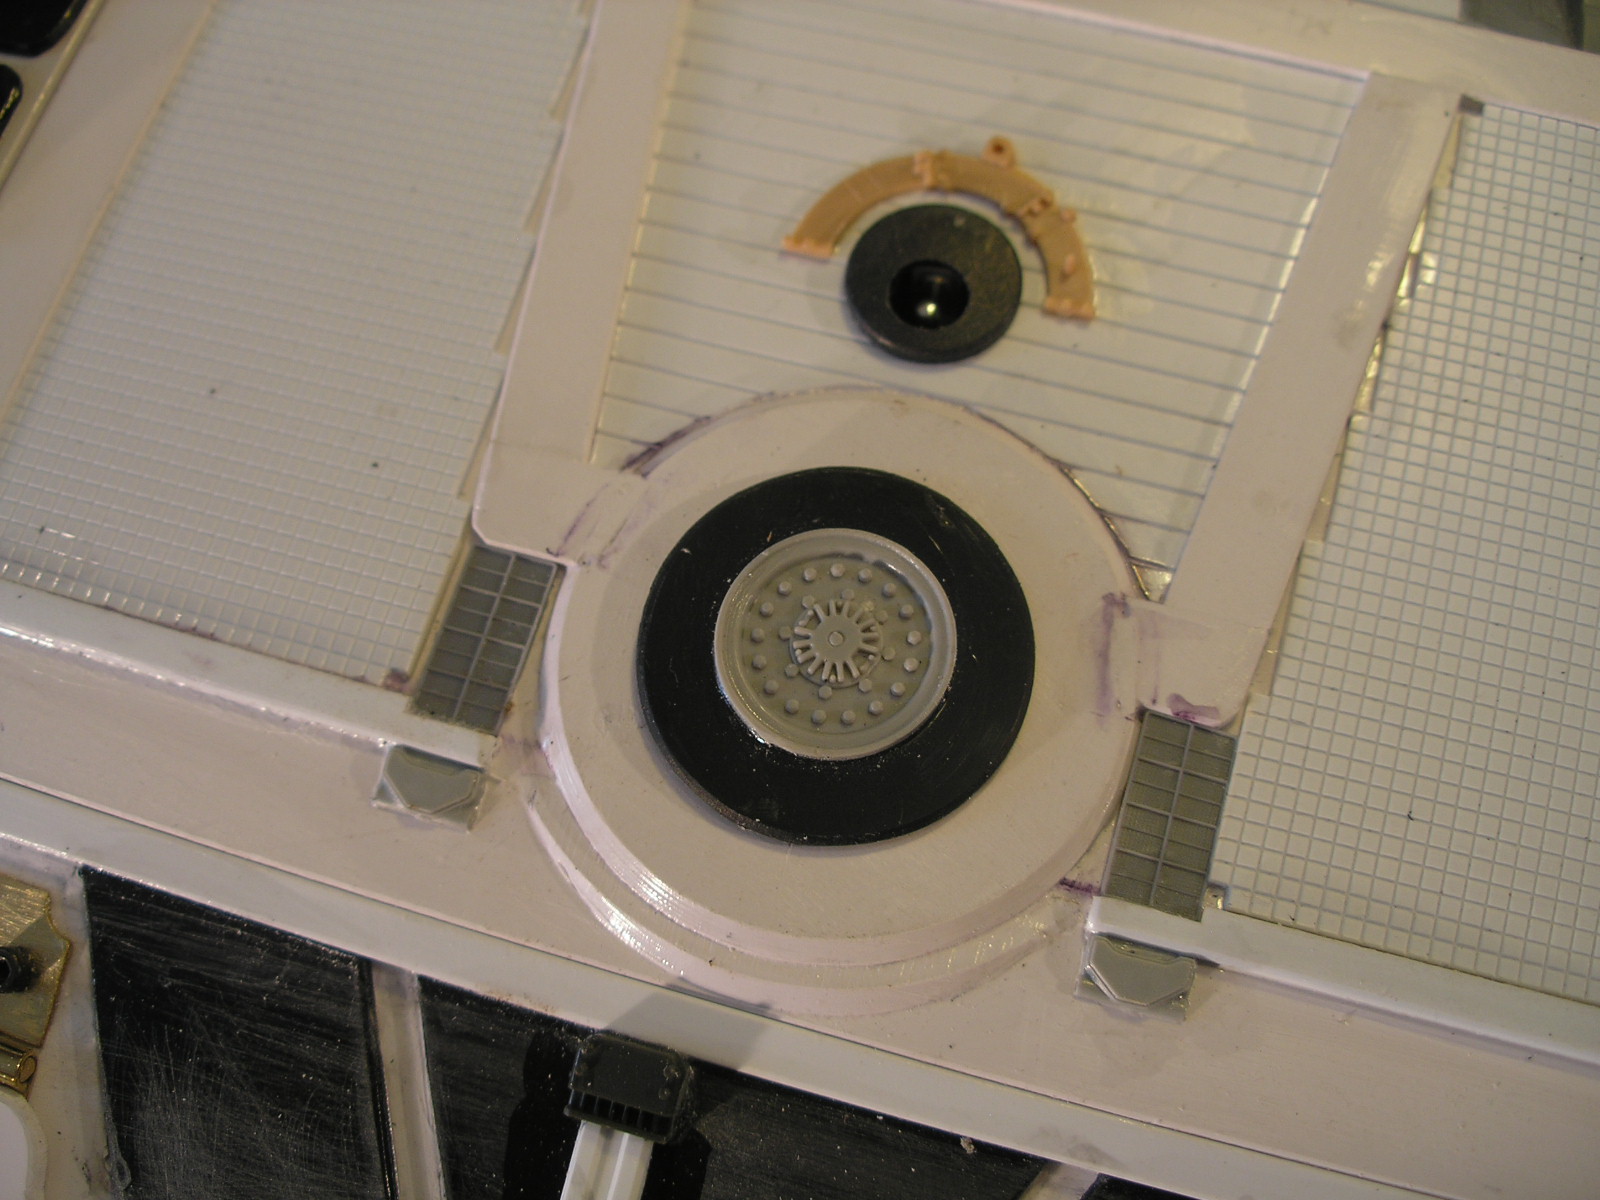
Most of the outer surface detailing has now been done. The black  bits are 1mm styrene sheet. There is still a few areas that may need a few bits added but I will spray a primer grey pass next to see where it's at before deciding.


I also finished up the retaining system for both hatches. The rear hatch has a plug that fills the hole for the support rod. The hole for the support rod also acts as the handle to pull the hatch up and forward to release. A couple of small round magnetic cabinet catches hold the hatch in place in each front corner. The steel washers from the catches are superglued to the under side of the hatch. You first have to roughen up the glued side with very coarse sandpaper so that the superglue can grip effectively, as well as allowing some to squeeze up through the counter sunk  screw hole. A squirt of accelerator helps the super glue to harden quickly.


The rear of the hatch is gripped by a long strip of plastic that hooks under the hull opening.


After stating on the RPF forum I wasn't going to hinge the canopy hatch, I went out and purchased a couple of tiny hinges and... hinged the hatch. The hinges are superglued to the hatch and to the hull again roughening up the glued surface, and in addition with a couple of m2 cap screws screwed in as part of the detail. The front is held in place just by the friction fit of the acrylic window into the hole in the hull. Some more positive closure may be required, we will see.


Next up is masking the windows, a grey primer pass and then starting the cockpit interior.
More soon...

Wednesday, 23 December 2015

Escape Pod part 2

I did do a rough thumbnail sketch after I had figured out the arrangement of shapes, before construction just to set a direction to go in and later roughed out the cockpit window arrangement before I started the CAD layout.

I started the detailing the top and bottom of the engine section with various kit part nurnies.


In the thumbnail sketch you can also see a couple of canard winglets at the front and a rear wing which is what I decided to tackle next.
First, using scrap cardboard, I tried out the wing, cutting and bending until I was happy with the general proportions. I tried it backwards, forwards and in any possible position, finally deciding that the tips swept backwards looked best as it complimented the shape made by the angle of the handle of the dustbuster.


I then made up a wooden former to heat and bend some 2mm styrene to form the wing.
The styrene is marked out from the cardboard template and clamped to the former with some welding clamps. I always leave a generous allowance of extra plastic when heating and bending as the edges can slightly curl up or warp and then the desired shape can be trimmed to size.
 A sheet of metal ( in this case zinc, its what i had to hand) is used to shield the styrene that is to remain unbent from the hot air from the heat gun.  A piece of flat wood is used to shield the styrene past the bend and the heat gun played across the bend area untill the styrene starts to sag, The flat piece of wood is then used to roll and flatten the softened styrene to the former. I bent another piece of styrene over the first to get the next layer in the lamination that makes up the wing.


The two bent wing laminations were then glued together  with an extra strip of 2mm styrene between the two at the front giving the wing a thicker leading edge. I had to cut a dart into the top layer at the bends to get the rear to pull together at the thinner rear end. I then using more card board worked out the shape of the supports and laminated them out of three layers of 2mm styrene.


more soon...

Most Popular Posts in the Last 7 Days