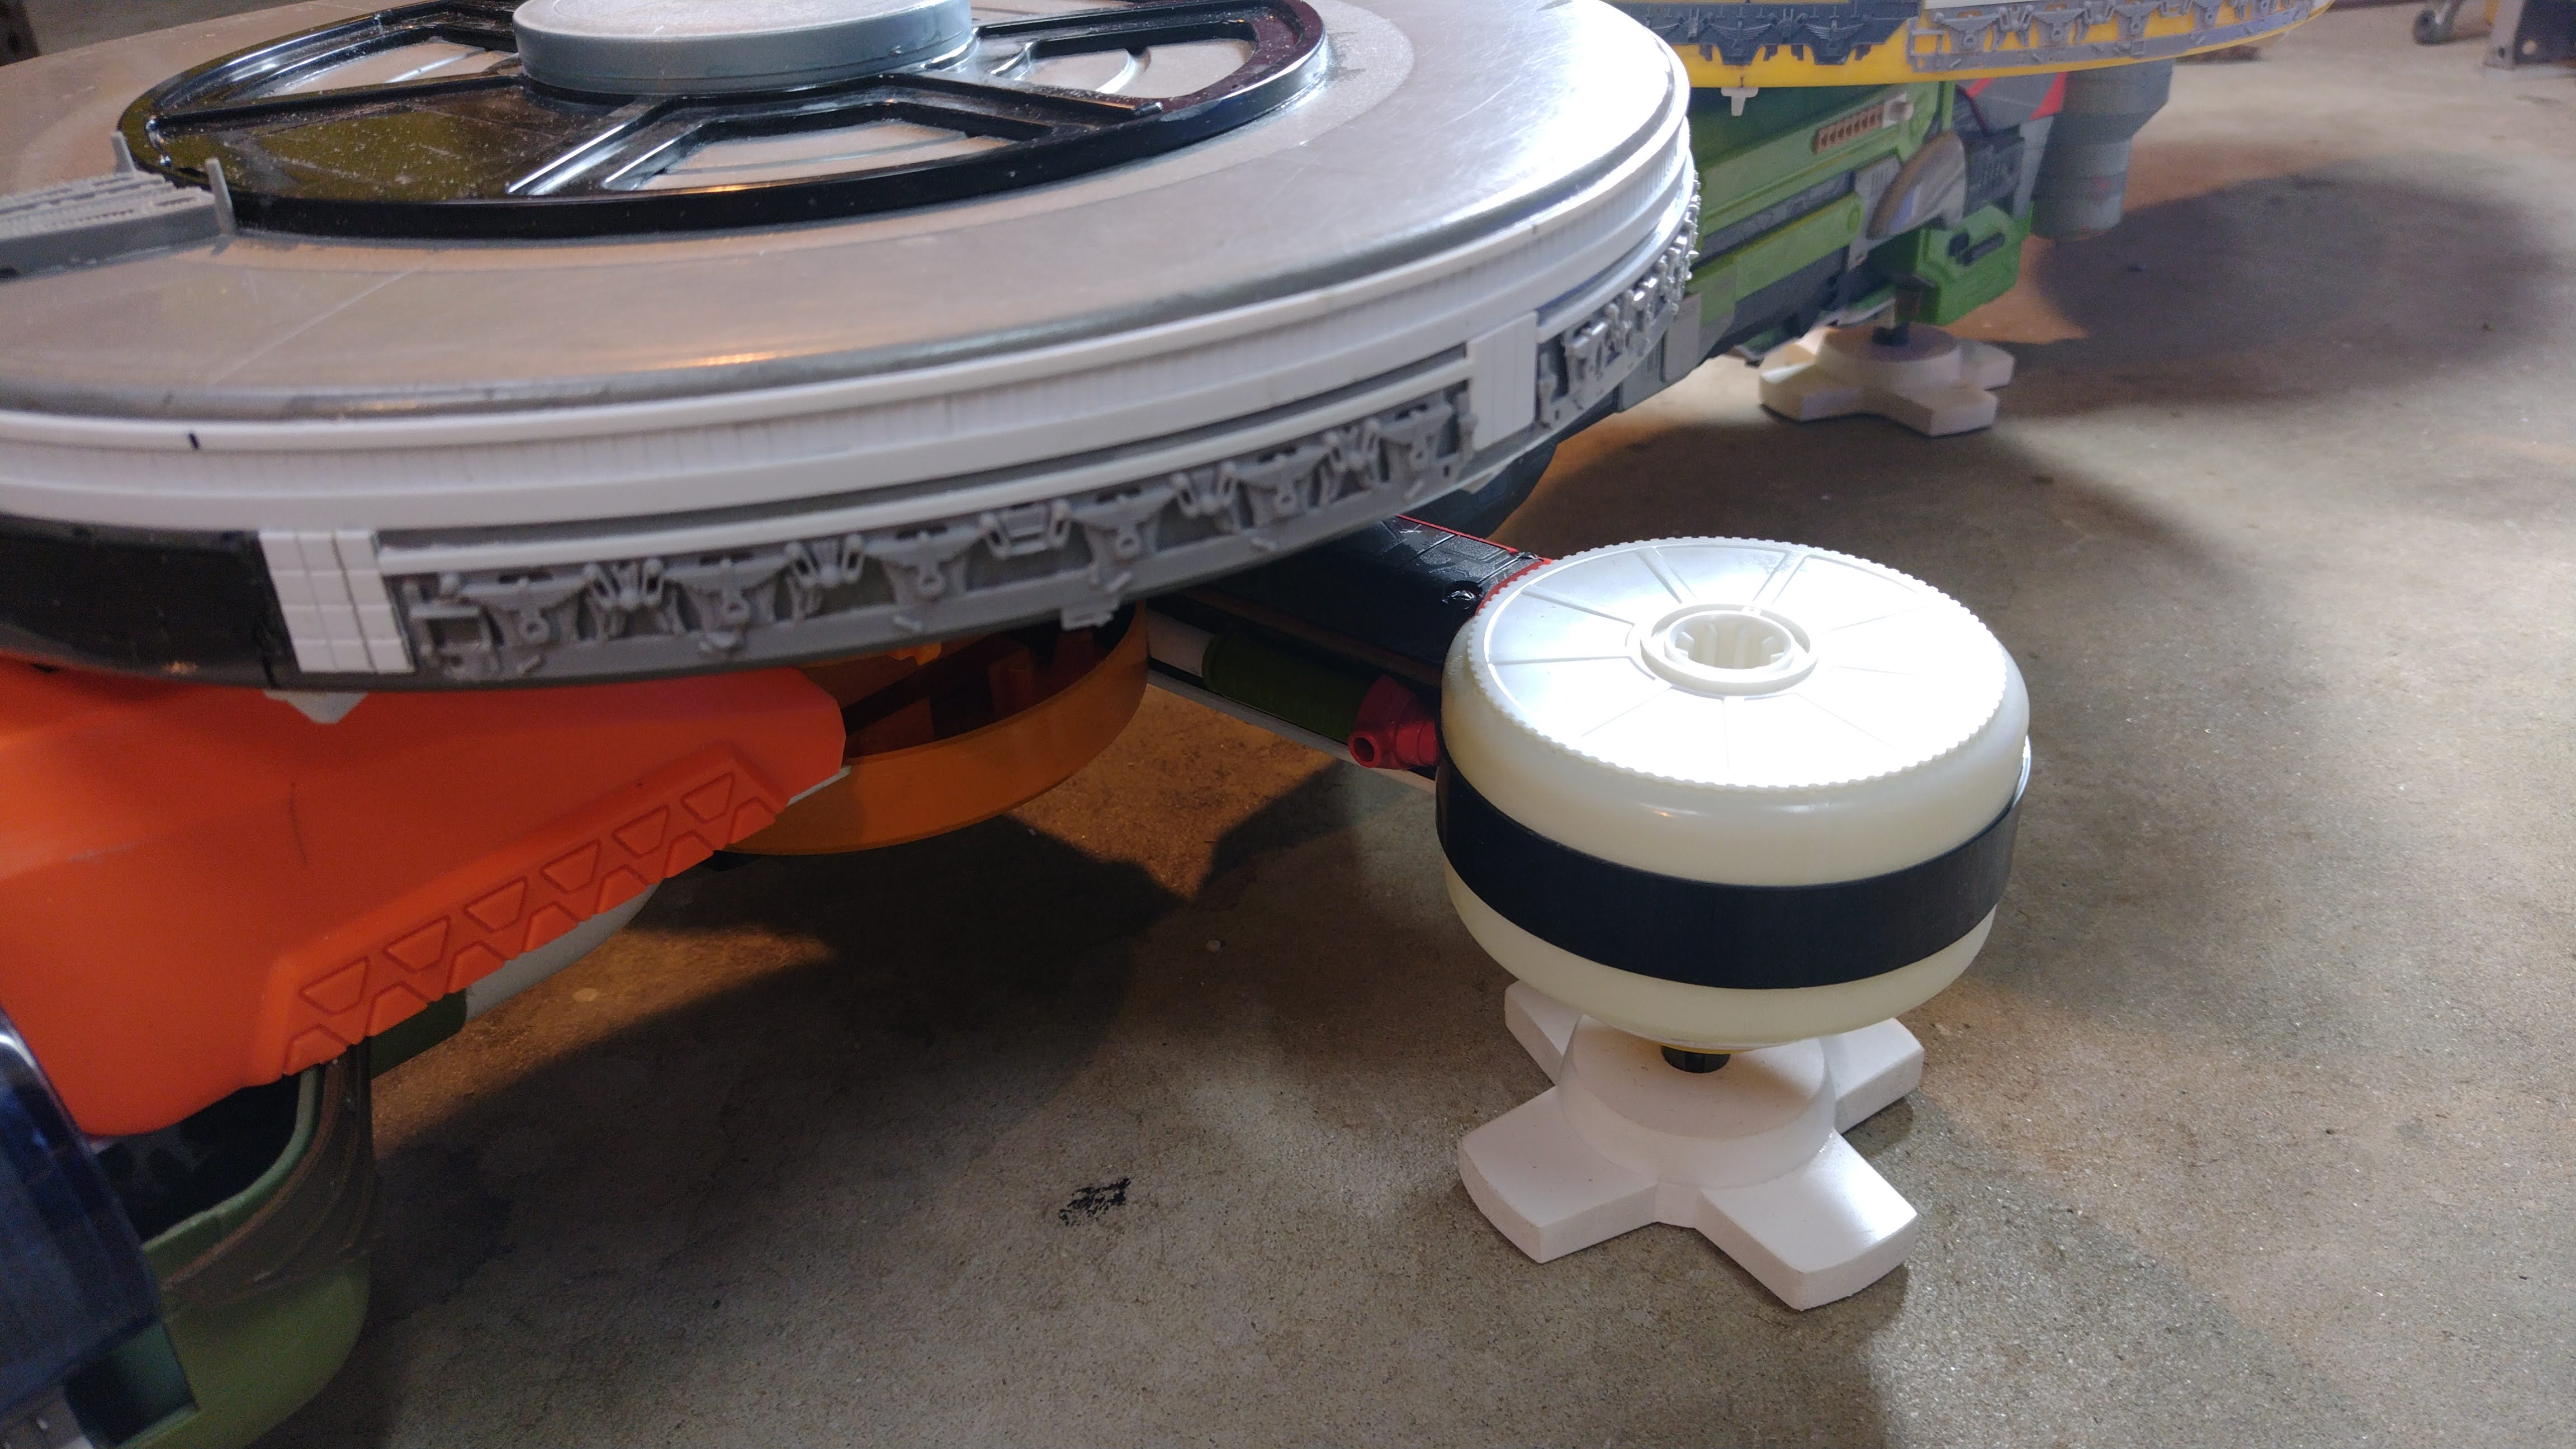
The last look at this project was more than 5 months ago, when the model was at the primer stage. It has taken a while to both come up with a paint scheme and to actually get around to doing it but I think now it is finally done.
To re-cap, this project was based on concept art done originally for a background spaceship in the original series of Battlestar Galactica in 1978. That concept art was in turn inspired by a Moebius design in a comic. The eventual model built for the series was known as the flat top.
My goal was to try and realise in three dimensions the essence and spirit of the concept art as I interpreted it incorporating part of the original intent of the Moebius design, namely the bubble two seater cockpit.
As a reminder below is the Mobius comic version...
...And here is the original concept art from Battlestar Galactica...
My model in primer.
I took the photo above into photoshop and played around with various colour schemes. My first attempt was to choose colours something similar to the Mobius comic but I couldn't seem to get it to look any good. I messed around with a few other ideas most of which were terrible before settling on the rough scheme pictured below.
I decided to try an experiment and break away from my usual paint method of using car paint for the finish colours with my usual poo juice alcohol based wash. This time, very late to the party, I thought I would try acrylic hobby paints with an oil paint based pin wash. One of the reasons for this is that I wanted multiple shades and tints of grey to go with the dark grey primer which I kept as the main colour of the craft. I also wanted a very vibrant red which is what came out of the photoshopped rough. Its hard to find the range of colours in spray cans compared to the endless range of the hobby paints.
I purchased a pile of Lifecolor hobby paints which are made in Italy. I chose these because they have good reviews and most importantly they come in 22ml pots for the same price or less than all the other 10ml or 17ml pots of the other brands. Tamiya paints used to come in jars close to this size but all I see now days are the 10ml mini jars. 10ml might be fine if all you are doing is some 1/35 scale tank kit or figures but my model is 970mm long, 10ml doesn't go very far. As it was I used a whole pot of the fluorescent red half way through and there were no more to be had in the whole of Australia so I had to wait and order some more from the UK to complete the job.
In order for the red to come out bright on the dark grey primer I sprayed all the red areas white first. The white bits were then masked off and the red sprayed with my ancient Badger 150 airbrush.
There was some swearing as it took some getting used to the amount of thinning the acrylic paints need to get through the airbrush without instantly clogging. Eventually I got the hang of it and it worked out well. The oil paint as a wash and filter also worked out well.
The oil paints I got from a large stash from my dad who did a bit of oil painting in his younger days at night school. They are all nearly 50 years old and most of them are still perfectly usable in the tubes except for all the colours that had cadmium, they had all dried solid in the tubes along with a few other random colours over the years. The only colours I used on this model were raw umber which I got a tiny bit out of the rest having gone solid, burnt umber and a bit of ivory black. These colours were mixed with odourless turpentine to make the wash.
I am satisfied with this technique which is very similar to my old technique in that it relies on having the base colour remaining unaffected by the thinner of the wash medium.
One of the main issues I had was with the masking tape. I usually use a no bleed low tack masking tape made by Scotch 3M. I was doing this out side on some of the hottest days so far this summer and the low tack gum refused to stay put. I ended up having to use blue painters tape which has an unfortunate tendency to bleed. I used it as the stickier gum would still be in position by the time I started spraying. On the other hand, in the heat, the paint dried very fast indeed.
My preference is to always securely glue a model together so nothing will fall off in handling and then worry about how to paint it. Masking around shapes that are buried behind other chunks of detail however is not much fun and there was a bit of that on this model. The masking for the big red tanks underneath and behind the side trusses and crossing pipes took hours and then was sprayed in less than a minute. However it had to be done and it looks the better for the effort.
Well here it is, the finished model, started in August 2018 and completed at the beginning of February 2020.
Note clicking on a picture will bring them up fullsize.
With a bit of luck I hope to be taking this model and the Resilient model to a couple of shows in Perth this year (2020) WASMEX on 2nd and 3rd of May and Supanova (which I missed last year) on the 27th and 28th June.
Thanks for looking,
More soon...