|
| Leopold, its all over the original Battlestar Galactica series. |
The technique for detailing Sci fi surfaces with the parts from plastic model kits came into fruition with the models used in the many Gerry Anderson puppet series in the 1960s. It was then adopted for the models in 2001 a Space Odyssey where it developed into full maturity, and to stunning effect. Here for the first time were spacecraft and vehicles with a believability never before seen. Gone were the usual streamlined shiny silver cigar shaped rocket surfaces to be replaced with complex intricate utilitarian shapes, that caught the light and cast a jigsaw of shadows.
Over the years I have developed a set of guidelines or rules of thumb for detailing Sci Fi surfaces. A long
time a go I made a study of model spaceships from the classic Sci Fi
film and television shows to determine what I thought worked well and what didn't. Up front I have to say that I love the rich texture that the classic model kit parts style can give to a spaceship model, and I don't believe I have seen a CG spaceship that gives me the same satisfaction. I remember whilst watching Star Wars episode One, thinking that the cg spaceships really looked as good as models of old, only to discover that they were indeed models after all, no wonder they looked good. On the other hand the CG spaceships in Ep Three did not excite me at all.
Detail can come not only from model kit parts, but any suitable plastic that can be glued with a solvent based adhesive or super glue, generally styrene, ABS or acrylic. Toys, kitchen goods, electrical goods and whatever else can be chopped up and looks cool. Evergreen and EMA or Plastruct strips, rods, pipes and textured sheets are also very useful but also relatively expensive.
Here are my design guidelines for Sci Fi detailing in no particular order;
- CONNECT - The parts should appear to connect to each other, either with pipes, ducts or more abstractedly as a flow of parts. Basically they need to look like they do something, whether it be electrical, hydraulic or mechanical.
- RECESS - Wherever possible chunky detail always looks the best when below the surface or recessed. It can be in a trench or a hole or where a panel has been removed. The other possibility is to build up around an area so it appears recessed. Avoid just gluing big lumpy detail parts on top of the surface. Flat details such as panels, piping and ducting are OK .
- CLUMPING - Probably the most important rule. Detail should not be evenly spaced across the surface, it should clump together, much like trees clump together in a landscape.There should be a contrasting range of areas of very little detail and spots of intense detail. The clumps of detail may then connect together using pipes or ducts. The heights of the chunky detail should also be clumped like a grove of trees, taller in the centre and smaller as the clump radiates out, with some random variation.
- RANDOM - This is more of a re-inforcement of the Clumping rule, in that if you are going after a random distribution of detail, make sure that the spacing between each section is also random. One of the mistakes you can make is to randomly place detail in terms of location across the surface, but each location is about the same distance away from each other. Some areas of detail should be close to each other and some should be a long way apart, this is again the clumping rule. Also randomise the shapes, mix round with rectangular etc.
- THICKNESS - Where possible vary the thickness of flat panels, pipes, ducts, channels etc.
- ASYMMETRY - This is up to you, sometimes symmetry is appropriate, but asymmetry can look cool. It really depends on the subject.
- SCALE - The scale of the detail should match the scale of the subject. As a general suggestion, smaller scaled model kits 1/350 and above down to 1/72 suit small scale surfaces. Larger scale subjects require larger scaled lumps, 1/35 up to 1/12 scale kit parts. This is not a hard and fast rule it is just that too much fine detail on a 1/12 scale model starts to look odd as does 1/12 scale parts on a 1/500 scale model. I'm talking about surface detail here, larger scale model parts can become the actual structure of a small scale model quite happily which then get a layer of fine surface detail. Large and small here refers to the scale not to the size of the model. You can make a 1/1000 scale spaceship model 3 metres long if you want.
- MULTIPLES - When buying model kits it is often advantageous to have repeats of the same detail. Sometimes a kit may have multiples of the same part in it but if you can, for a really large model, get more than one of the same kit. The other option is to make a master detail section and mold and cast multiples of the panel. It is possible that for the hobbyist, the cost of the molding and casting materials exceeds that of a multiple kit purchase.
Once you have glued all your parts together it looks like a strange assortment of colours and shapes. It is not until you give it (after washing with hot water and detergent and drying thoroughly) a coat of grey car primer that you really see your work change from a bunch of kit parts, and styrene strips to a unified whole that looks the business. Often a quick spray of grey is needed to see how you are progressing. You then have to scrape it away where you still need to add more bits.
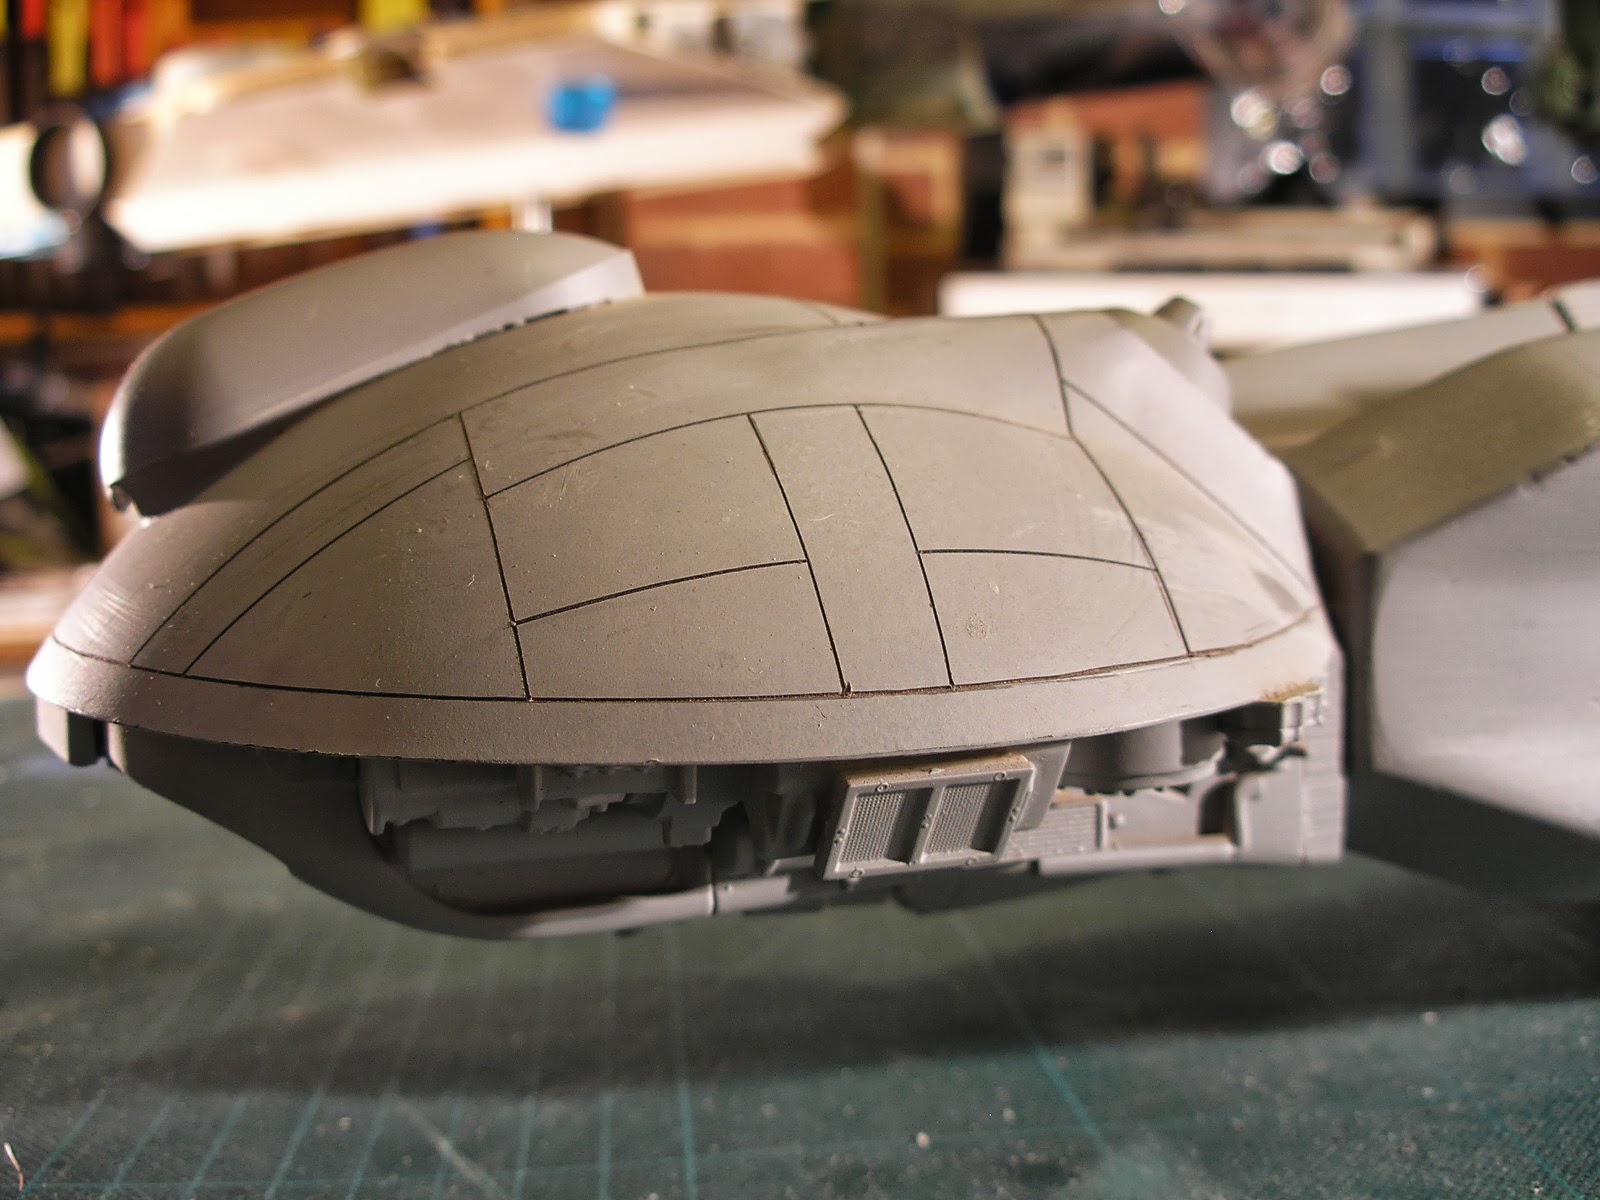
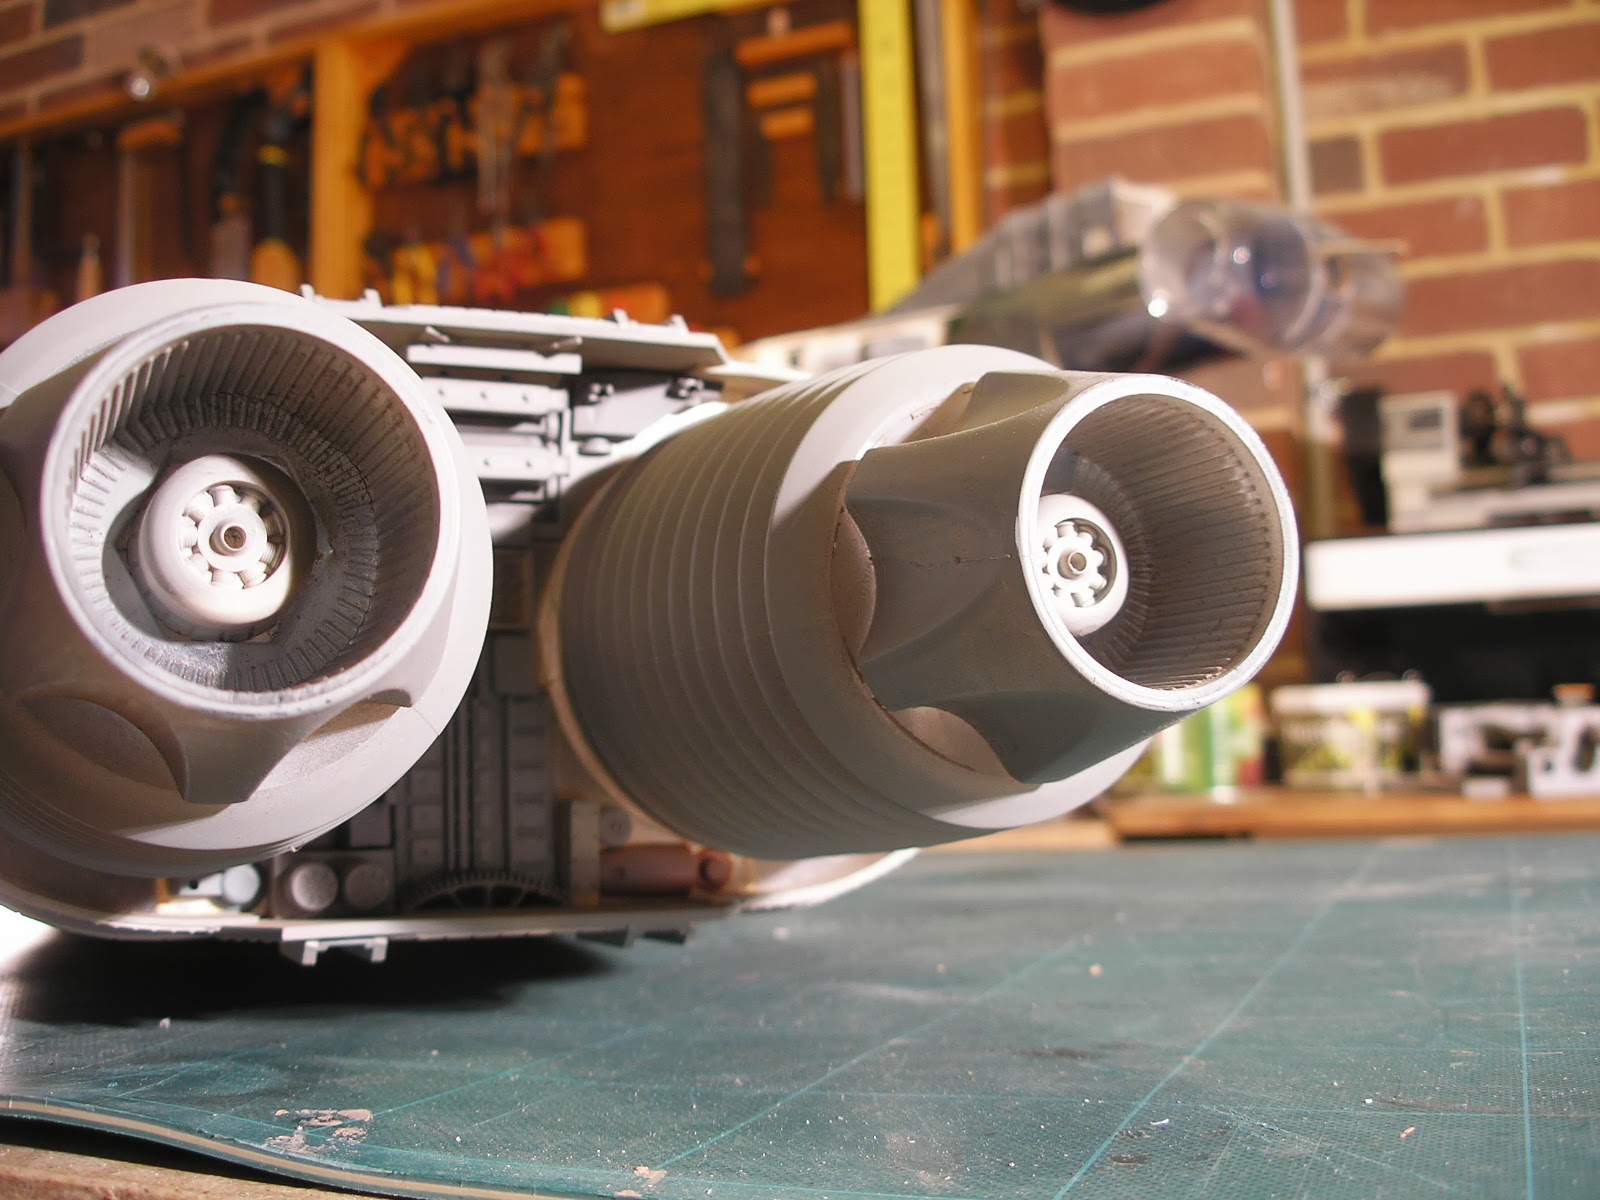
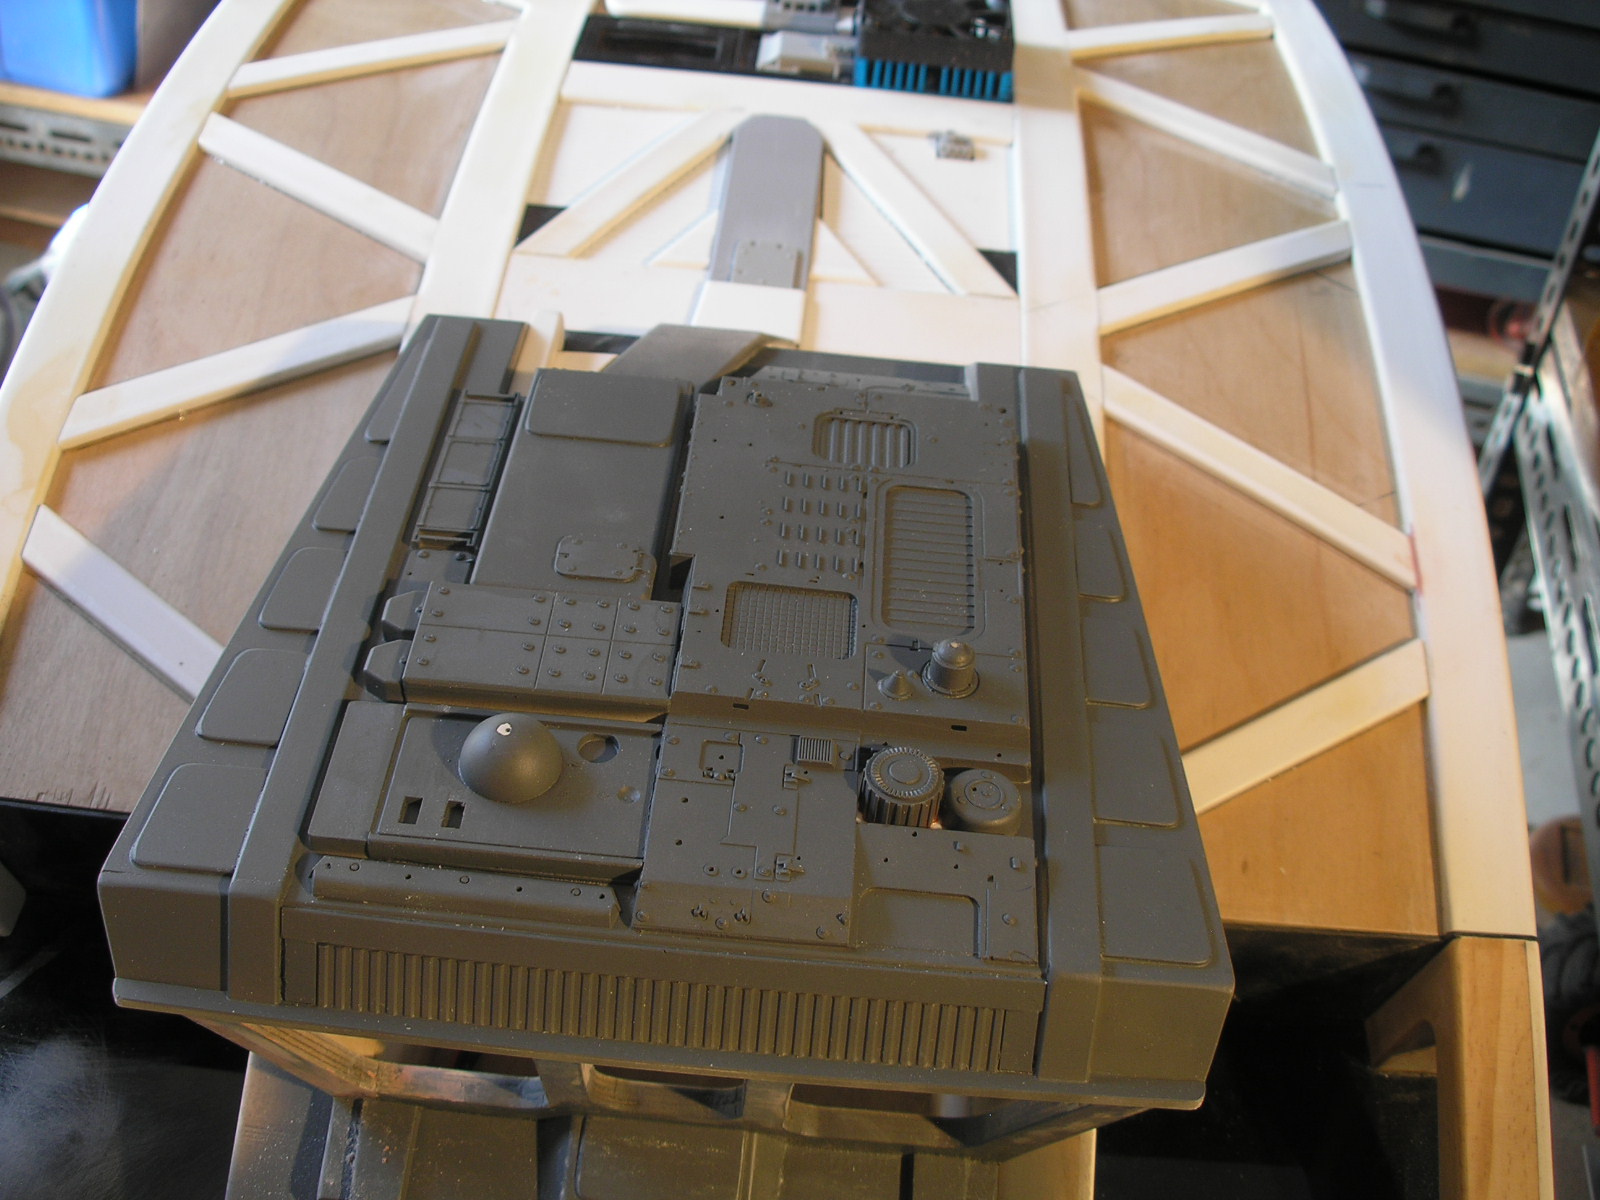
You can see many examples of the guidelines on the Rebel Blockade Runner model from Star wars.
Notice the heaviest detail is in recesses and that when on the surface it tends to clump together.Also notice the detail is connected, it looks like it does something.
 |
| Detail in recesses, and clumped together. |
 |
| Connection with pipes and areas of very little detail with detailed clumps. | | | | | |
 |
| Clumping and abstract connection with strips. Also asymmetry within symmetrical left and right details. |
The type of detailing described here has been at times disparagingly called the "spray in glue and roll in kit parts" style. There have been at times attempts to avoid kit part detailing entirely. Many modelers hold the view that it is bad to use recognisable kit parts on models. I don't hold that view as I wouldn't want to deprive anybody of the joys of kit spotting. Personally I can't think of a single successful example of a sci fi movie spaceship design that didn't use any kit parts. Has there been any cool CG spaceships?
There is now masses of extremely good reference photos on the net of the very best of the style from the models built during the golden years of the 70's and 80's. When I began my study after Star Wars came out there was no Internet, I had buy every book and magazine I could lay my hands on, that had a photo of a model spaceship. I cut out all the pictures and made up a photo reference book that enabled me to sort the good stuff from the sub standard, and there was plenty of that in the post star wars frenzy. Now there is no excuse, armed with a couple of model kits and these guidelines you should be detailing with the best of them.