
I painted up the driver figures using some old Humbrol enamels after first spraying them with grey automotive primer. You can see that I also painted over the beard of one of them as well as painting on a different hairstyle. The flesh paint gave him a very pock marked facial skin texture. For the driver I added a steering yoke type set up out of a scratch made handle and some kit parts.


I also made a console back lit by 6 amber LEDs which I forgot to get some photos of before securing the figures in the cockpit and masking off the windows ready for primer.

I decided to make the whole cockpit section removable rather than permanently cement it into position so that I can gain access should any need arise. It is held on by a lip at the top and a couple of screws in the bottom of the wheel arches which screw into a couple of wedges of foamed PVC and the styrene the toy body is made of.

The front of the cab was finished off with a bullbar bumper made from a plastic knitting needle heated and bent round a simple wooden former. It is secured in the middle by a brass tube and some holes in the 2mm styrene protrusions that make up a volume added under the cockpit that transitions back to the front suspension. The body is held on by two screws here that fix into a bulkhead on the Tamiya Kong Head chassis that normally holds the front bumper. The rear of the body is secured by a single long screw that goes through the Kong head rear Bumper into the 2mm styrene that makes up the rear door box.


Next up the model was cleaned with some wax and grease remover and sprayed with grey primer.
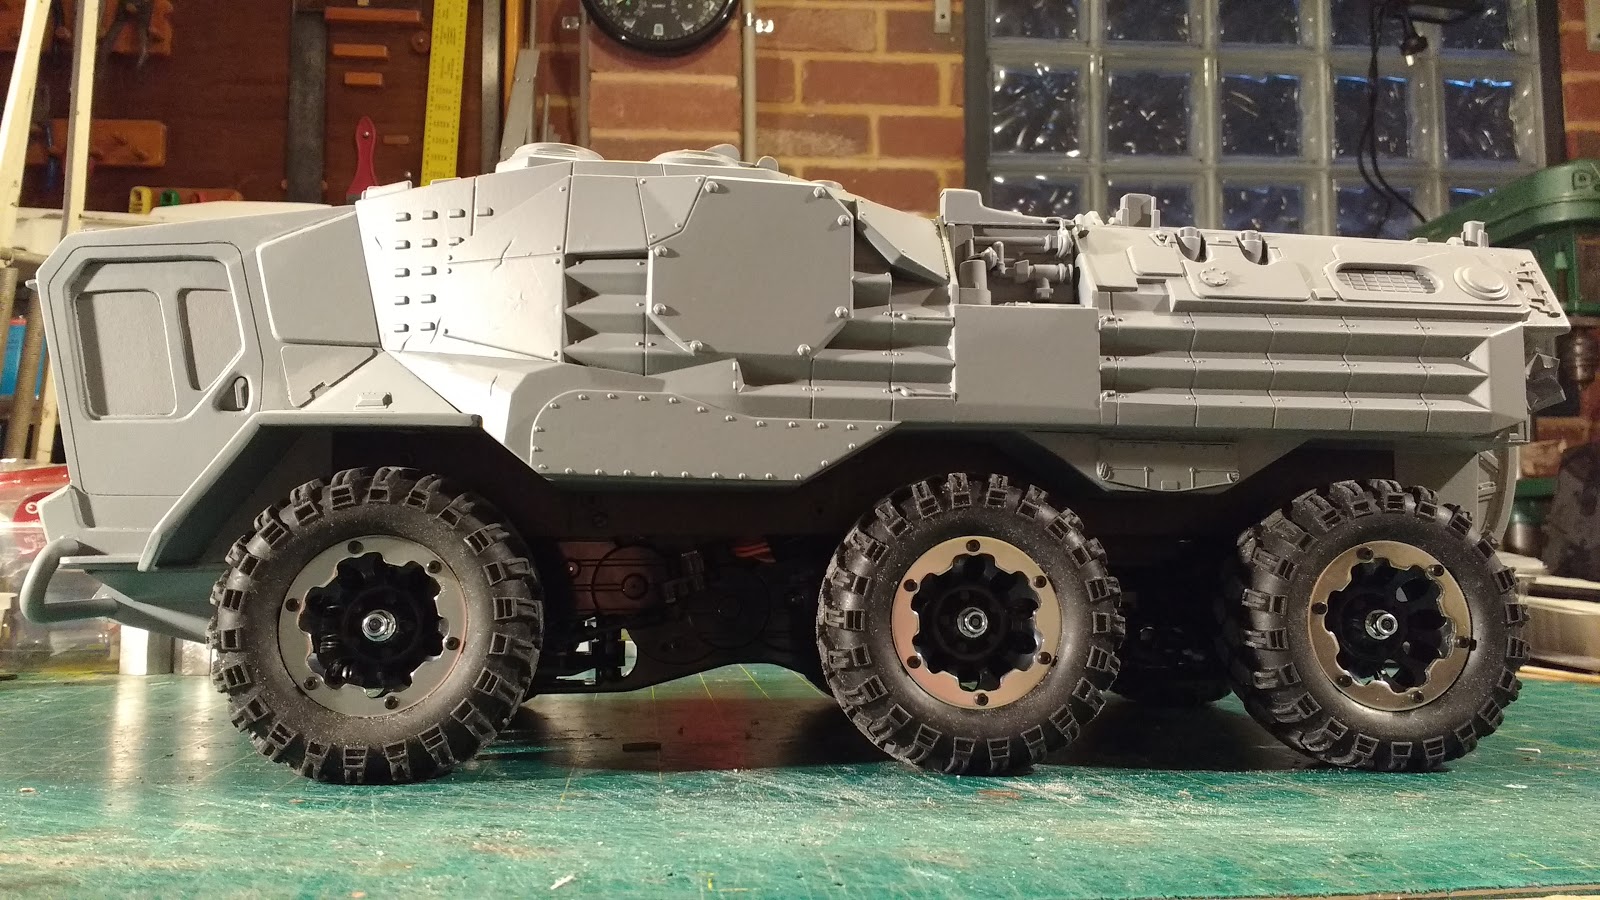


The grey primer tells me that the front cab section needs some more surface detail on the front and sides to match better with the rest of the hull, however the rest of the surfaces, I think, turned out reasonably well.


So I need to add a few more bits and pieces to the cab sides and then figure out a colour scheme.
More soon, thanks for looking.


