About this Blog

This is about the combination of two interests, Radio Control vehicles and Science Fiction models. This blog documents my science fiction spaceship and radio controlled vehicle projects.

Monday 22 June 2015

Creeper 6X6 part 3

Creeper 6X6 Part1
Creeper 6X6 Part2


I was pretty unhappy with the look of the body sitting so high on the chassis. I contemplated abandoning this body and trying something else ( this would have been the second body to be abandoned for this project). Before committing to scrapping the body, I thought to try lowering the stance of the chassis a bit by the use of some shorter shocks, to see if that would improve the proportions enough. I found some red anodised shocks on Ebay from China for $5.00 a pair. That's an incredibly cheap price so I figured what the hell, if they're crap and it doesn't work I haven't lost too much. As it turns out they are well machined and nicely finished except ... they are not actually filled with silicone fluid but with a tiny amount of some mineral oil and the pistons are a really loose fit. I cleaned out all the oil and filled them with silicon fluid but with the pistons are so loose in the bore and have two slots rather than holes, they don't do much damping. However they hold up the chassis and it doesn't look too high now so I am continuing on with this body. They also look a lot better and match the anodising on the wheel beadlock rings and suspension links, plus the black springs are nicer.


I also started on outfitting the electronics into the chassis and actually took it for a test spin... it works! The turning circle is large compared to the 4 wheel steering of the toybash truck, and it's even larger when the diffs are locked, however it climbs well. The center axle is at this stage unlocked as it does not have the switch mechanism being made out of  the axle halves that don't have the molding for it. I am thinking of permanently locking the diff for that axle for the superior climbing performance.


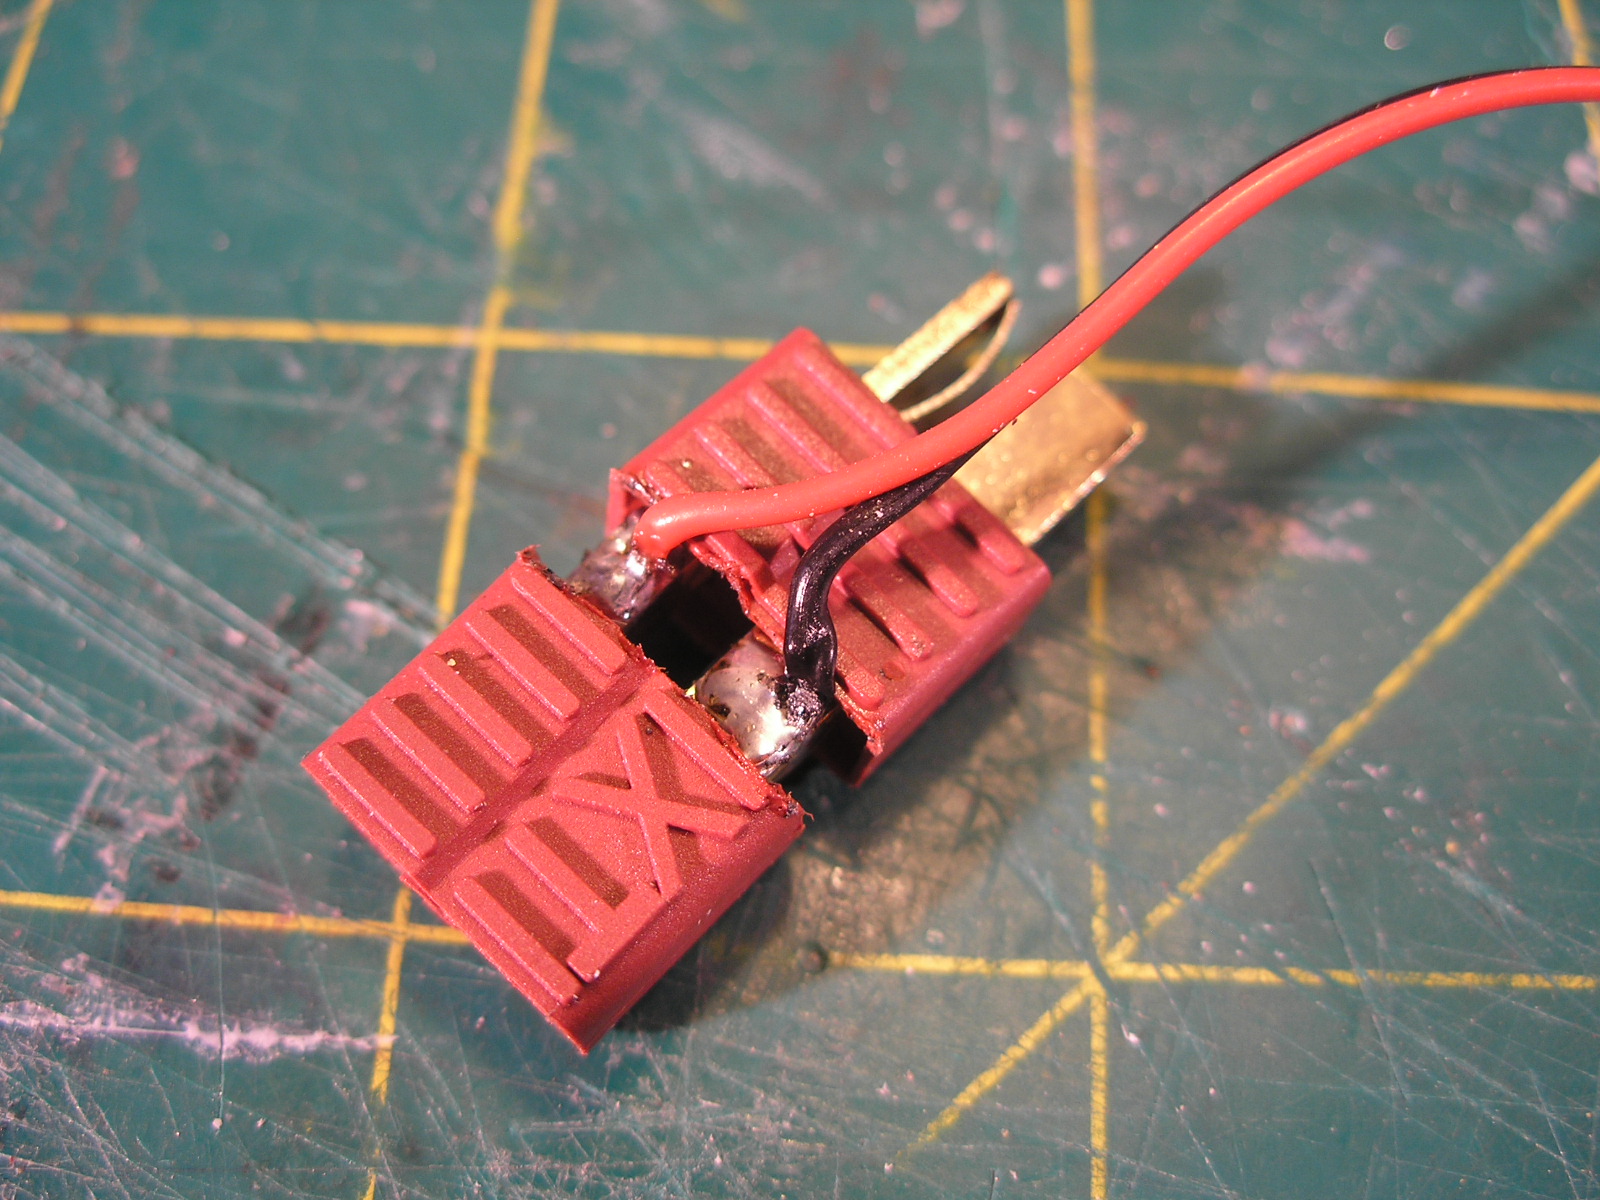
The Turnigy Ubec will supply the power for the lights via the nylon connector in the photo above. I also got some switch boards from Pololu.com which will allow the lights to be switched on and off from the third channel of the radio control. This was suggested by someone on the RPF forum where I have been running the Toybash truck project at the same time as this blog. Its really tiny, smaller than a postage stamp and I haven't wired it in yet to see if it works, that's the next task.


Happier with the sit of the body I couldn't resist filling in the detail well on the top and started some panel work.


The transparent blue parts at the rear are two halves of a little water pistol that comes in party prizes. Anything made of the right sort of plastic, styrene, ABS or acrylic is a candidate for use as detail parts. The white domed shapes are the buttons from a scrapped washing machine.

More soon...

Creeper 6X6 Part1
Creeper 6X6 Part2


Sunday 7 June 2015

Toy Bash Truck part 3

Part1, Part 2, Part 4, Part 5


I made up pairs of headlights using some Cree Led aluminium penlight torches I got from China on Ebay. The torches worked out costing about $4 each which I thought was a pretty good deal. They claim they put out about 1000 lumens, I suspect it may be a bit lower than this but they are incredibly bright for their size and only use 1 AA battery at 1.5 volts. They conveniently unscrew at the business end making for a really nice lens and reflector housing, and are easy to mount and solder some wires to.


I wired them up 4 in series thus requiring a 6 volt supply. The battery for the chassis is 7.4 volts so I am employing a Turnigy Ubec which can deliver a switchable 5 or 6 volts at 3amps from any input battery between 2s or 6s which in LiPo battery speak means between 7.4 and 22.2 volts. These 4 penlights are only pulling 1 amp from the battery so there is plenty in reserve.


The Ubec is wired to a little adapter which is made from a deans connector plug and socket soldered back to back with the feed wires coming off the positive and negative at the join. The join is then covered with some suitable heatshrink. It is a convenient way of plugging it in between the battery and the speed controller. The lights are wired to a servo extension lead with one end cut off and the appropriate end plugs into the servo style female connector on the output of the UBEC which stands for ( Universal Battery Eliminator Circuit). In the old days of RC you used to have an extra separate battery for the receiver, servos and any other electrical systems it is this legacy battery that is supposedly being eliminated by the UBEC.


The lights are switched by a push button toggle switch mounted on the side of the cab which when painted will just look like a  random bit of detail. It probably would be cooler to make a switch that can be controlled from the transmitter, I am only using 2 of the three channels, but that was laying around in a box so I used it. I like to use whatever is to hand where possible.


The cockpit has been started but still has more work to come. A 1/16 Bruder Toys man sits in the seat. I'm thinking of making some sort of space helmet and converting his rolled up sleeves to be more space suit like.

I made up some tanks from PVC pipe end caps and the next size up pipe which has had a slice removed from its circumference to bring it closer to the outside diameter of the caps. Mounting pieces were made from 10mm foamed PVC, first a hole is made of the same diameter of the pipe and then sections are cut to suit. these slightly domed end caps are getting hard to find. All the new stock at the hardware store have totally flat ends which are not as interesting a shape and I can make those myself easily enough with a disc of flat sheet.


The chassis was shortened at the front to fit the body work that has been built, but yet to be detailed. The olive green radiator looking shape is a leftover spare part from a Tamiya Wild Willy Jeep kit.


More soon...

Most Popular Posts in the Last 7 Days