About this Blog

This is about the combination of two interests, Radio Control vehicles and Science Fiction models. This blog documents my science fiction spaceship and radio controlled vehicle projects.

Sunday 21 April 2019

Moebius-1 part 8

The cockpit interior is now painted and the lighting tested.


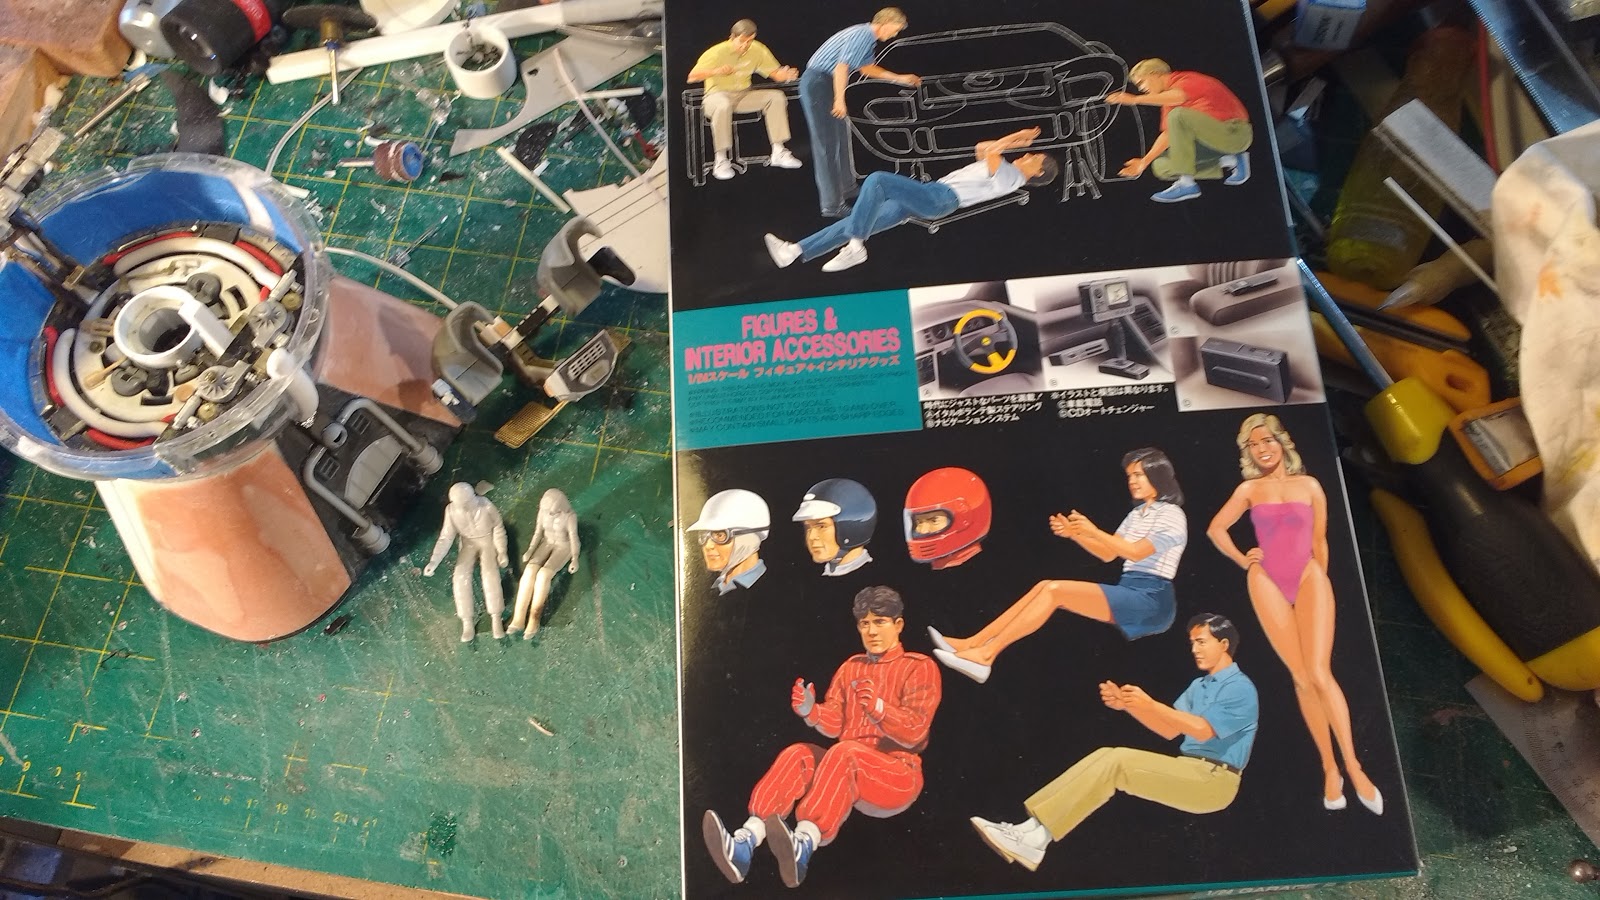
As you can probably tell figures are not my strong point particularly in these small scales, 1/24 in this case.
I don't know how people work in the small scales it's all too tiny and fiddly for me, I much prefer 1/16 and larger, they are easier for me to both see and hold with my clumsy mitts.
Big spaceship models often don't have visible cockpit interiors so it never becomes an issue however this model has it all nakedly on display.

Most of the interior light is white and is coming from the central console screen lighting the pilots and the back wall with two bright white LEDs.
Added to that are four bright blue LEDs coming up through a chunk of acrylic (perspex) from behind the back wall and exiting sideways for some blue fill light and possibly some kind of wierd power source, who knows, I just make this stuff up as I go along.

Next job is to mask up the bubble and complete the exterior detailing.

Thanks for looking, more soon...

Sunday 7 April 2019

rcscifi is now on facebook

Just a quick post to  let you know there is now a rcscifi page on facebook. It is pretty much a mirror of the rcscifi Instagram posts. If you do a search for rcscifi or type @rcscifi in the search box you should find it. This blogsite will still be the place where all the detailed build descriptions will reside. However if you don't like the google comment system you can make use of the facebook comment system.

Here is a sneak peak at a future project.

I recently got hold of a 1/16 Scale Heng Long Leopard Tank chassis via ebay and was given an unwanted clear plastic twist drill stand cover at work. I thought they might go together for a relatively simple project and took a photograph of the two disparate parts arranged together.

 
This photo was then fiddled about with very roughly in photoshop until I got something I thought might be worth pursuing.


That painted image was then dropped into DraftSight and some dimensions figured out in 2D CAD.


I looks a bit like a cross between a Jawa sandcrawler and Thunderbird two, but that's what the shape of the clear drill cover suggested to me. That's as far as I am going to take it for now as there are some other projects besides the current Moebius-1 that are crying out for completion. It will be interesting to see if I can resist the temptation of a new project and finish some old ones. Based on previous form it would seem highly unlikely... we will see.


Moebius-1 part7

The interior of the bubble cockpit is now more or less complete in construction. I will need to spray some grey primer to be sure but I think its got more than enough nurnies to do the job.

I started by making up a cardboard template with the outline of the interior space so I could make sure the centre seat console module and the overhead panel module would fit inside the bubble as I built it.


The occupants are from a Fujimi 1/24 scale drivers set, with the seats a very nicely molded resin cast aftermarket racing seat set. After I received the seats in the post I happened to find a nearly identical pair of styrene seats in a 1/24th scale Supra kit I found in a charity shop. I have had that kit box sitting around for a while now and never thought to look in it. I modified the female figure by making the skirt look more like trousers. I wrapped some thin strips of masking tape around her very skinny legs and the put some white heat shrink tubing over the top and shrank it into place to make some kind of thigh high boots. Their arms had to be heat bent to get then to reach to the side for the seat mounted control panels. I also had to hack away at the male figure to get his shoulders to fit between the seat wings. The foot rest is a couple of photo etch kit parts superglued to a bit of bent brass rod.


At the moment the figures and the seat section is removable to help with access while painting but will be permanently fixed in place later. There are a couple of bright white leds buried in the central console  which will throw some light onto the figures. I am planning to add some blue leds behind the central orifice in the back wall. The large white round shape on the back wall is an ABS part salvaged from an old washing machine.


The front bubble can be positioned in place with friction alone with the help of a couple of bits of Hobby King half round ABS, top and bottom that go through some half round holes that were already conveniently in the dome molding.


Thanks for Looking.
More soon...

Most Popular Posts in the Last 7 Days