About this Blog

This is about the combination of two interests, Radio Control vehicles and Science Fiction models. This blog documents my science fiction spaceship and radio controlled vehicle projects.
Showing posts with label 1/16. Show all posts

Saturday, 29 August 2020

Moon Bug part 5

I believe I have finished up the construction phase of the Moon Bug project with the completion of the Cabin interior.

I made a central console out of a 1/35 scale tank hull front and part of the casing of an old radio control transmitter, the bit that the telescopic aerial was mounted in. 

The interior has 4 LEDs wired up inside, two white in the centre and two red on the outer edges. They are wired up to the 12 volt supply with a suitable resistor on the positive side and held in place with blobs of hot glue.

A piece of opal perspex is added to the front as a screen and light diffuser along with a surround of 0.5 styrene. Various tiny kit parts complete the detailing.


The seats have had arm rests and control panels added with a rudimentary joystick.

Detailing of the side tanks has also been completed. These will be adhered to the chassis once painted.


Once the interior is painted I can glue the cabin side bowls in position. They may need some further detailing but I will wait and see after the primer has gone on.

Actually, looking at the photo above, it occurs to me that the front window struts on the interior could do with some detailing as well.


Thanks for looking.

More soon...


Sunday, 1 November 2015

Driver/Pilot figures for RC Sci Fi

The thing that many RC vehicles lack is a driver or Pilot figure. To me, a model vehicle just doesn't look right without a figure to populate the cockpit. Some manufacturers of RC vehicles such as Axial have diligently applied themselves to filling this omission while many more have not.
My vehicle projects range across many scales and I am always on the lookout for any suitable figures that can be adapted to fit. It increasingly difficult to find figures in toy shops that are normally clothed and proportioned they are more usually these days superheroes and come in weird costumes and have ludicrous unrealistic physiques.
The other feature that is needed is the ability to pose them seated. Many of these newer large scale figures from toy shops have no articulation in their arms or legs whatsoever, they cant sit! It means a great deal of hacking will be required and if they are made of high density polyethylene or polypropylene you can forget about it, it's not worth the effort.

Below you can see the figures I have on hand, arranged by scale.


Starting with the smallest on the right, I have a couple of men from a Tonka toy. I dont know where I got these but I have had them lying around in a box for decades. They are 90mm tall so scale out at 1/20th scale.

All my calculations are based on taking the average height of a person to be 1800mm (5ft11). Obviously people's height can vary so a bit of license can be taken where appropriate.


Next to the tonka men is a 95mm figure. This is a common size for these small action figure toys more commonly referred to as a 9.5cm figure. Again I have no idea what this figure is from, I think I got it in a charity shop many years ago. Anyway these figures scale out to 1/19th though you could get away with using them in anything from 1/20 to 1/18th scale.

The figure next to the 9.5cm figure is supposed top be another 9.5cm figure, it even says so on the box, however these figures are actually 105mm or 10.5cm tall this makes them closer to 1/16th scale.


Here you can see a couple of them next to a pair of Bruder toy figures which at 108mm tall are precisely 1/16th scale. They match pretty well and as you can see from the box above are incredibly cheap at $3 from Target. The two shown on the right here are the more normal looking figures, there's a few more in the series but they are a little too freaky in style for my tastes. the Bruder figures are very well articulated and the most normal looking you can get, very versatile if you want 1/16th scale.


Sitting at the bottom left of the pictures above and below is a Tamiya 1/16 Tank Crewman figure who has been hacked to get him from his original standing pose to a seated pose. He is a bit taller than the Bruder figures so he is a very tall man in 1/16th scale.


Next in the line up is a couple of Star Trek reboot movie figures, I believe the one in the maroon jersey is meant to be Simon Pegg as Scotty and the mustard jersey, John Cho as Sulu. These work out to be 1/12scale at 150mm tall. They have reasonable articulation but I have dremeled out deep grooves in their upper thighs to get clearance so they can sit better.


Next along is some toy wrestling figures. I am not all that keen on these as they need some work to clothe them properly. The ones I have chosen at least have pants. At 170mm they work out to be at an odd scale of 10.5 but I figure they are a petite 1/10th scale and I have seen a few 1/10th scale vehicles crewed by these figures. they are nicely articulated but again I have done some surgery on their thighs to get them to sit better.


Tamiya makes a number of driver figure kits from styrene which makes them easy to mod and hack.
The one sitting next to the wrestlers seems to be 1/8th scale though the scale is not listed on the packaging. Below you can see him again on the left with a couple of 1/10th scale drivers. As you can see, the one on the right in grey primer seems to be smaller in volume than the one in the middle but they are both supposed to be the same scale so there is a lot of variation in the Tamiya figures.


 Tamiya also make 1/12 driver figures for their formula one sries of model car kits.


What is not shown here is a 12inch action figure at 1/6th scale. There is a wealth of 1/6th scale articulated action figure dolls and equipment mostly in a military vein, ready to place in very large scale vehicles.
Radio controlled aircraft pilots could also be adapted for use in ground vehicles and come in various scales right up to 1/4 but these 1/4 scale pilots can be very expensive.

Most of the figures shown have a specific project they are destined for (currently not the wrestlers). I find a lot of my recent projects are ending up at 1/16th scale. For me it is a comfortable scale to work in, not too small, not too big and it would be cool to have a fleet in a common scale.

More soon...

Monday, 18 May 2015

Creeper 6X6


The original Creeper 6X6 project stalled for some time as in the end after building the frame work for the body I came to not like the original design. Years later after doodling around in my sketchbook I came up with this thumbnail that showed some promise and got me enthused to continue on with the project.


The thunbnail was scanned in and used as a reference image to draw up some CAD using DraftSight.


Over a couple of weekends and in a spurt of enthusiasm, some white 2mm styrene (HIPS), black 1mm styrene and a small amount of 1.6mm ABS was cut and glued together.


The windows are 2mm acrylic (perspex) with masking tape on the inside and out. There turned out to be a bit of a discrepancy between the length of the side window on the cad and that of the model. That was because of the increase to an18mm bevel between the sides and the roof which shortened the height of the side windows, changing the proportions somewhat. I did not do a rough computer model of this body like I usually do so all the issues of conversion from a flat side view to a 3 dimensional model come out in the building. In the end I determined that the proportion of the full length side windows did not really suit the more enclosed front window so I filled in the lower portion of the side window. I am tempted to add a pillar to the side window as well to bring it more in line, we'll see.

There is an access hatch to outfit the cockpit. A tab slots in under the raised roof section and a magnetic catch at the front secures the door.


Determining that this seems about 1/16th scale I needed a couple of like scaled crew members to outfit the cockpit. I happened across these Tamiya Bundeswehr crewmen at 1/16 the scale. They would need a bit of work to get them into a seated position from the standing pose they are molded in. In fact in the kit there is a standing man and a half man (upper torso) to stick into the turret hatch with suitably bent arms. I got two kits as I needed two sets of legs.


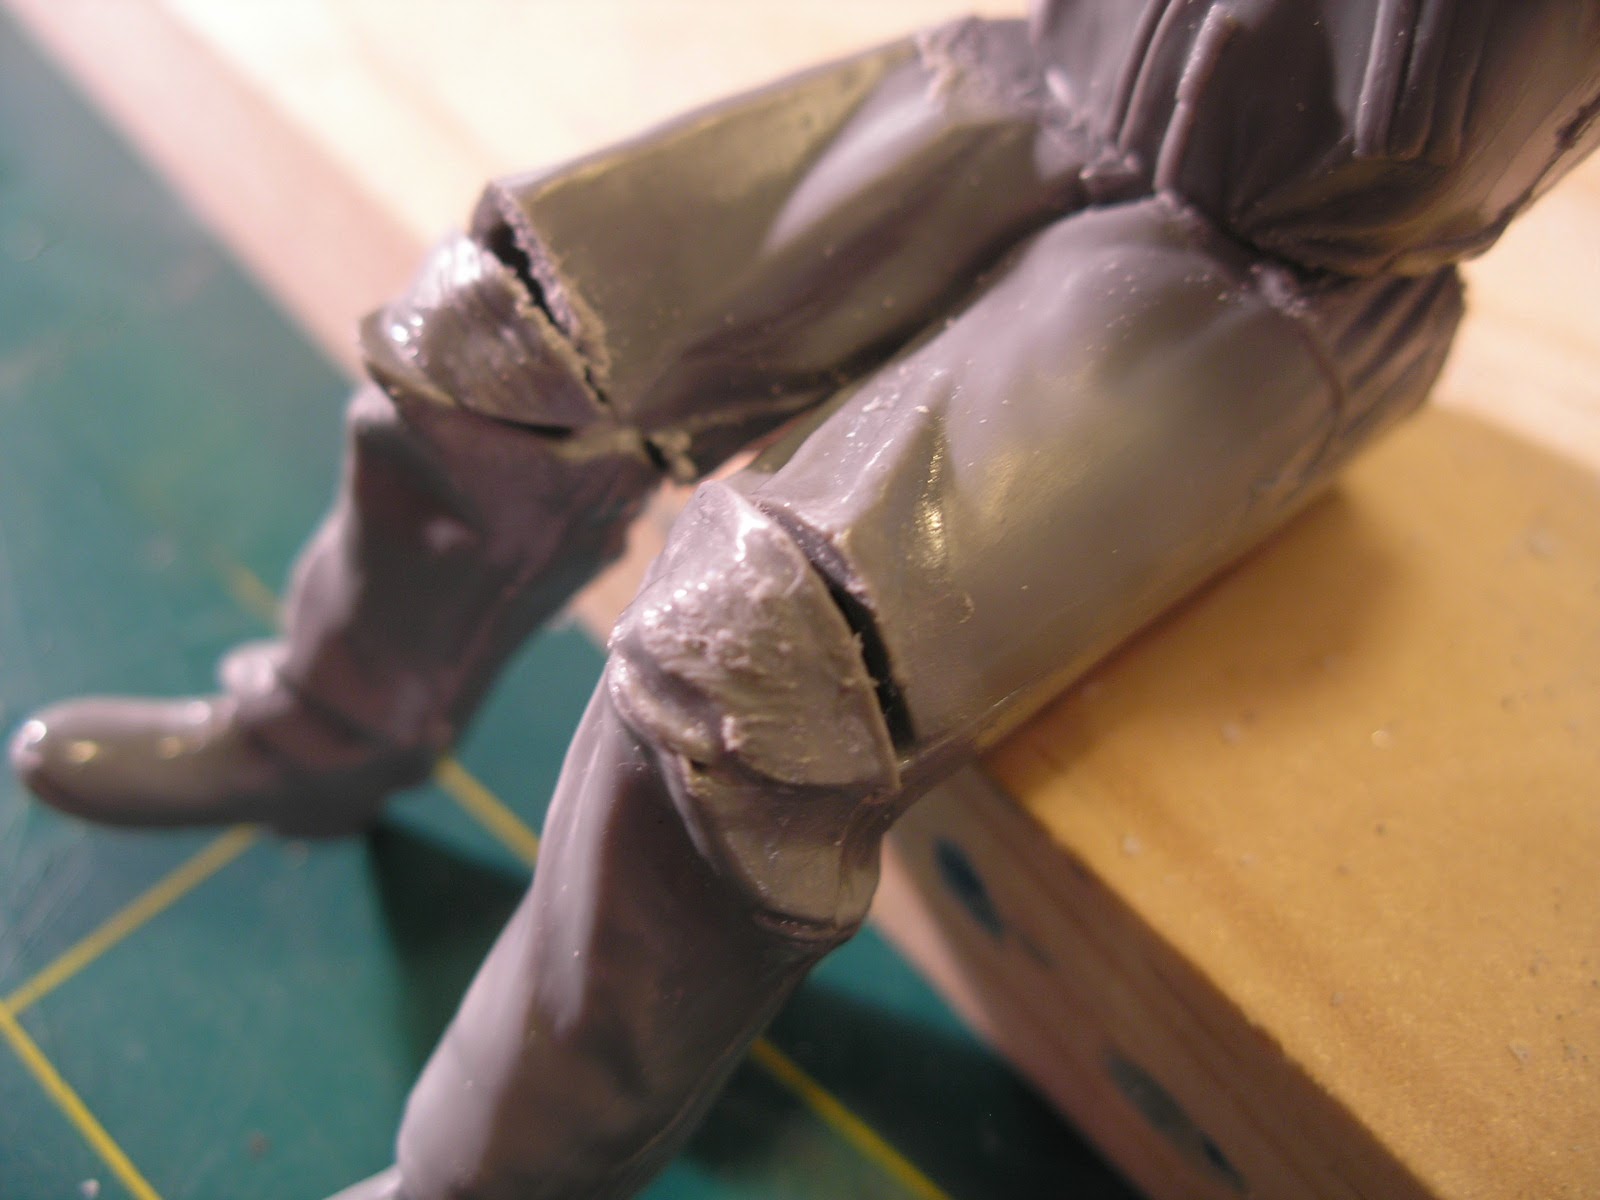
You can see some of the "plastic surgery" that has gone into getting him into a seated pose. The torso has been glued to a sanded flat spot on what was his fly in his pants. The knees have had a wedge removed from the back, the legs glued angled and the missing piece replaced to fill in the gap at the front. next up will be some filler to make him a bum, and fix the savaged knees. I like the headphones look they have. For the moon bus project I recently got some Bruder Toys men which are nicely articulated to be able to sit and are also 1/16th scale.


The side doors are made from those battery press lights I have harped on about in the past.

 Below you can see the two sizes that the lights come in. As well as the dome shape in the middle you get a surround part and there is also a useful led light inside.


For some raised detailing I heat formed some 1mm styrene, double sided taped to a plywood ring over the dome shape from the disassembled light. I just used a heat gun to soften the plastic and pushed it over the form. I dont have a vac former but am now considering building a small one, it would be quite handy for curvy shapes.

All the rounded corners in the panels are done by drilling the correct radius hole (with a step drill, very good for plastic, doesnt grab as twist drills tend to) on pre marked centers and then cutting the straight lines to line up with the tangents of the circular holes. This is relatively easy on flat sheets, it as a bit more difficult on the dome shape.


The chassis has been completed and sprayed satin black with rust guard epoxy paint. Also the suspension has been reworked, namely the verticality of the shocks and their placement higher up on the frame to help with weight issues. No surprises there there is always a weight issue with bodies that are more than a piece of thin vac formed lexan. The solution is to get the shocks in a vertical monster truck position rather than an angled crawler position otherwise the top heavy body flops to one side or another.


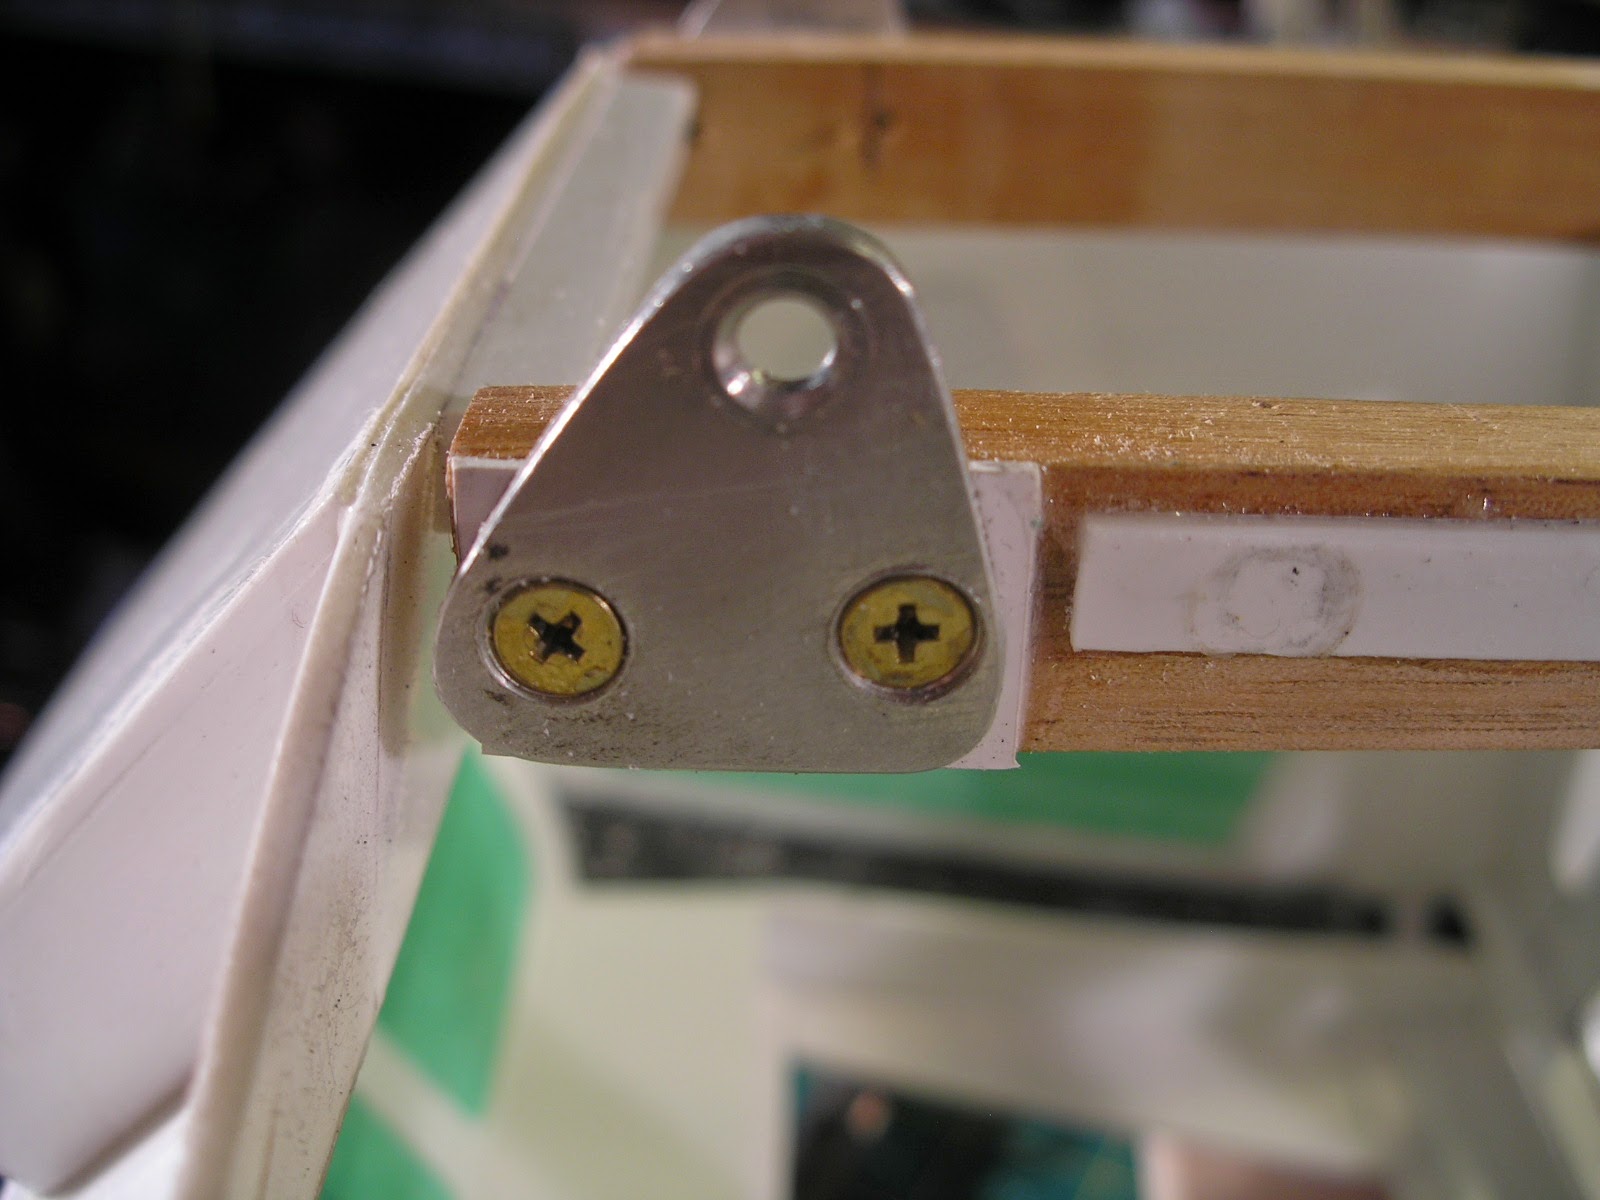
 I have also added body fixing plates in the same way as the Moon Bus project part 1


Note: There was originally a part one to this project but somehow in an attempt at editing the post it got deleted, so I will attempt to create the part about the building of the Chassis in a following post.

More soon...

Creeper 6X6 chassis part2 is here

Most Popular Posts in the Last 7 Days