Next task was detailing the backplate of the engines. The inner nozzles are made from the rims of a rubbish truck toy with outer rings made from the screw on caps of pop-up sprinklers. The inner thread of the sprinkler has been machined away on the mini lathe.

Followed up with a hit of grey primer to check the result.
I then moved on to detailing of the top sides of the film cans with 1mm and 2mm plates of styrene sheet arranged around the 3D printing filament reel sides. I then added some scribed panels and a sprinkling of kit parts.
After finishing the top section of both cans I sprayed one with primer to check, was satisfied with the result and sprayed the second can.
Progressing on from that I turned the cans over to detail the undersides. Here I followed the same procedure except that after spraying the first can with primer I felt a little more detail was required so scraped and sanded away the primer in the spots I wanted to add more nurnies. This I did to both cans and then sprayed primer once again over the new nurnies to check and then repeated the primer application on the second can.
I then decided to detail the landing pads. They were removed by pushing out the brass tube pin. Evergreen textured sheet was used along with some tank trackshoes. The top details are the wheels from the Tamiya 1/35 scale British 25 pounder field gun kit. I cut the spokes to remove the wheel hub.
Next it was on to completing the detailing on the engine pod and the rest of the long skinny Nerf gun hull section. The picture below shows the finished top of the engine section.
Below is the underneath of the engine section.
Rear landing pod cross beam top followed by underside. The piping is a mix of solid ABS rod heat bent, for the larger diameters and single strand solid core electrical wiring.
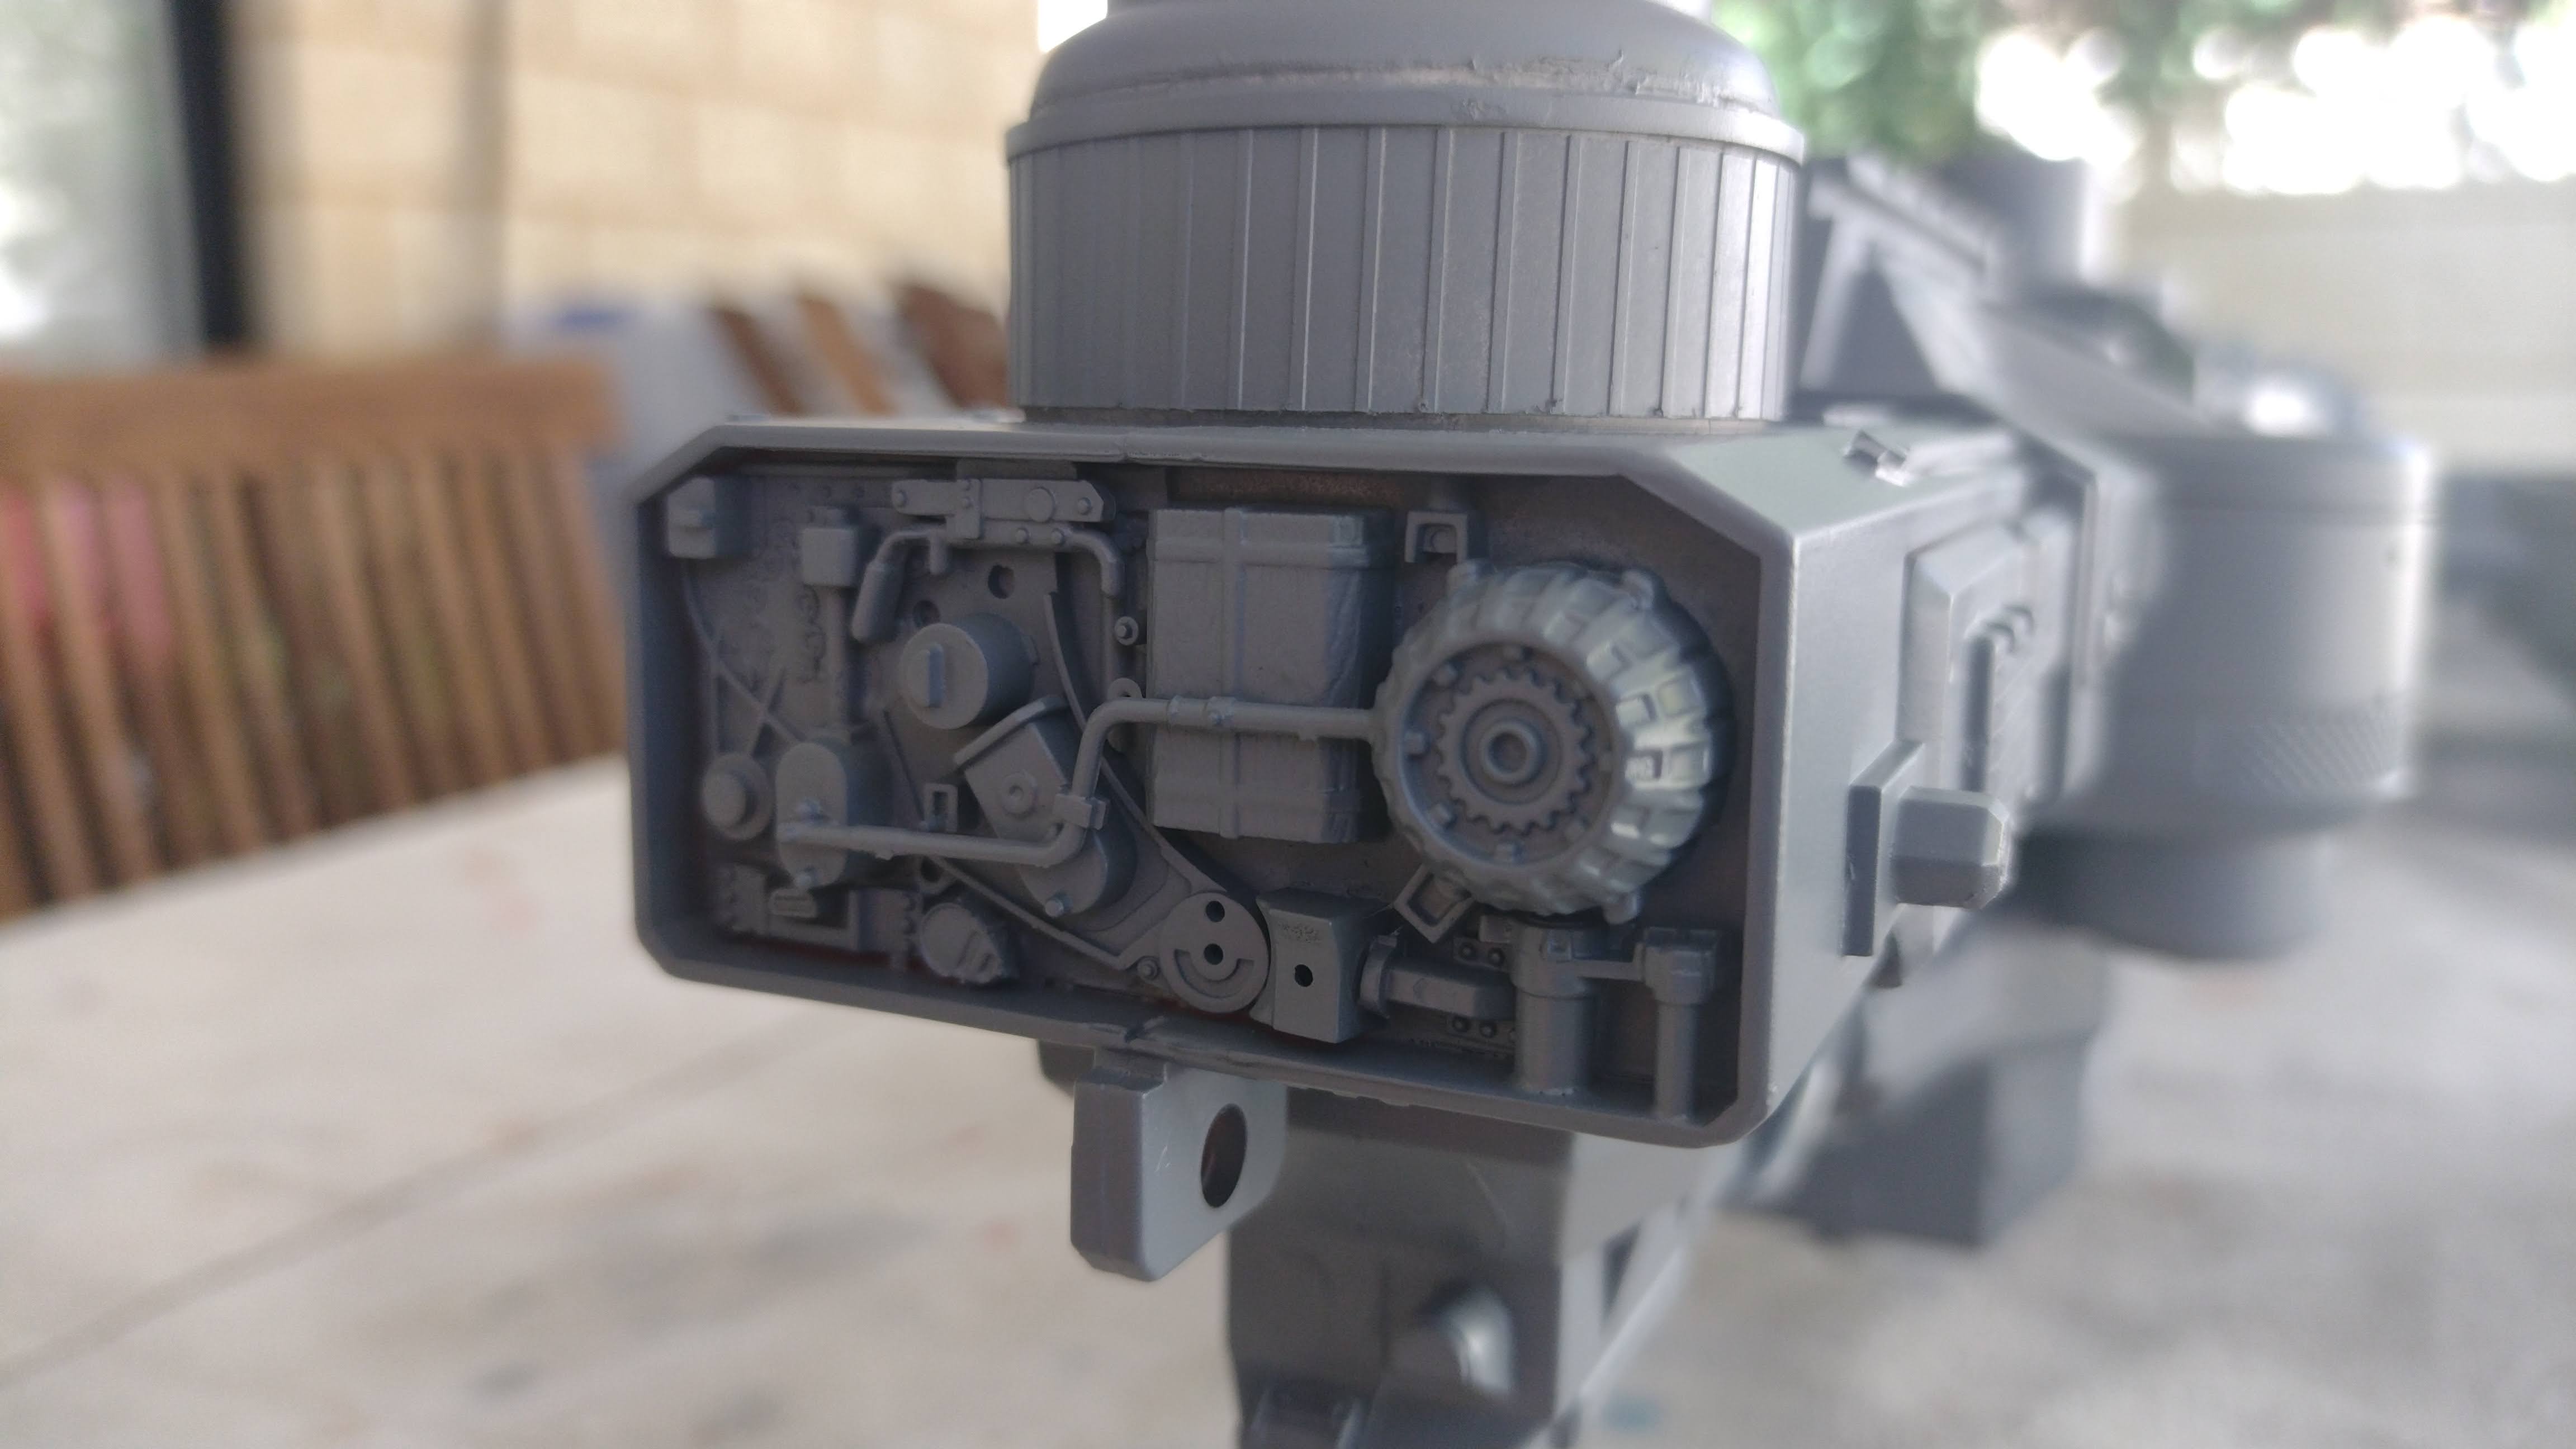
Then a few photos of the rest of the Nerf Nitron hull finishing with the front panel kit part detailing.
The next logical step was to check the result of all that work with... you guessed it... some grey primer.
I sprayed the primer with an outside temperature of 38.6 degrees celsius. It did not take very long to dry. We are in the midst of a record breaking heatwave at the moment.
A lot of the top of the Nerf hull is going to be covered by the film cans and bridge section so I deliberately left the detailing fairly crude as you will only see it side on and predominantly in shadow.
I am going to hold off final assembly till after paint as it is going to be a lot simpler masking and painting the separate sections before mounting them permanently.
Thanks for looking.
More soon...