The
previous post on this project was in October 2014 and this model has basically not progressed since then.
I am joining some other sci-fi modellers and we are exhibiting our models at the Perth Supanova 2018 event starting on the evening of Friday 22nd June. I decided to take some holidays (two weeks) to give me time to try and finish some models for the display. Its remarkable what a deadline will do for motivation, the first model completed was the
Kong head Toybash 6x6 project and then I decided to tackle the Explorer that had been sitting around for years nearly complete and actually finish it.
The first thing to tackle was re-wiring the lighting. I discovered that the big 10mm LEDs I had installed already had a resistor inline to run at 12 volts. This meant I needed to change the wiring power supply to 12volts and not the 7.2 volts I had already installed. I wondered why they seemed so dim. The Leds needed to be wired up in parallel instead of the the series format they were in, and I added some extra white leds for a cockpit control console in the cockpit, 8 in total. The white leds I used had a forward voltage drop of 3 volts so 4 in series makes 12 volts. I then wired the two sets of 4 in parallel. I tested the led torches which I had wired up two in series, by gradually increasing the voltage up to 12 volts and they seem to be OK at that voltage. I suspect there is some electronics inside that regulate the power they receive.
Here's some pics of the console lit up. This will throw light up into the cabin interior and onto the faces of the occupants.
Before I built the console I started on a cabin interior and seats. Two 1/12 scale Star trek figures, John Cho and Simon Pegg to be precise, (though the Simon Pegg face does not really resemble him at all) will occupy the chairs as planned 4 years ago. The seats are made from Foamed PVC sheet, 10mm and 3mm thickness. I hacked away at the figures thighs to get them to sit properly and drilled a hole through their torsos so they can be securely screwed to the chairs under their silicon jumpers.
The rear of the cabin was made to fit the space left between the hull and the RC chassis. It was kit part detailed and piped in the usual fashion., shown below after spraying with primer.
And here it is after the usual application of poo juice and white dry brushed acrylic and with figures in seats added.
The next step was the roof of the cabin which attaches with a couple of kitchen cupboard magnetic catches. It was detailed and then primered and weathered the same way, only this time I took some photos of the steps in my weathering process.
First up is the grey automotive primer.
Next is the addition of Poo juice ( mix of Tamiya flat black heavily diluted with methylated spirits or ethanol), here slathered on with a soft wide flat brush and still wet.
After drying, (it doesn't take long).
Then wiped off with a rag wet with methylated spirits on all the surfaces and raised detail . You have to keep moving to a clean bit of rag as it gets dirtier. You want to leave the dark in the grooves and around the edges of all the parts.
Then apply cheap white acrylic paint and dry brush it on. I use a stiff oil painting brush and a bit of MDF. I add a small dollop of paint and then get a tiny amount on the brush and scrub it back and forward on the MDF to remove most of it.
Then apply to the model scrubbing across the raised detail and all the edges. Add more paint to the brush and gradually build it up to a pleasing effect.
Thats it, job done. It works really well on most surfaces, but the paint underneath cannot have as its solvent alcohol, such as water based acrylic paints like Tamiya colour.
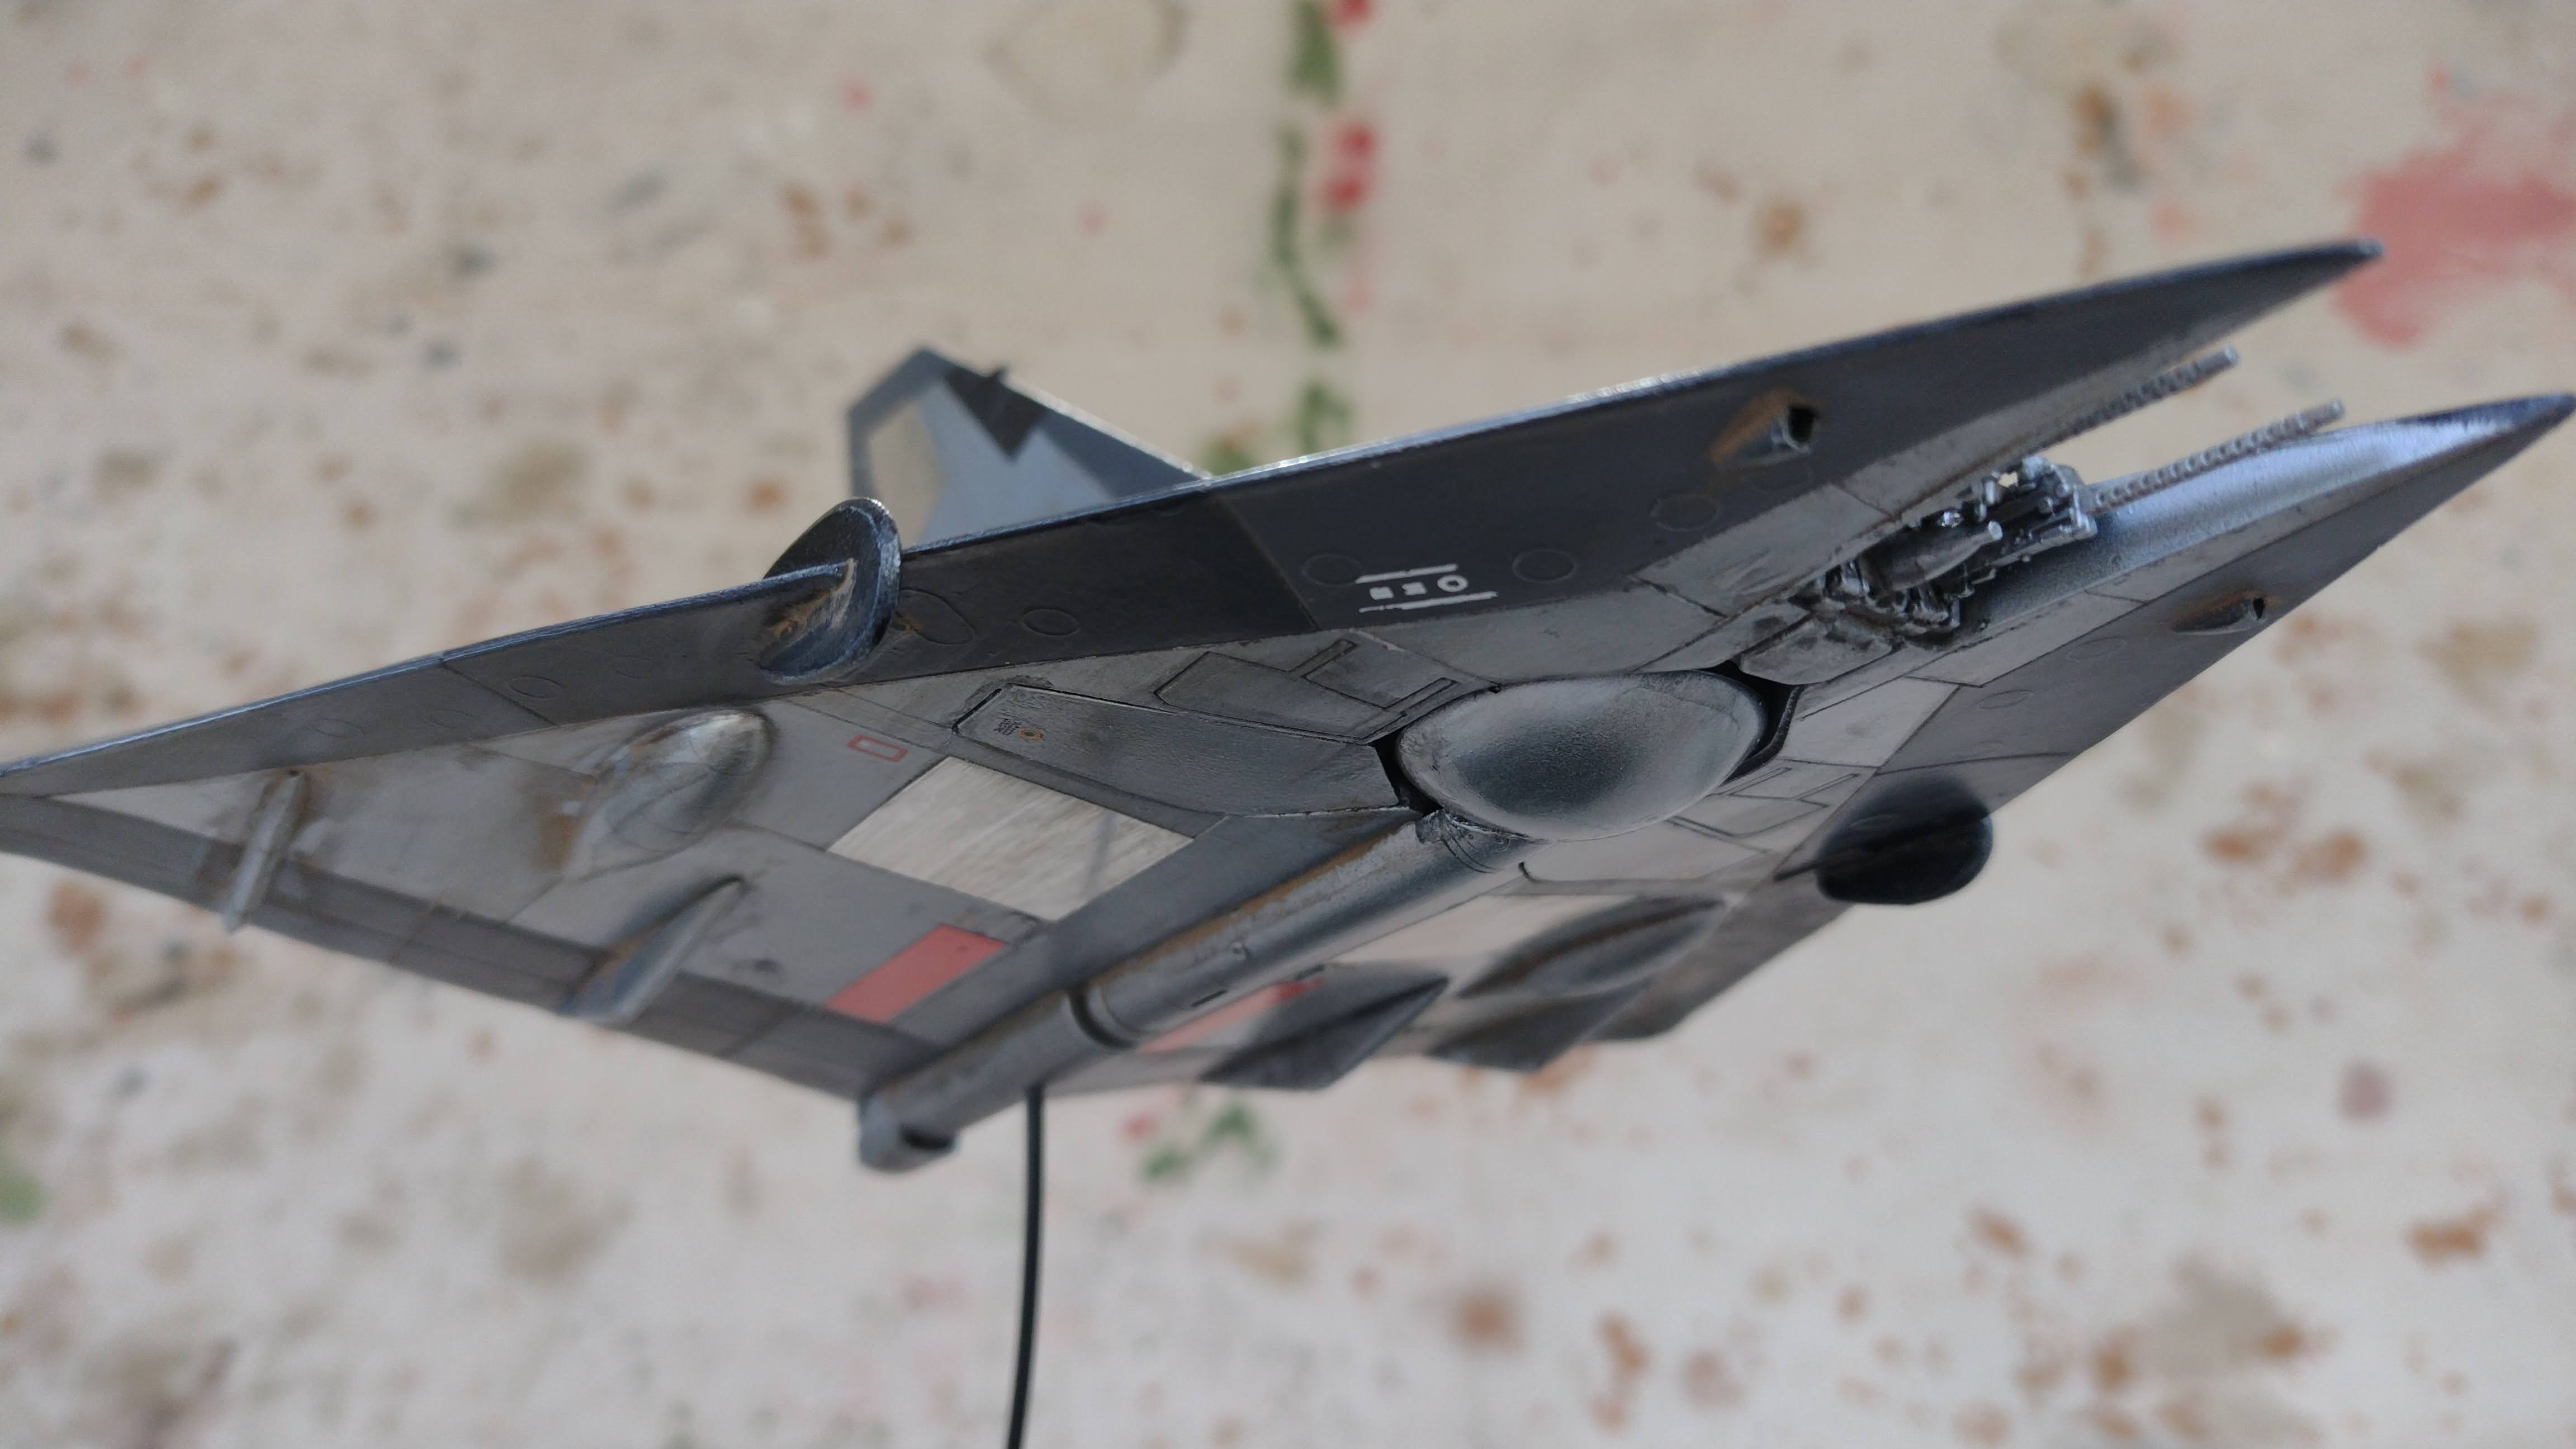
The rest of the model has been painted and weathered. I still have to fit the console to the cabin after the windows have been glued in and then it should be finished after more than 5 years.
Pictures of the completed model will come in the next post.. coming soon.
If you happen to be going to Perth Supanova on the weekend drop by and check out all the other cool sci-fi models that will be on display. I will try and get some photos and post them up after the show.
Part 1,
Part 2,
Part 3,
Part 4,
Part 5,
Part 6.