
I started by making up a cardboard template with the outline of the interior space so I could make sure the centre seat console module and the overhead panel module would fit inside the bubble as I built it.


The occupants are from a Fujimi 1/24 scale drivers set, with the seats a very nicely molded resin cast aftermarket racing seat set. After I received the seats in the post I happened to find a nearly identical pair of styrene seats in a 1/24th scale Supra kit I found in a charity shop. I have had that kit box sitting around for a while now and never thought to look in it. I modified the female figure by making the skirt look more like trousers. I wrapped some thin strips of masking tape around her very skinny legs and the put some white heat shrink tubing over the top and shrank it into place to make some kind of thigh high boots. Their arms had to be heat bent to get then to reach to the side for the seat mounted control panels. I also had to hack away at the male figure to get his shoulders to fit between the seat wings. The foot rest is a couple of photo etch kit parts superglued to a bit of bent brass rod.

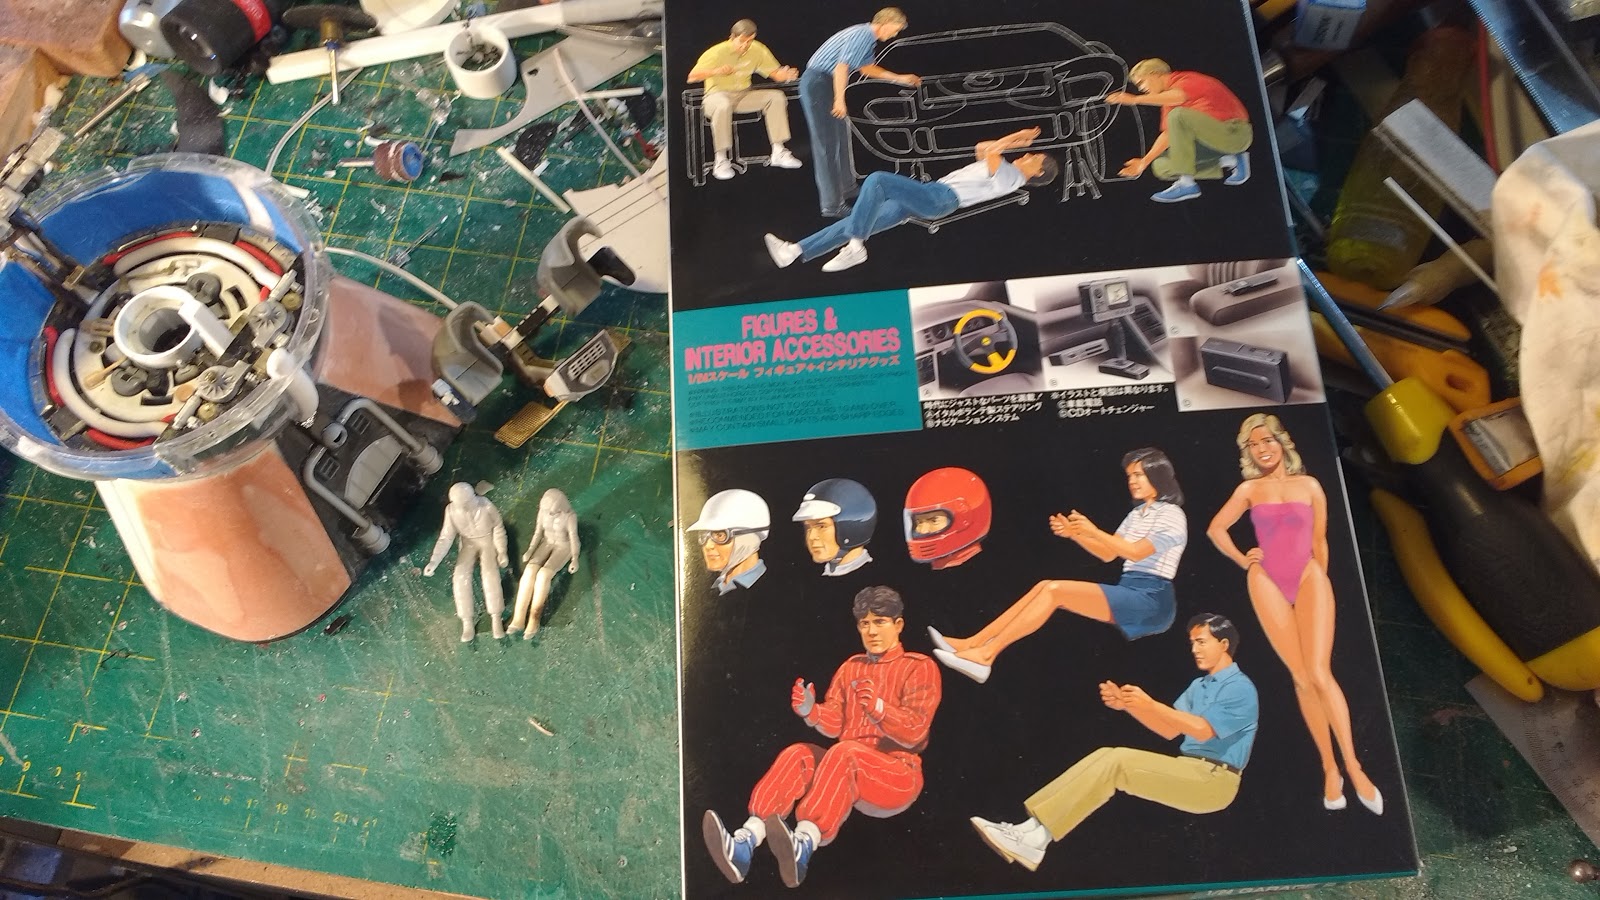
At the moment the figures and the seat section is removable to help with access while painting but will be permanently fixed in place later. There are a couple of bright white leds buried in the central console which will throw some light onto the figures. I am planning to add some blue leds behind the central orifice in the back wall. The large white round shape on the back wall is an ABS part salvaged from an old washing machine.

The front bubble can be positioned in place with friction alone with the help of a couple of bits of Hobby King half round ABS, top and bottom that go through some half round holes that were already conveniently in the dome molding.


Thanks for Looking.
More soon...


