
Part 1, Part 2, Part3, Part4, Part 5, Part 7
Some work has been done on the cockpit of the truck. In fact the whole model has been painted and weathered but that will follow in a subsequent post as I haven't taken any photographs of that as yet.
I made up a helmet for the 1/16 scale Bruder toys driver figure. It possibly a little big but that's what he's getting.


It was made in two halves joined down the middle by pressing a half dome shape into heated 1mm styrene. To heat the plastic I used my Bosch heat gun which is designed to strip paint among other things. It looks like a hairdryer but it puts out industrial grade heat. You would not want to mix up the two.
I made a domed ended bit of broom stick and pressed that into a hole in a piece of wood that was slightly larger. You can see the stick, hole and result below.

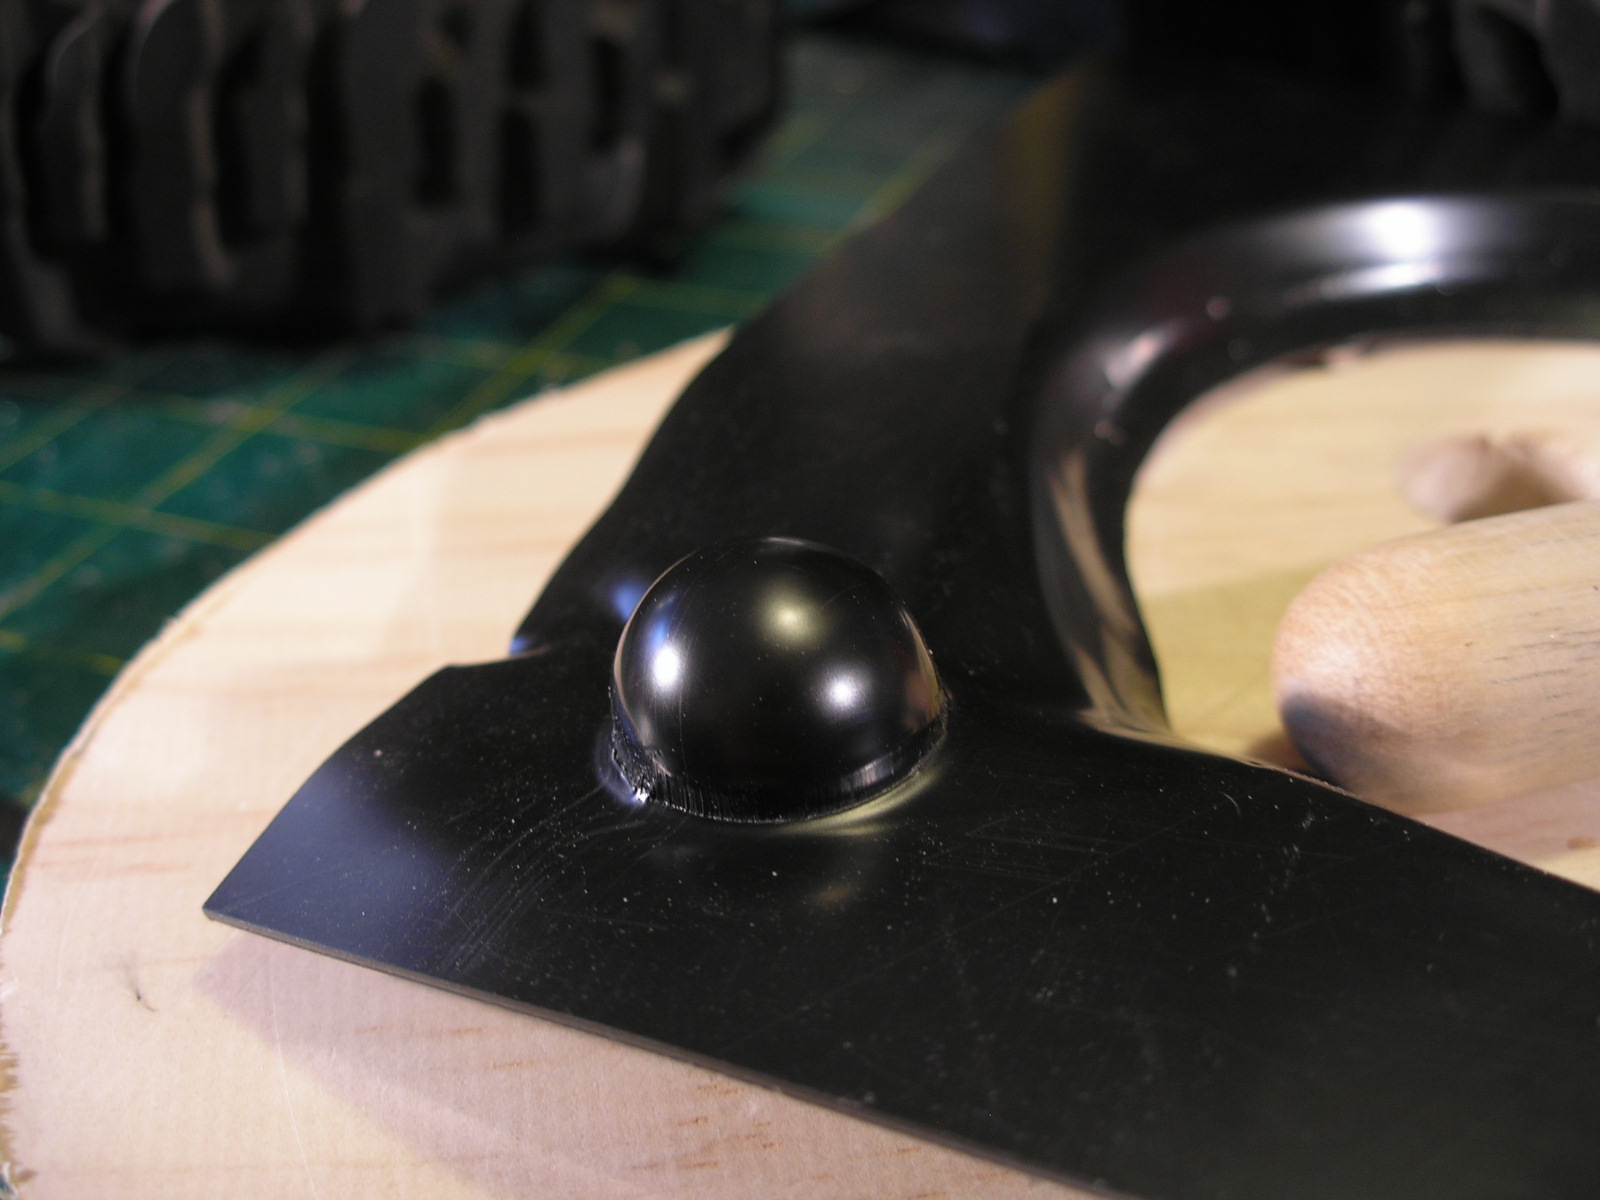
The two plastic domes were sawn off with a razor saw, sanded flat and joined with my usual methylene chloride solvent. A dremel was then used along with a sharp olfa blade to cut away the hole for the neck and face. I used a couple more presses of the 1mm plastic to make some side discs and added a strip of 0.5mm styrene down the join. I also added some pieces of closed cell foam as padding on the inner sides which also makes it stay on his head.
Still needs a bit of sanding and then painting to finish.

To cover up the rolled up sleeves molding on the drivers arms I used some heat shrink tubing, with a smaller piece as some sort of cuffs around his wrists. I also put a larger piece around his neck. You can see a bit of filler as yet un-sanded in the v neck of his shirt. A few Drops of thin super glue has been flowed into his arm joints to fix them in position. Eventually he will be painted to look more like he's wearing a jump suit with gloves.

The chassis has been disassembled so that it could be painted with flat black. I always use a Rust guard epoxy style spray paint for any aluminium parts as it sticks very well without flaking off. A couple of lightish coats are sprayed on without any primer. It takes 24 hours to dry fully but a couple of extra days does no harm before reassembly with scratchy tools. Here is the chassis hanging up on a wire hook.

On the shelf behind the chassis are a couple of my old spaceship models readers of this blog will be familiar with, built many many years ago.
More soon...


