About this Blog

This is about the combination of two interests, Radio Control vehicles and Science Fiction models. This blog documents my science fiction spaceship and radio controlled vehicle projects.
Showing posts with label model maker. Show all posts

Sunday, 4 May 2025

Container Spaceship part 11

It's finally time to push this project through to completion.


Its been more than a year since I last worked on this and the remaining job was to detail the container hanging deck.

I came up with an idea to detail the hanging fingers with a sort of T section. As there are 24 of these fingers I wanted to automate the process so decided to model the parts in Onshape and 3D print them using my FDM printer. Ordinarily I am not a fan of the layer effect you get with FDM printing but figured in this case given that it is just a small shadow casting detail I will probably get away with it.

There were two different versions to make along with mirror images of each. They were superglued to the white foamed PVC the hanging deck is made from. 

24 small kit part wheels were also added to the ends of the fingers.


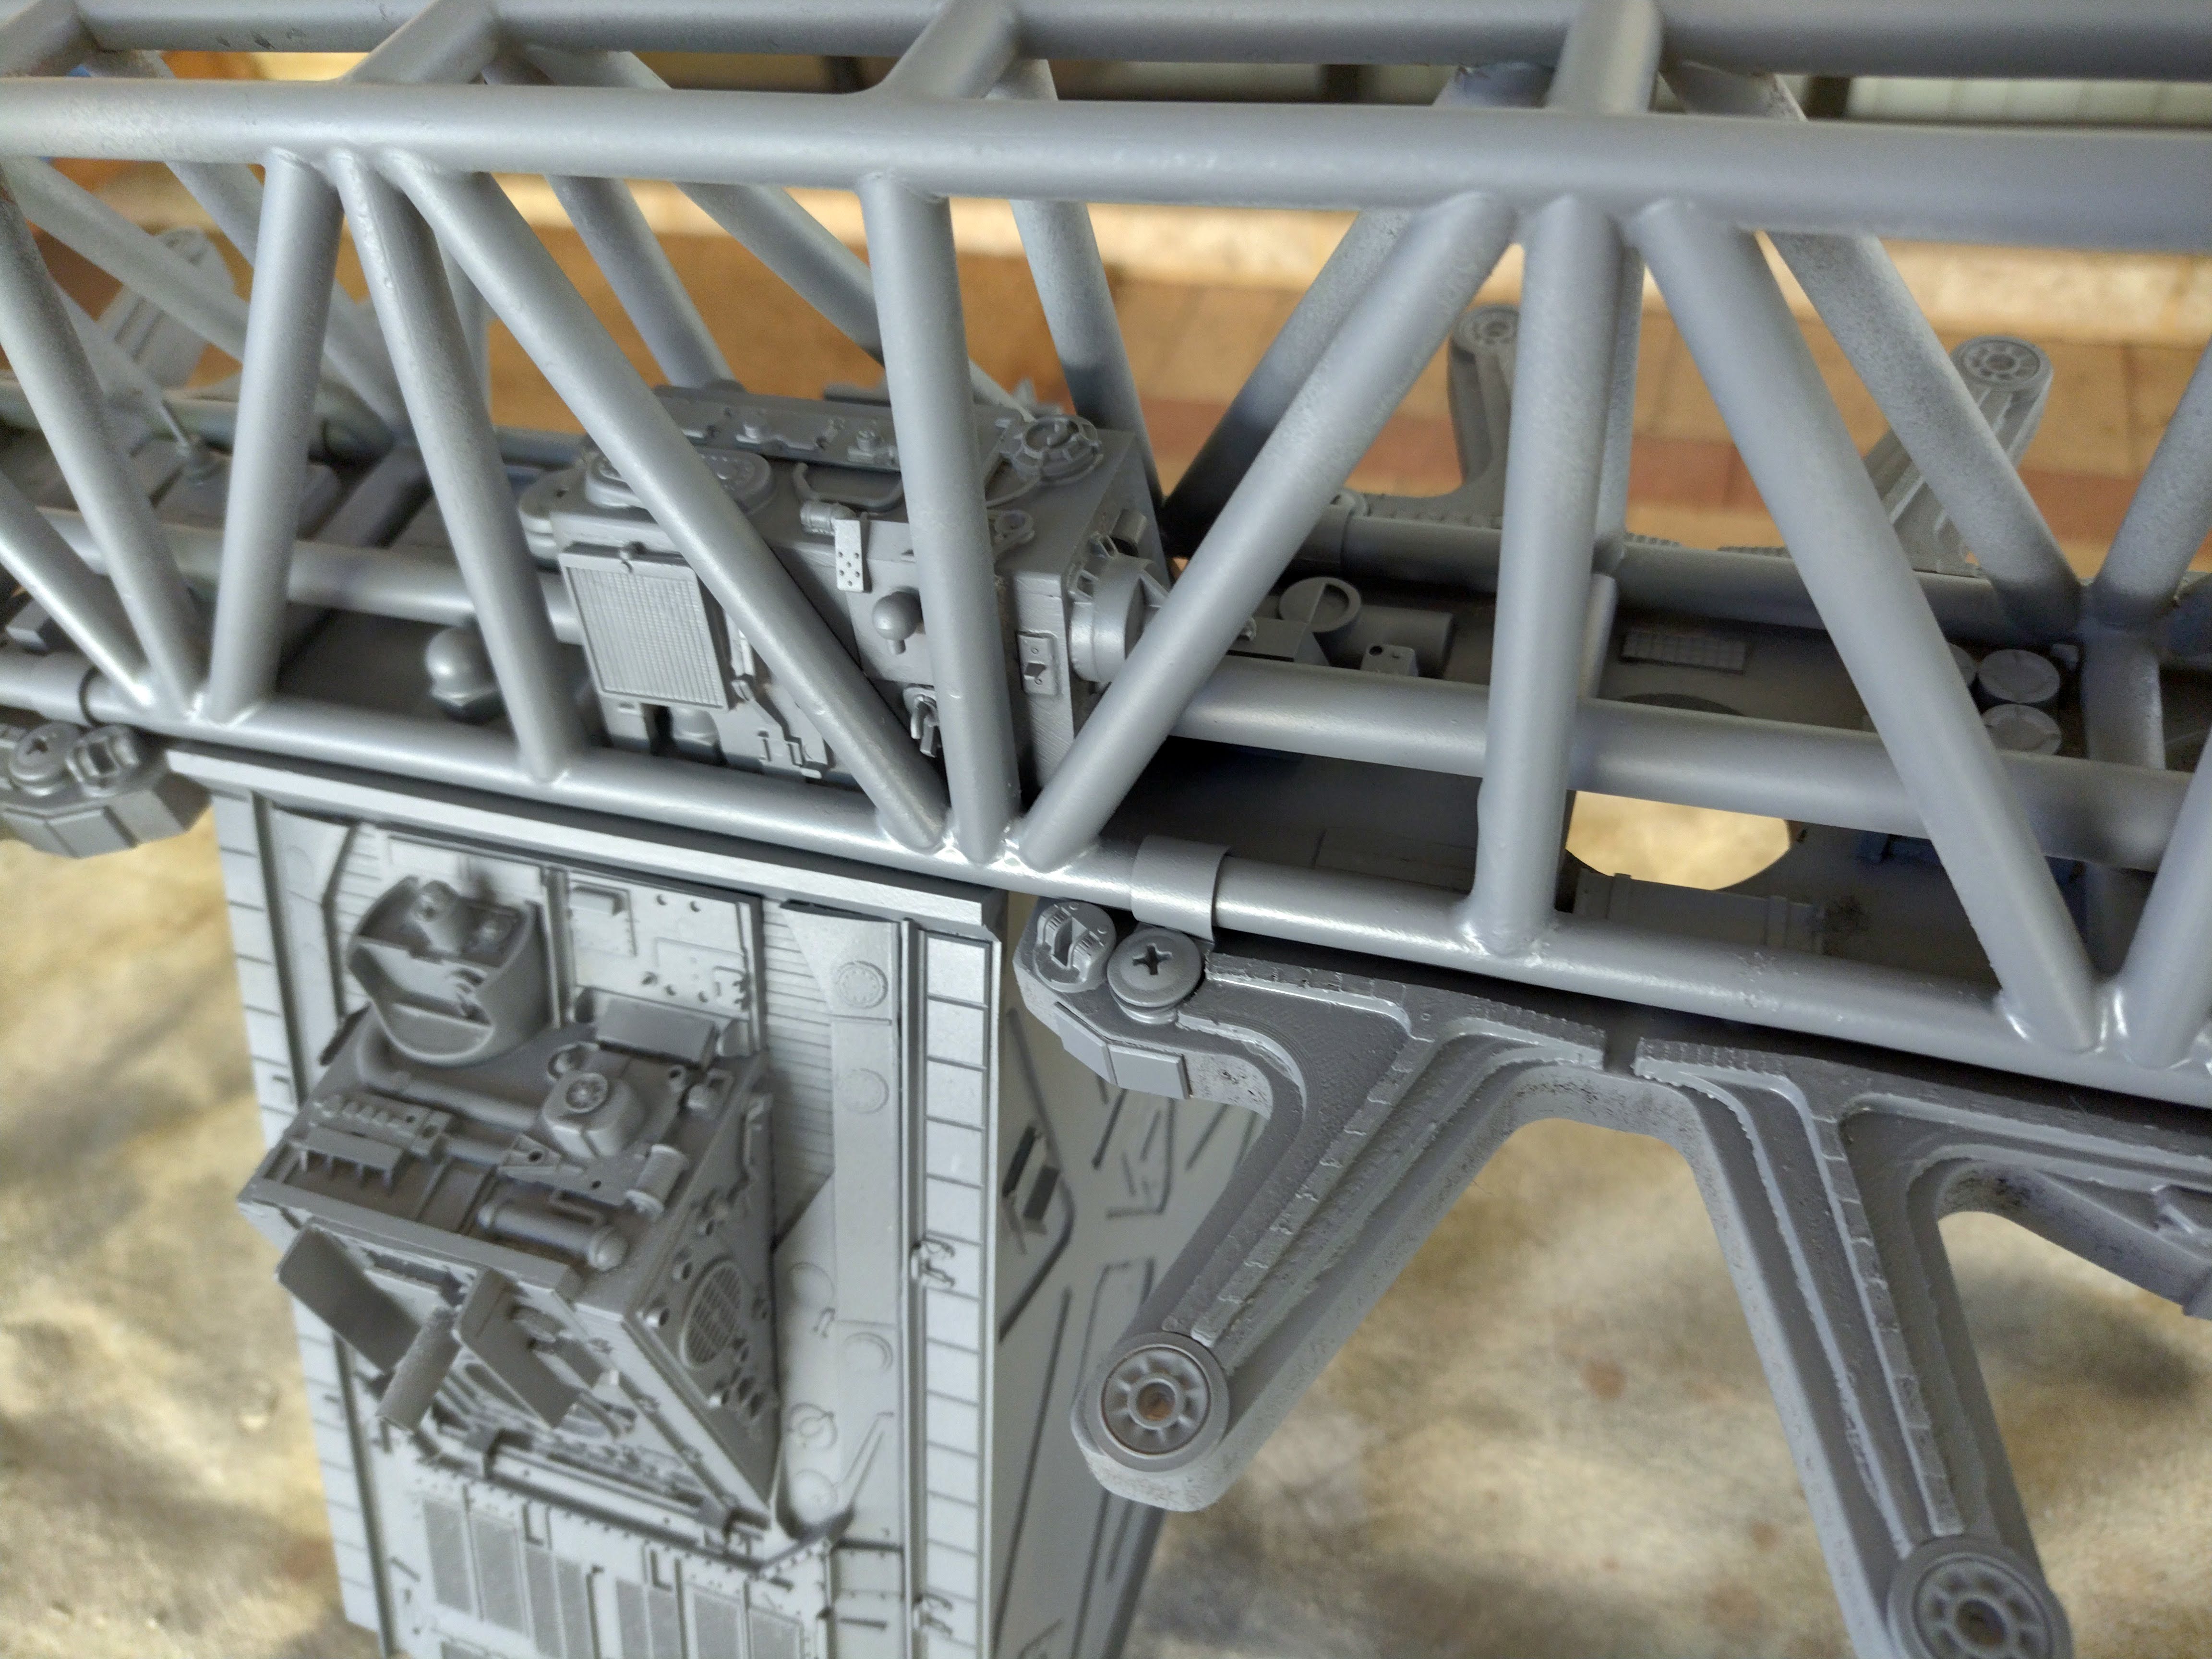
A plethora of kit parts was added to the interior of the truss along with some tubing which hides the electrical cable for the lighting. Around the centre of the truss I made a trapezoidal box to hide where the electrical cables meet at a terminal block. This was quite difficult to fit as I had to get from one end of the truss to the middle section through the truss centre every time I needed a test fit. The styrene box was also covered in kit parts.


Similarly where the ends of the truss join to the front and rear pod I also added a cluster of kit parts.


Then as is customary, to check the work, I sprayed some grey primer.


The following pictures show the pods in position. They can be put in any spot on the hanging deck and removed just as easily as they are just held on with strong magnets.


The picture below shows the engine lights turned on. They are shining through a layer of masking tape and grey primer.


The only task left to do is paint the ship and the six containers.

Thanks for looking.

More soon...


Sunday, 31 December 2023

Film Can Spaceship part 4

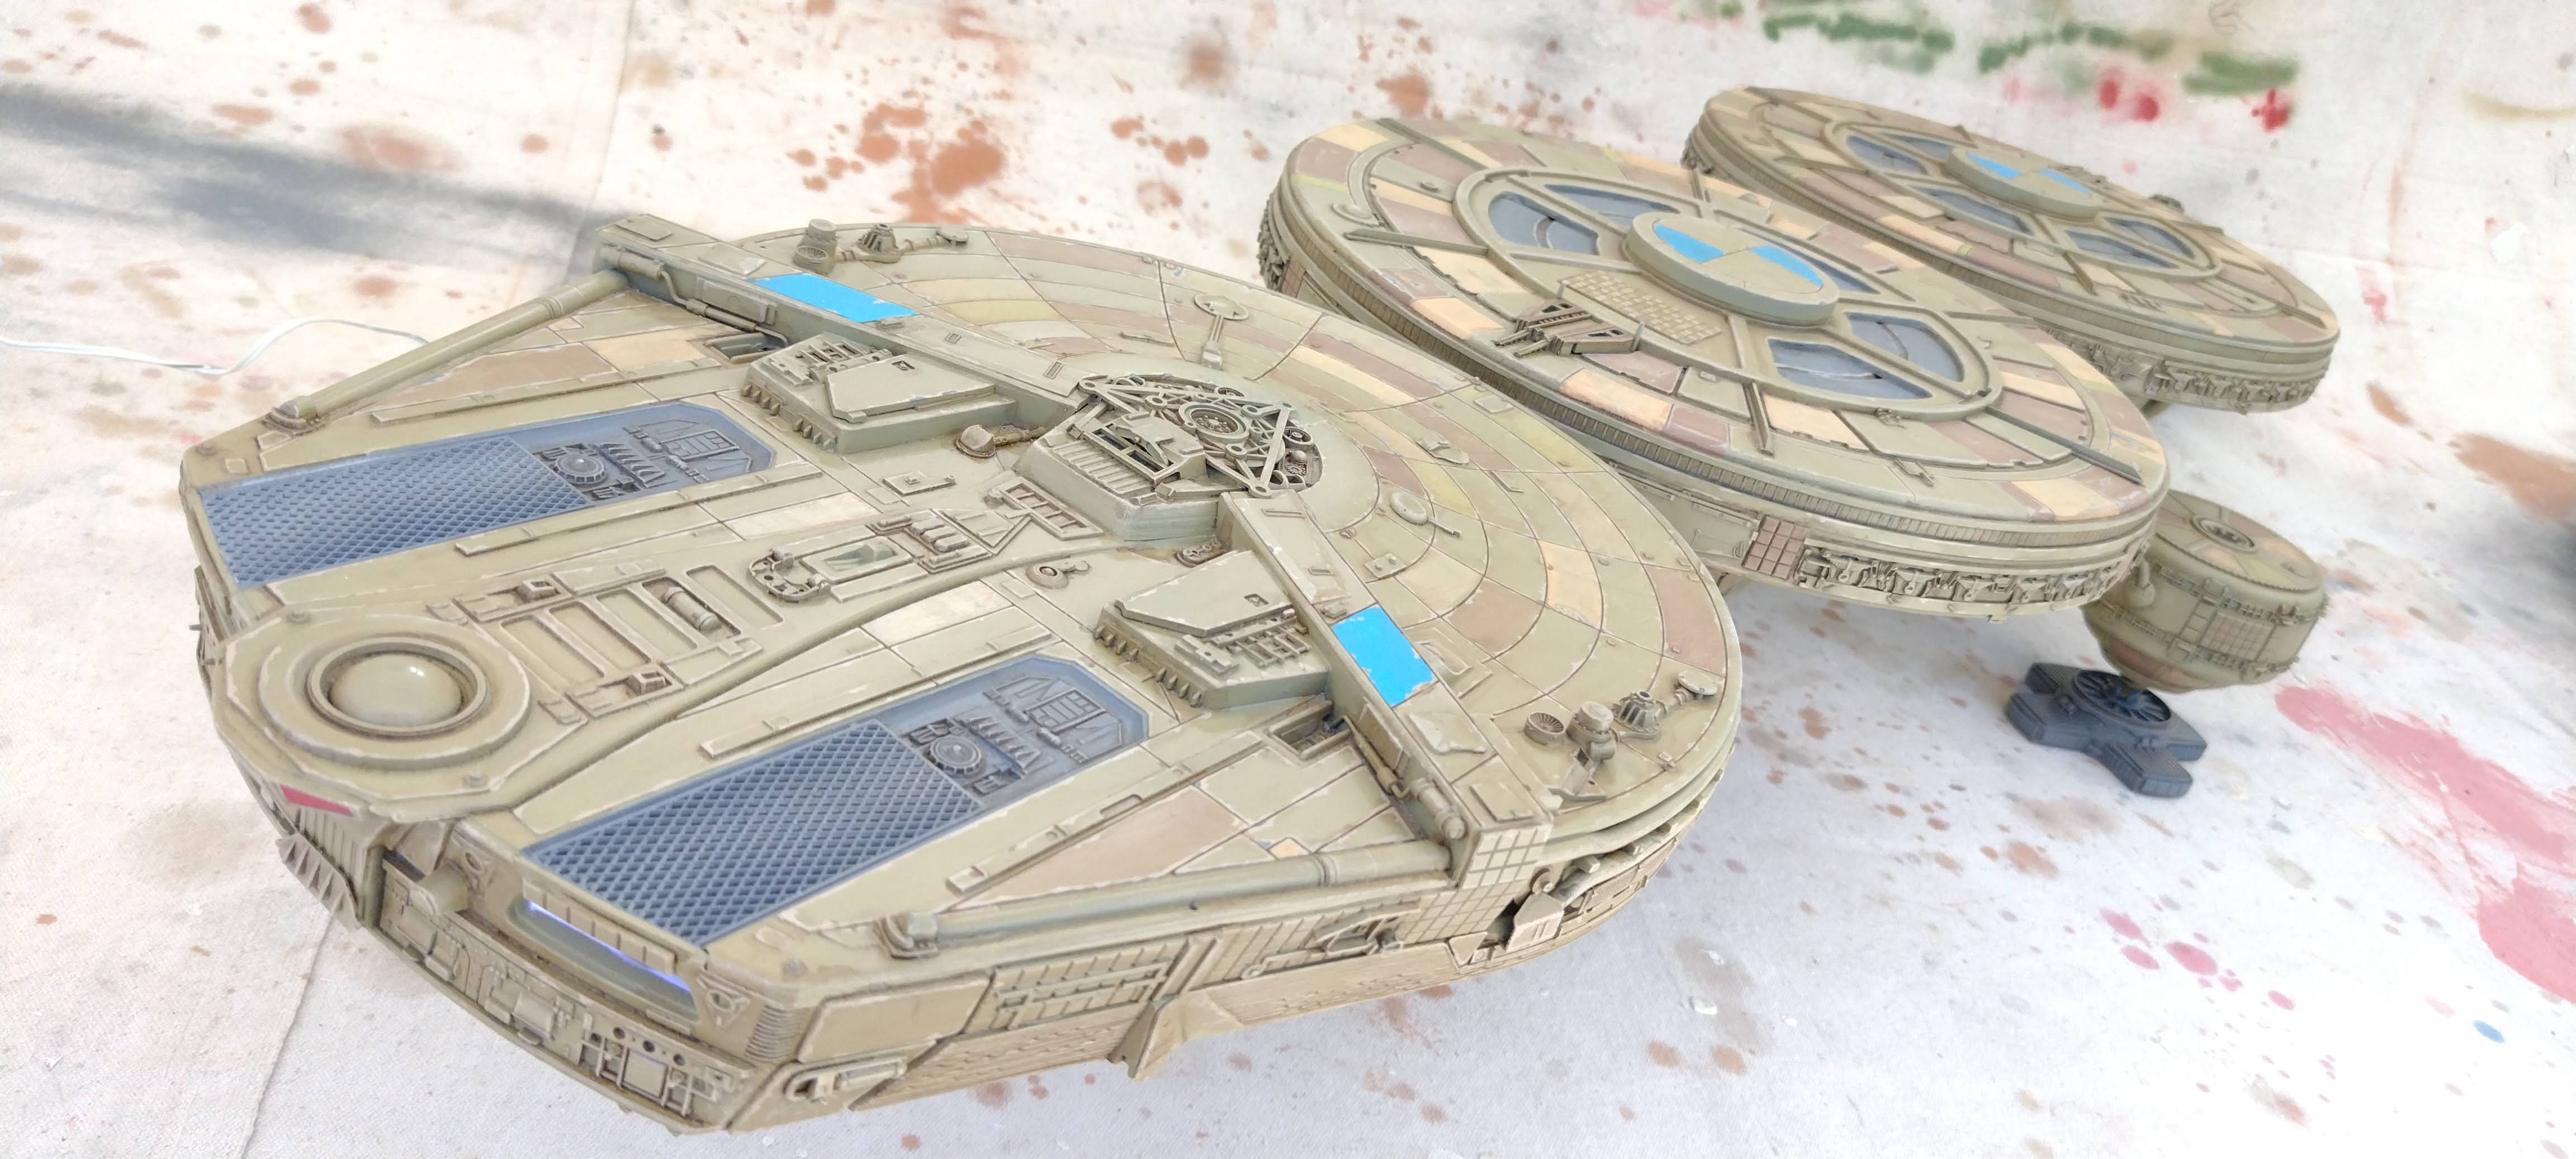
The Film Can Spaceship project has finally concluded with the paint phase.

The base colour for the model was Tamiya FS-3 Dark Yellow using spray cans. I used two and a half cans.

Variations in panel colours were hand painted using Lifecolour acrylics using three colours applied from a wet palette.

Pin wash was burnt umber oil colour heavily diluted with odourless turps.

Dry brushed with artists acrylic paint from a tube using a flesh colour.

The panel and edge chipping was laboriously hand painted using a fine brush, it took three days just for this step.

 Here are the completed pictures.


Engine lights on, got a little bit of bleed going on.


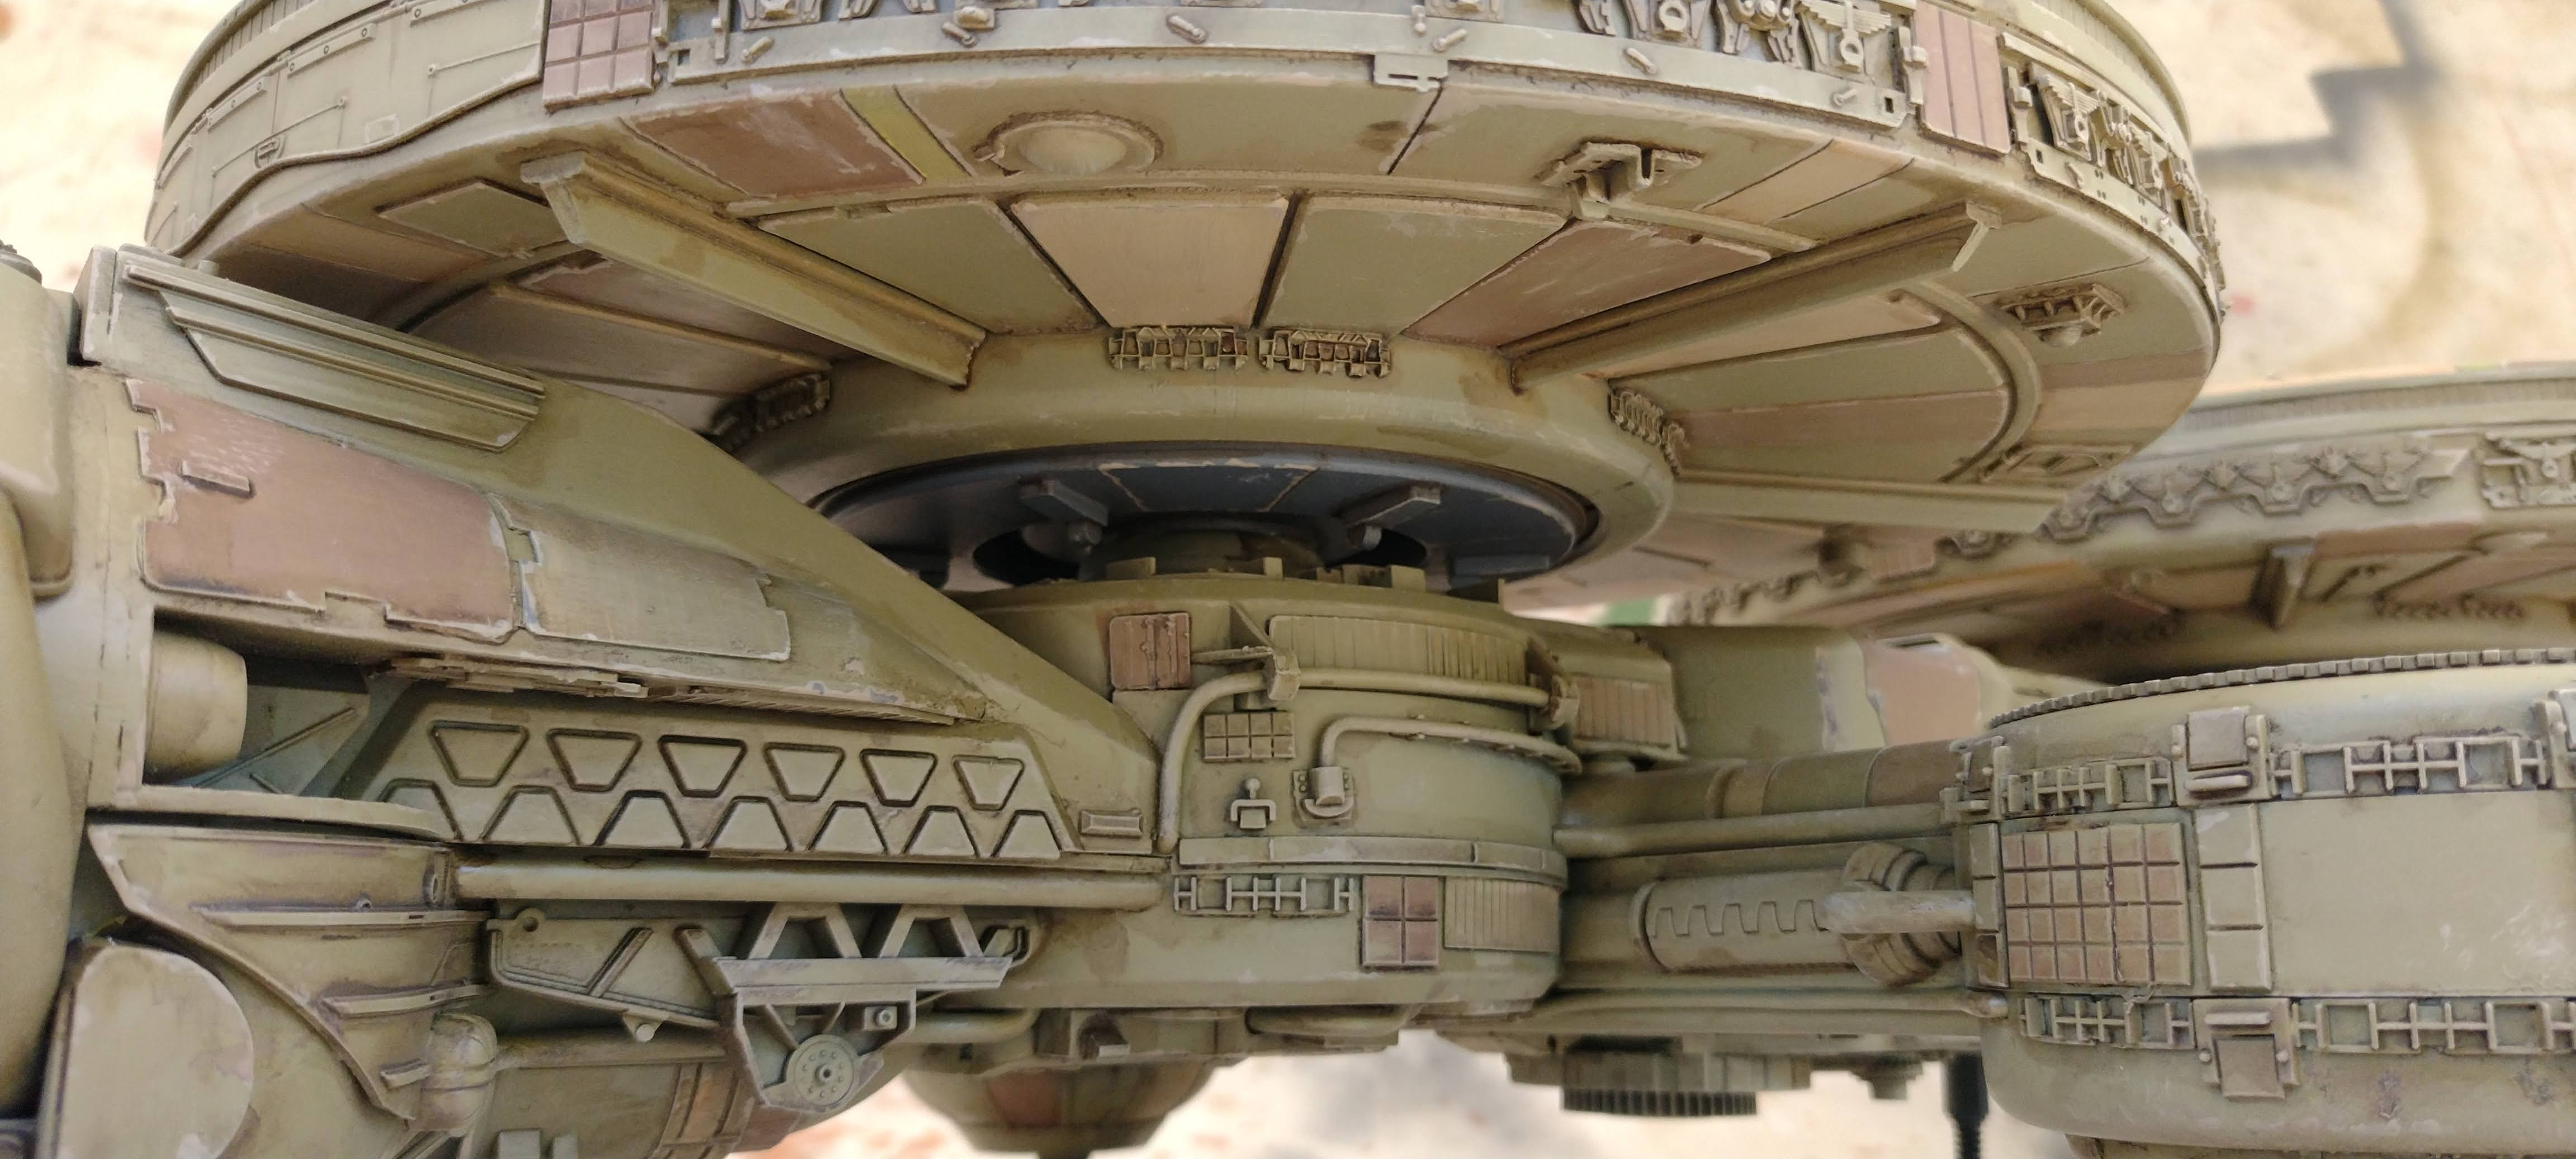
The following four pictures show the underside.


Just finished this project on the last day of 2023.


Thanks for looking.

More soon...


Most Popular Posts in the Last 7 Days