
I have never been interested in building replicas of famous craft, I always wanted to build my own designs, and I particularly find enjoyable the process of arranging found objects into something new. You get arrangements of shapes that you would never have come up with if you just sat down with a pencil and paper and tried to design it from your imagination.

The front ball shape command module was from a baby's toy that rolled along the ground with small coloured balls inside. The window section is an upside down front of a 1/25 American car kit.


The neck was made from some PVC pipe which had been heated at one end and stretched into a cone shape. These PVC shapes were sourced from the industrial model making company I used to work for early on in my working life. They were reject pile guides made for a 1/33 scale North West Shelf gas platform model. In Western Australia there were a lot of these "plant and piping" models being made for the many resource projects in this resource rich part of Australia. When I started there in 1985 I was working on the plant and piping models for the Argyle diamond mine project. The models were built as part of the engineering design process and featured all the complex pipe runs through all the plant areas. The models were used as a double checking process, to check that all the engineering drawings were accurate and to see if there were any obstruction and clearance issues. The piping drawings were all isometric, just bent lines with dimensions. Sometimes errors would crop up, A pipe going through the middle of a steel girder or machine etc. The engineers would visit and have little 1/33 scale men on rods to poke about in the models to check head clearances and so on. All the piping and vessel parts would be from EMA, they used to have a massive stock of the stuff. Of course all this is done with a computer these days... ho hum.

The little dome shapes are plastic fishing float cut in half, glued to small plastic jelly molds. The main rear hexagon was a plastic terrarium with a plastic bowl glued to each end. Note the plastic coffee stirrer detail, the paddle shape with three square holes. Can you still get these?

The engine bell is an acrylic cup. Inside the bell (not shown) is an acrylic plastic tap handle.
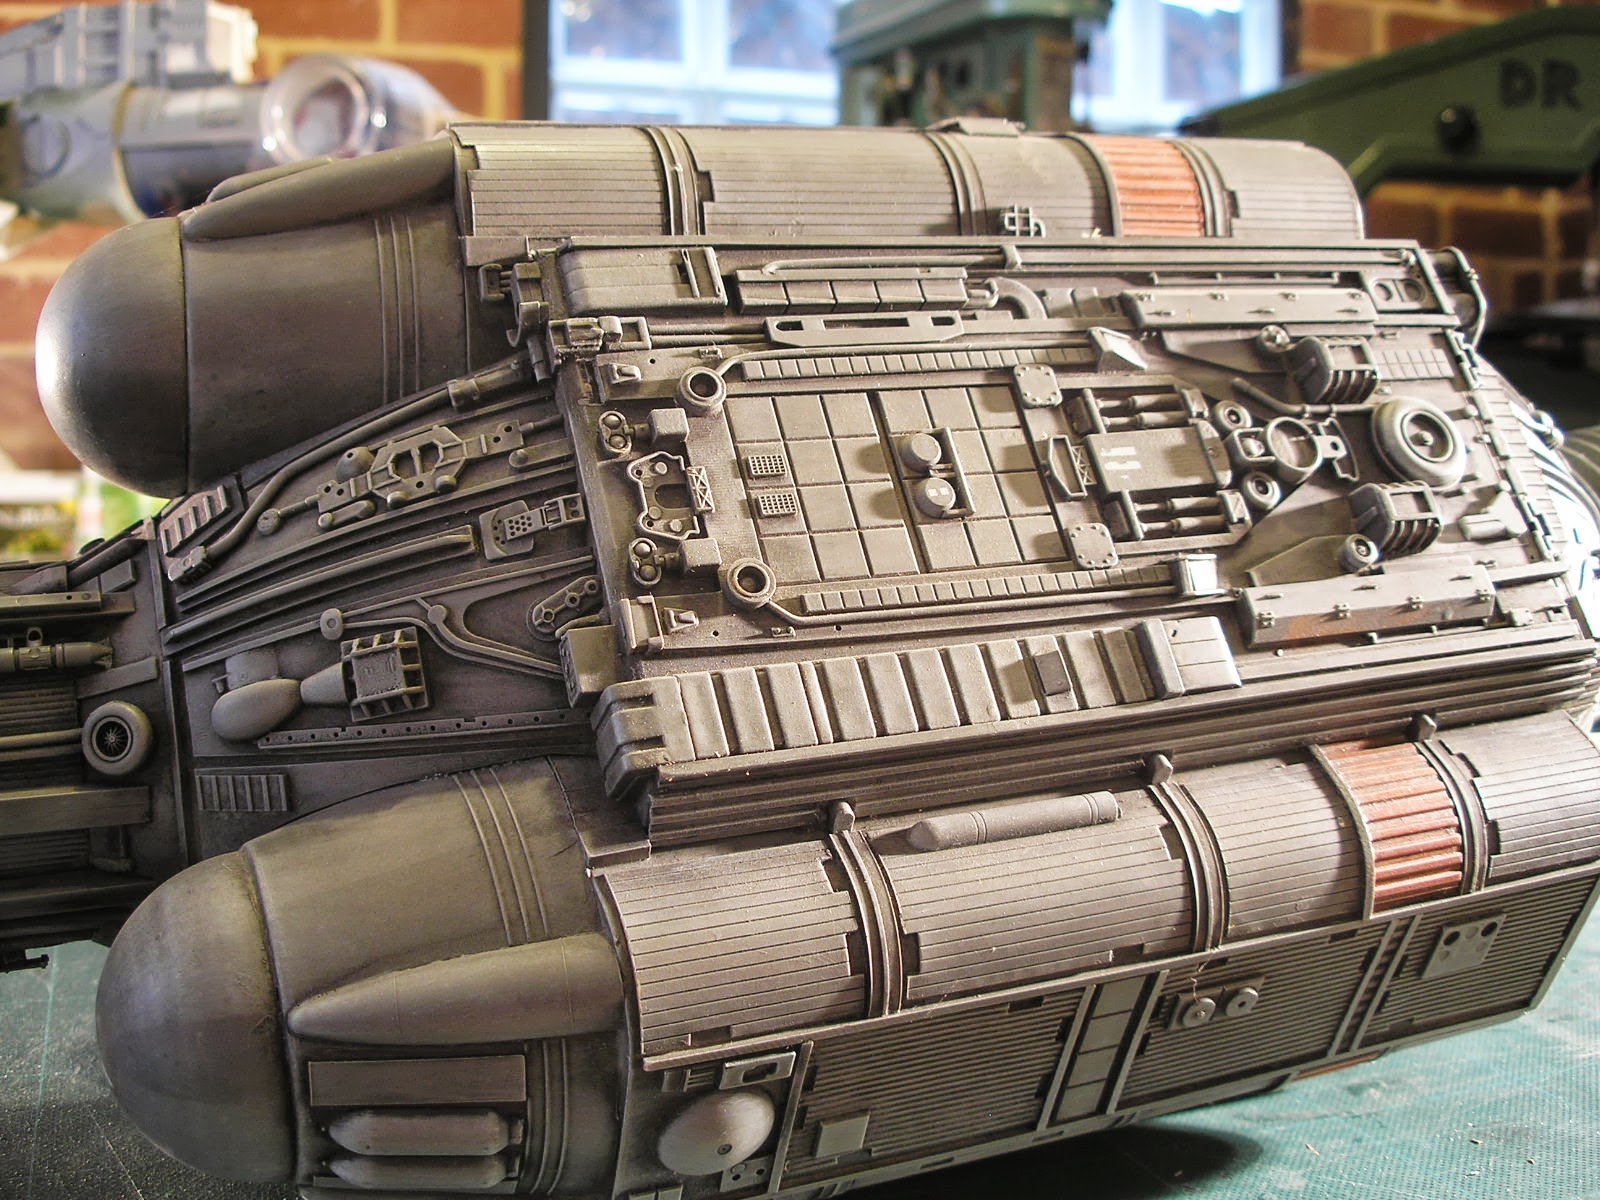 |
| Underside. There is a famous railway girder bridge kit part lurking there, a Thunderbirds model detail classic. |
 |
| The round vent shape is the vent from a Millennium Falcon model kit. Nothing is sacred in the quest for detail parts. |


Love this one !!
ReplyDeleteSquinting was before HD baby!!
ReplyDeleteI'd like to see some examples of Spaceship miniatures shot on HD. Can you recommend some?
DeleteGreat looking model. Love all the detail work, especially that car part for the bridge windows...or should we call them view ports, like in the old E.E.Doc Smith books and the like.
ReplyDeleteLovely model.
Regards,
Martin.
This model rocks! your designs have a "Sturdy" feel. love it!
ReplyDeleteGood lord you're good!
ReplyDelete